In the past I have lived vicariously through several other photographer’s studio construction project threads. So this time I am sharing my photography studio build out project. Hope you enjoy the journey as much as we are enjoying putting it all together.
BACKGROUND
I have been a pro-photographer for more than 30 years, and like all photographers, ended up commandeering the garage to make my own home studio. When I immigrated to the USA 20 years ago I set up another home studio in our garage but as the commercial clientele grew, it became obvious that we needed a more upmarket shooting space, worthy of our clientele.
From 2004 to 2006 my wife and I searched high and low in Fort Lauderdale for a suitable building that met our demanding criteria, but as you might recall, during that period the property market was out of control here and there were literally no buildings that met our criteria that we could justify financially. So we decided to rent, found a great space close to our home with a great landlord and have been very happy with the decision.
OUR EXISTING PHOTOGRAPHY STUDIO
For the past six years we have been renting a very convenient and really superb 4,000 sqft Unit. We took possession as a box, and and designed a really productive working space within its confines. As you can see from the photos below our current studio lacks nothing and it has been a very enjoyable home for our business. While there were a few “nice to have” items that we wanted, there was literally nothing that the rental space did not provide us or our clients and other renting photographers, but we wanted to be in control of our destiny and hopefully see a return on our property investment.
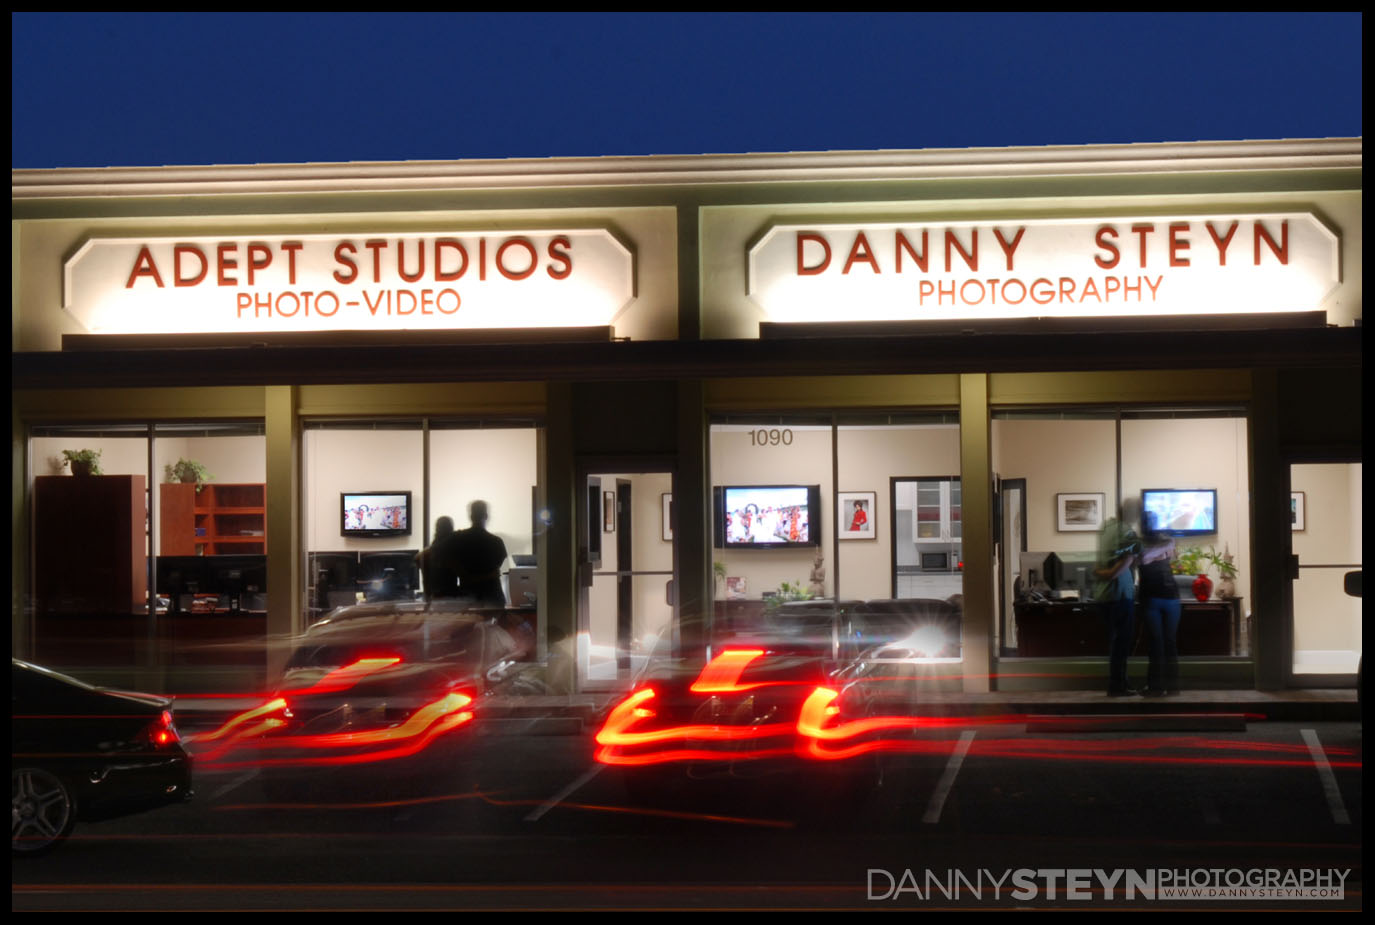
Adept Studios / Danny Steyn Photography Studio – 2006 – 2013
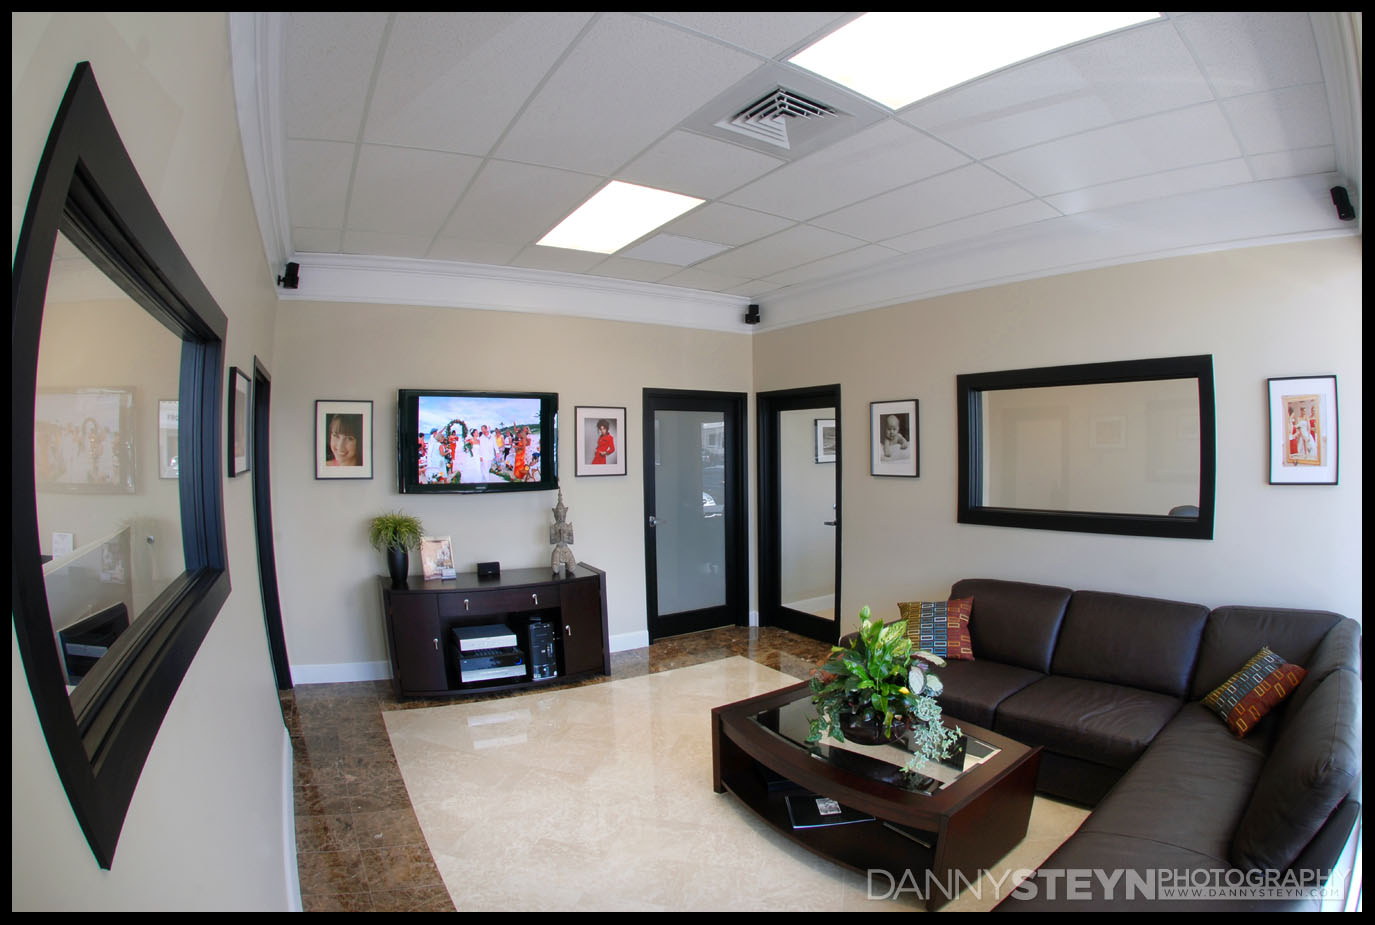
Lobby – Adept Studios / Danny Steyn Photography Studio – 2006 – 2013
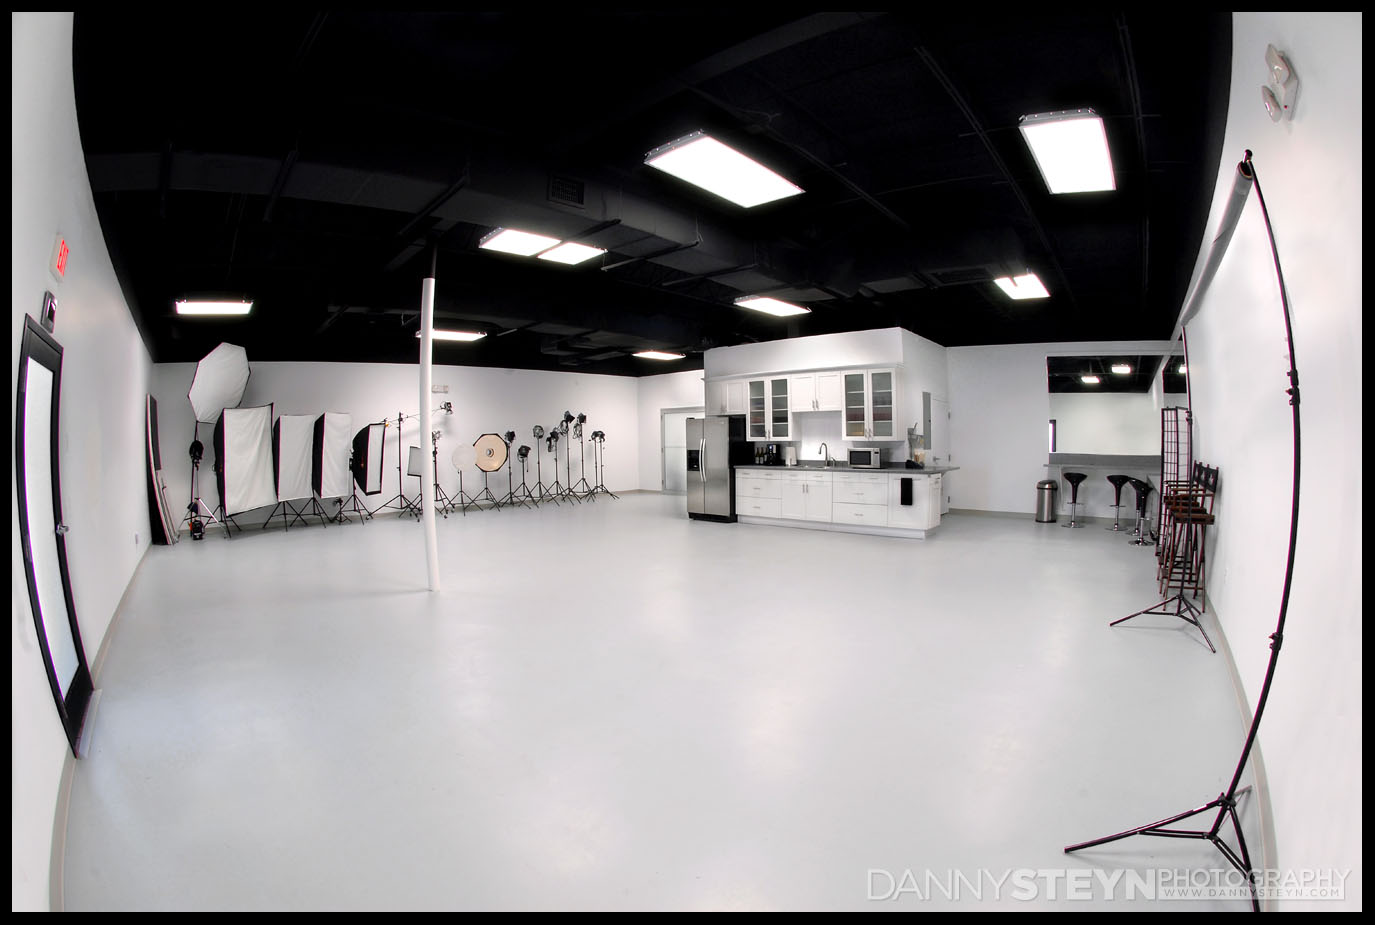
Shooting Area – Adept Studios / Danny Steyn Photography Studio – 2006 – 2013

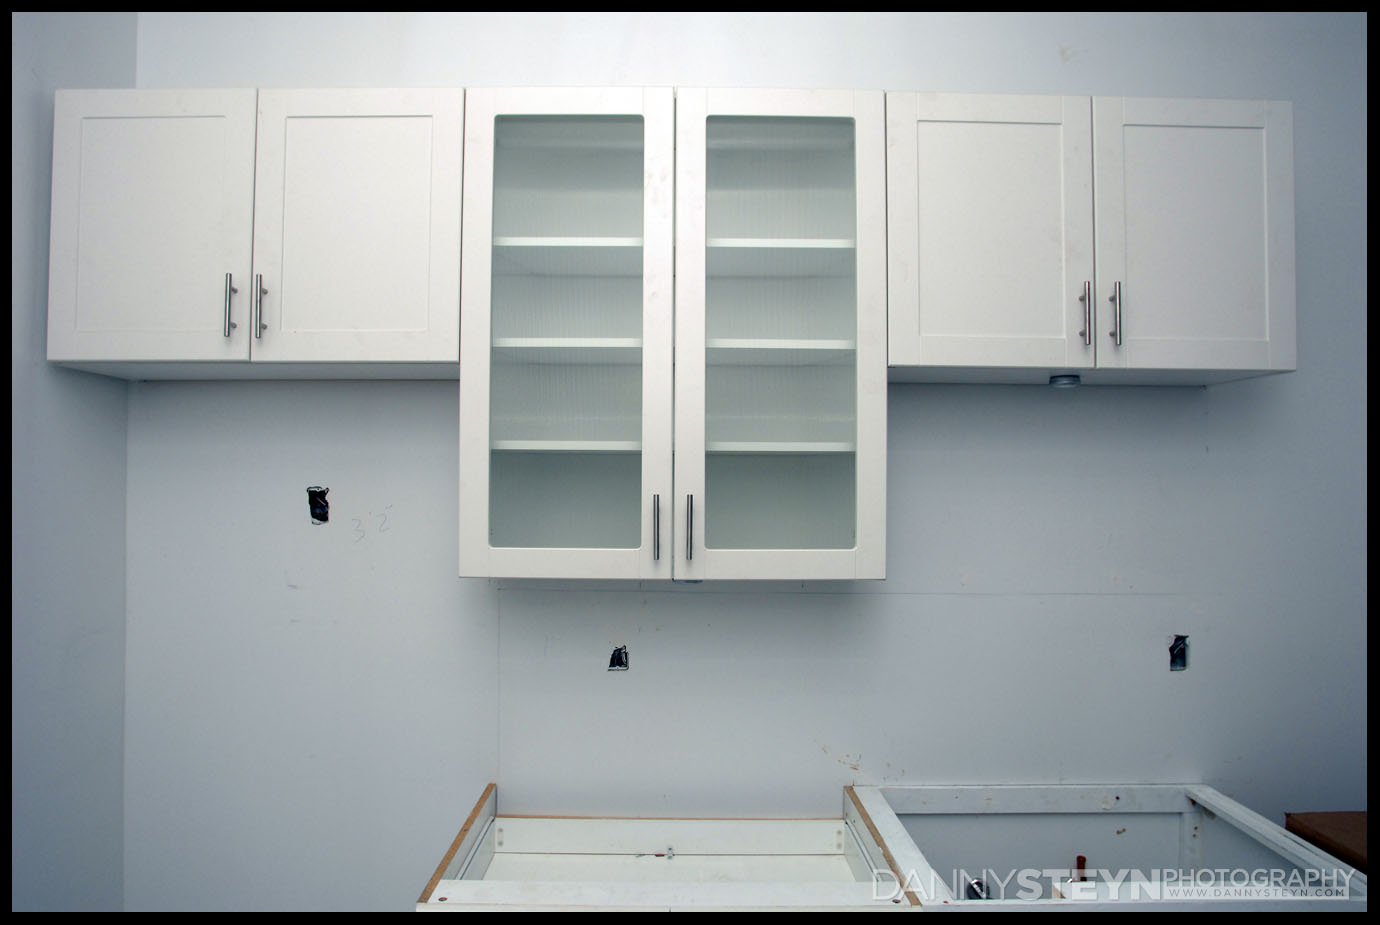
Kitchen – Adept Studios / Danny Steyn Photography Studio – 2006 – 2013
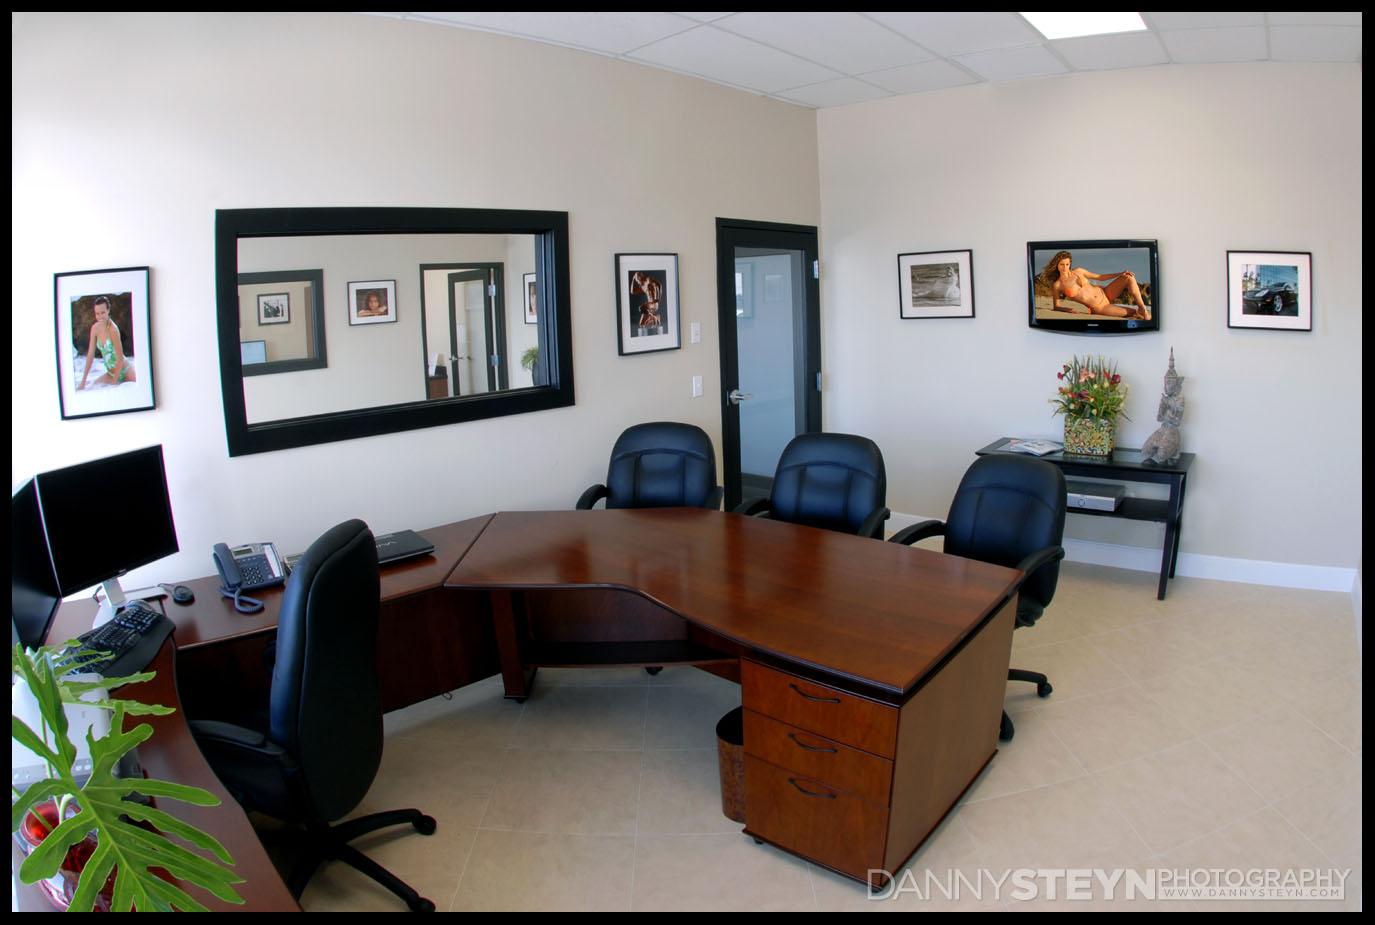
Danny’s office – Adept Studios / Danny Steyn Photography Studio – 2006 – 2013
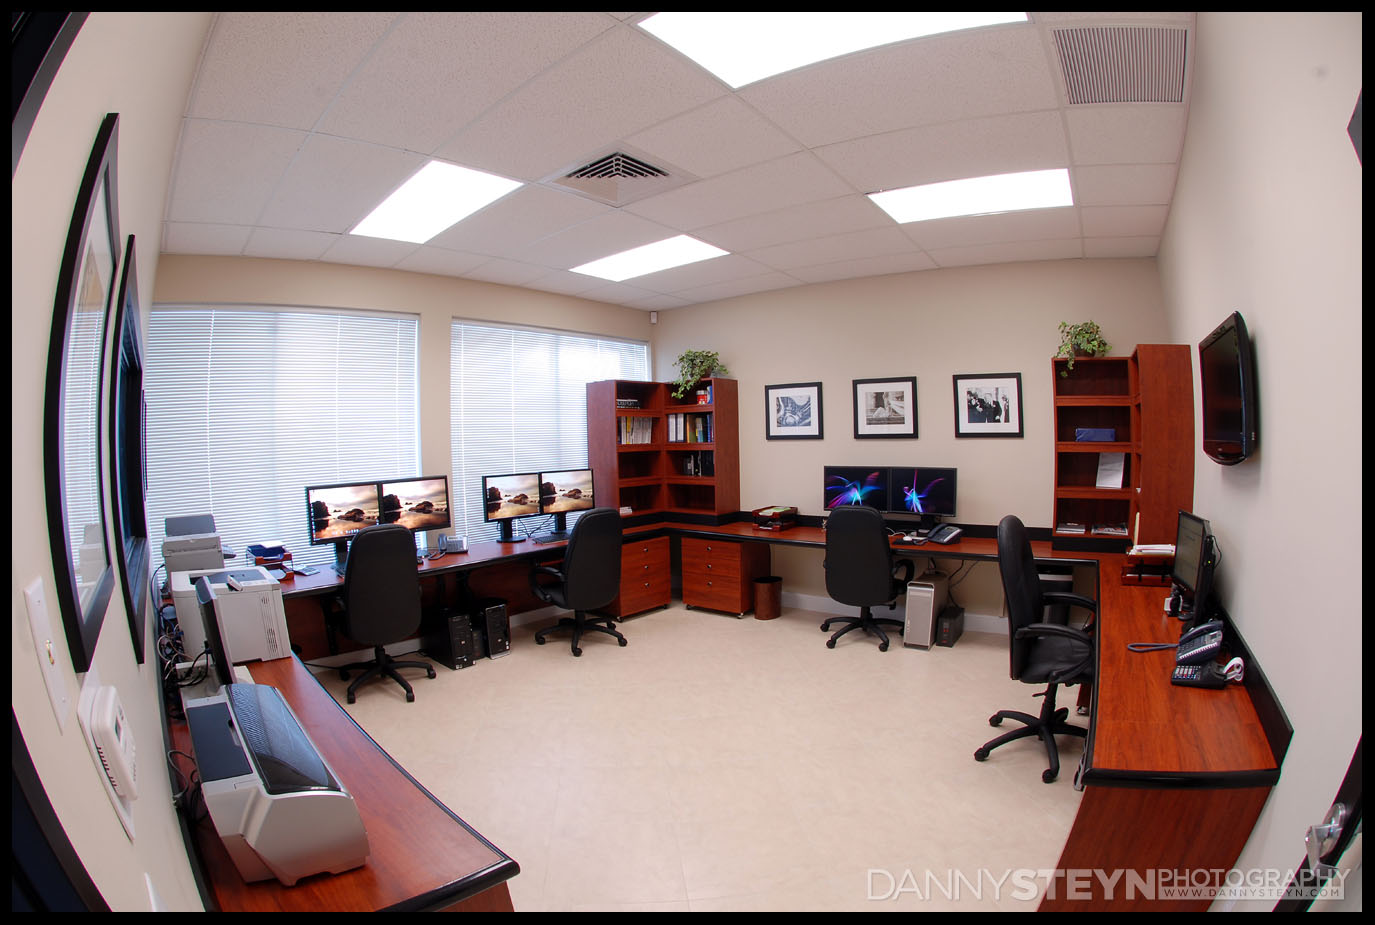
Editing suite – Adept Studios / Danny Steyn Photography Studio – 2006 – 2013
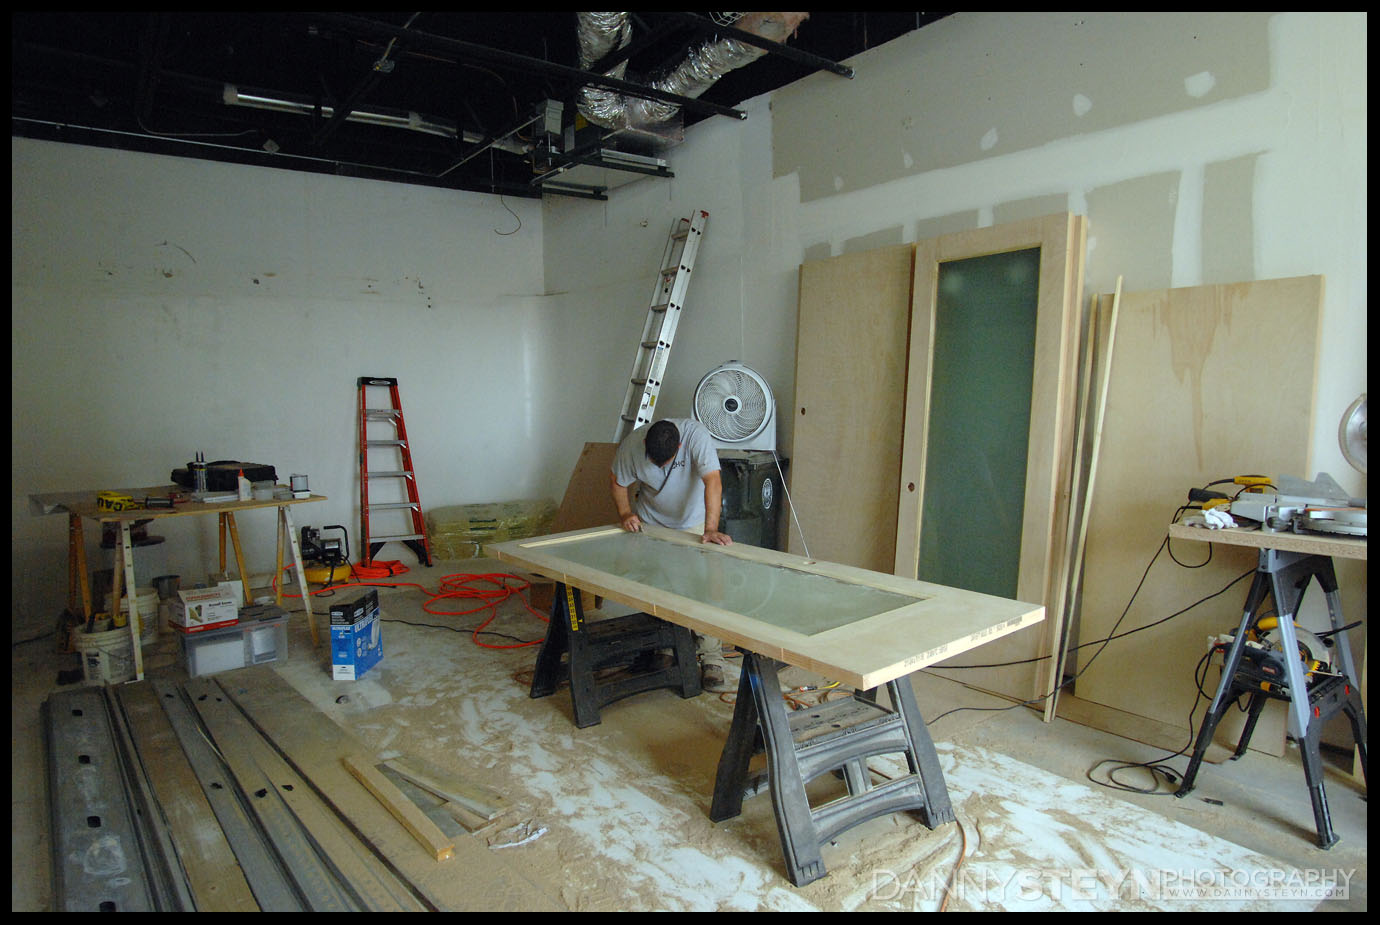
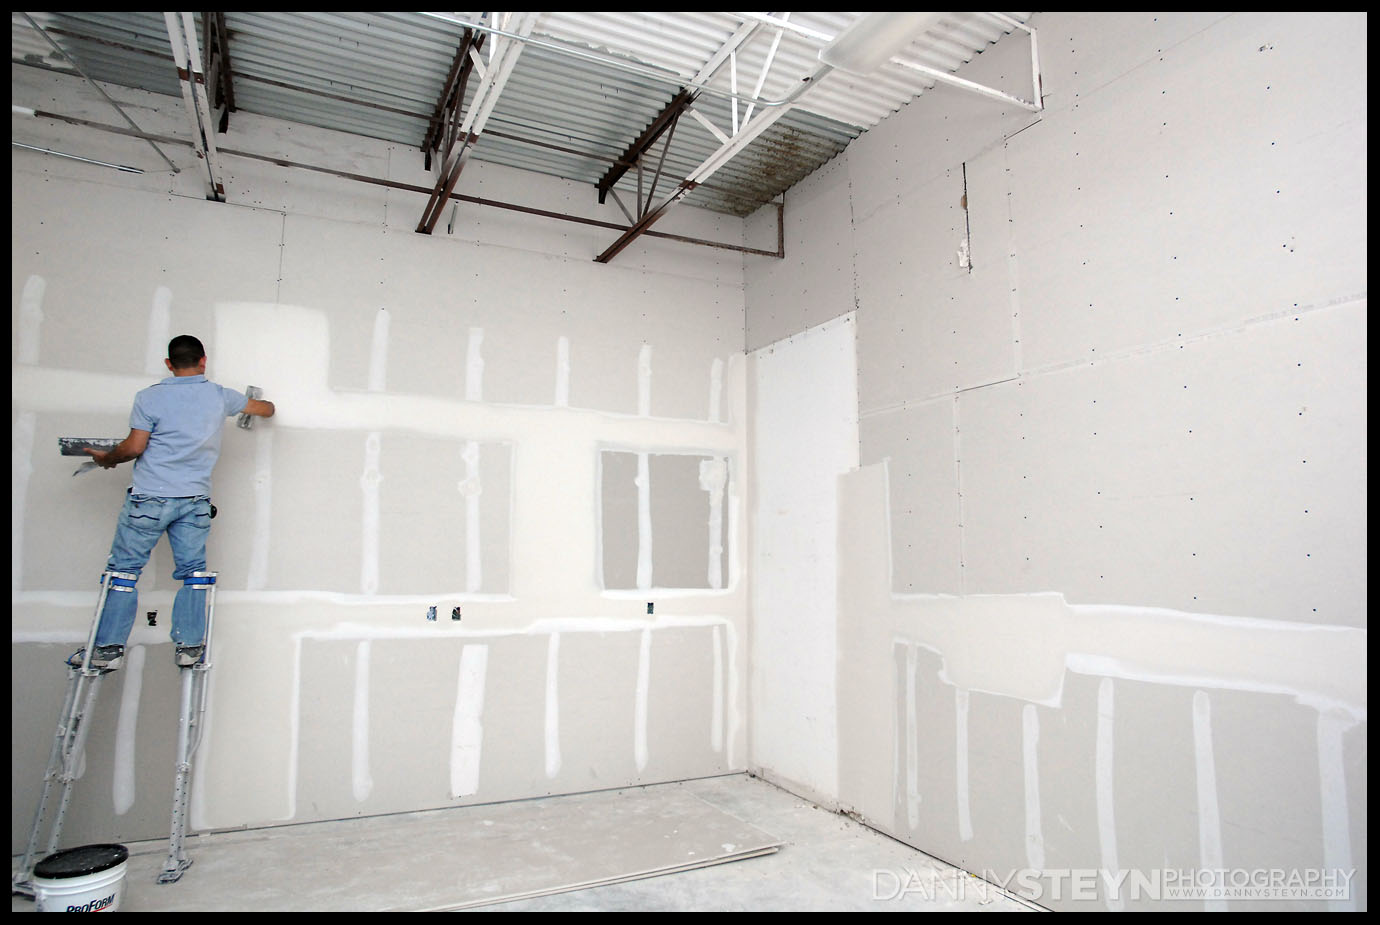
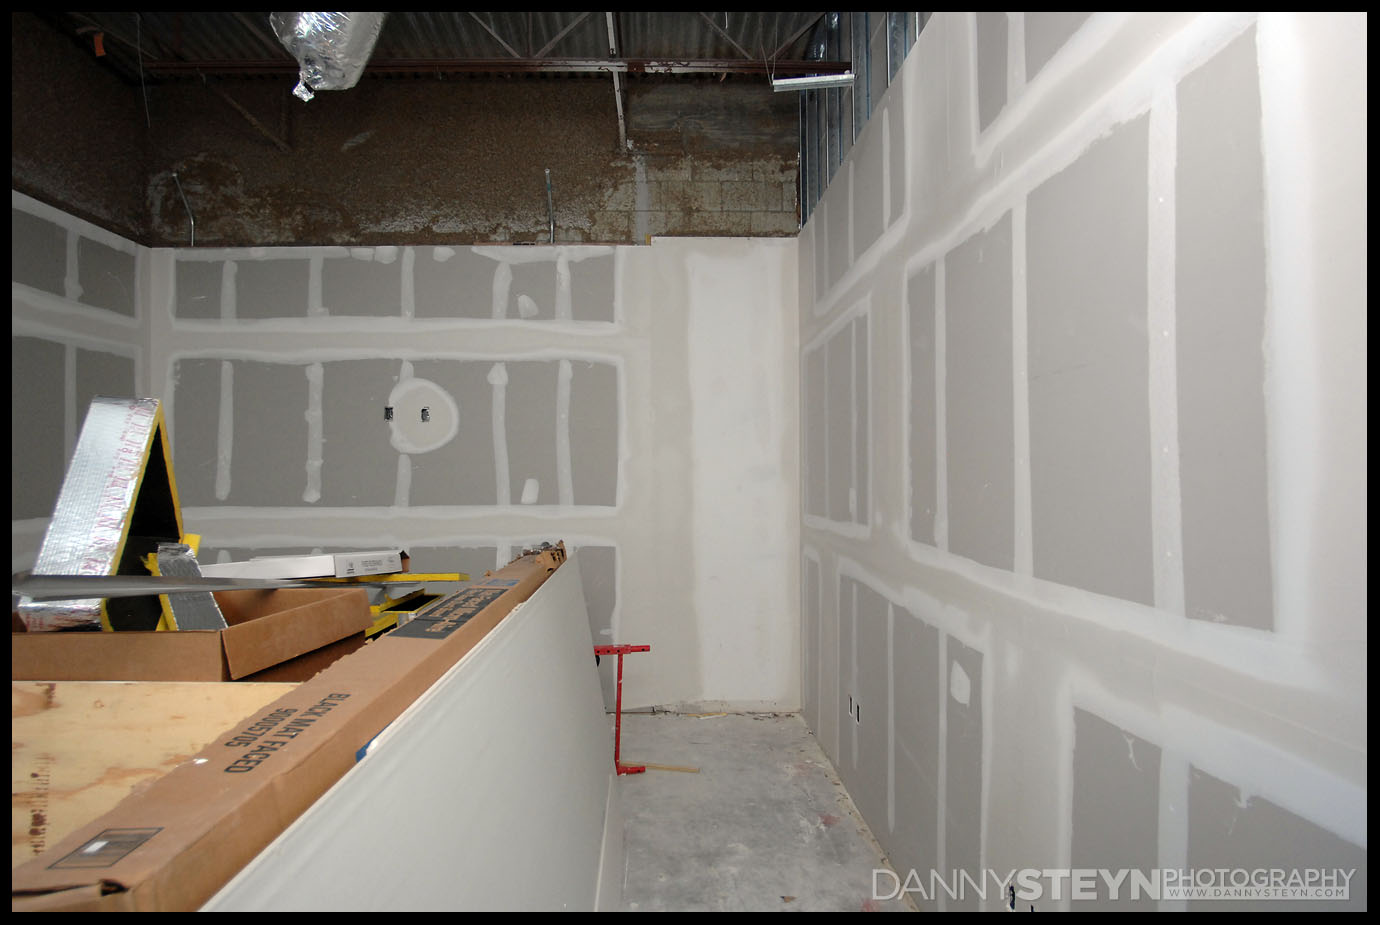
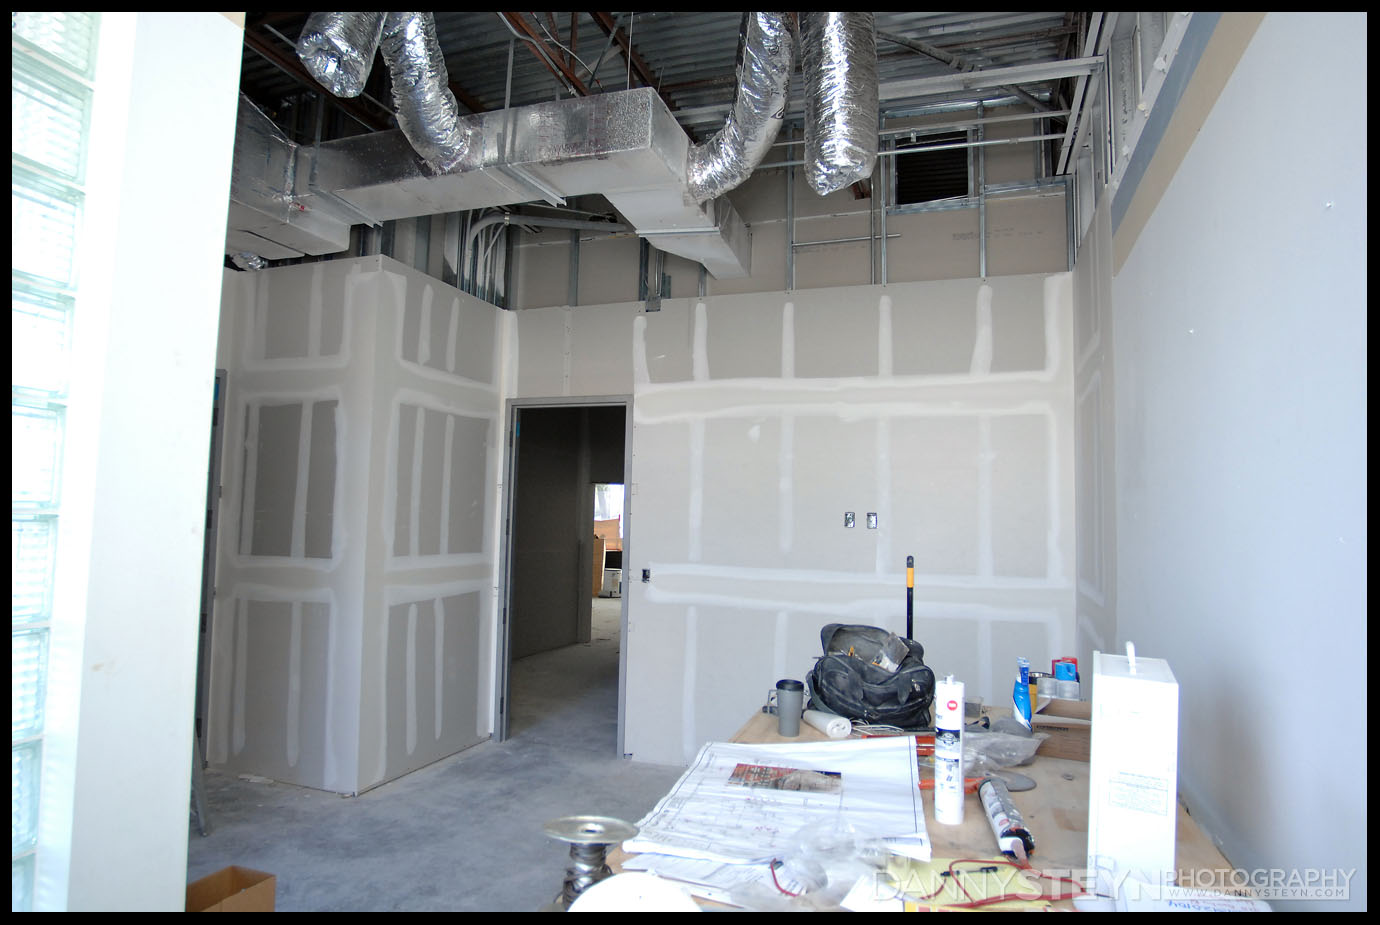
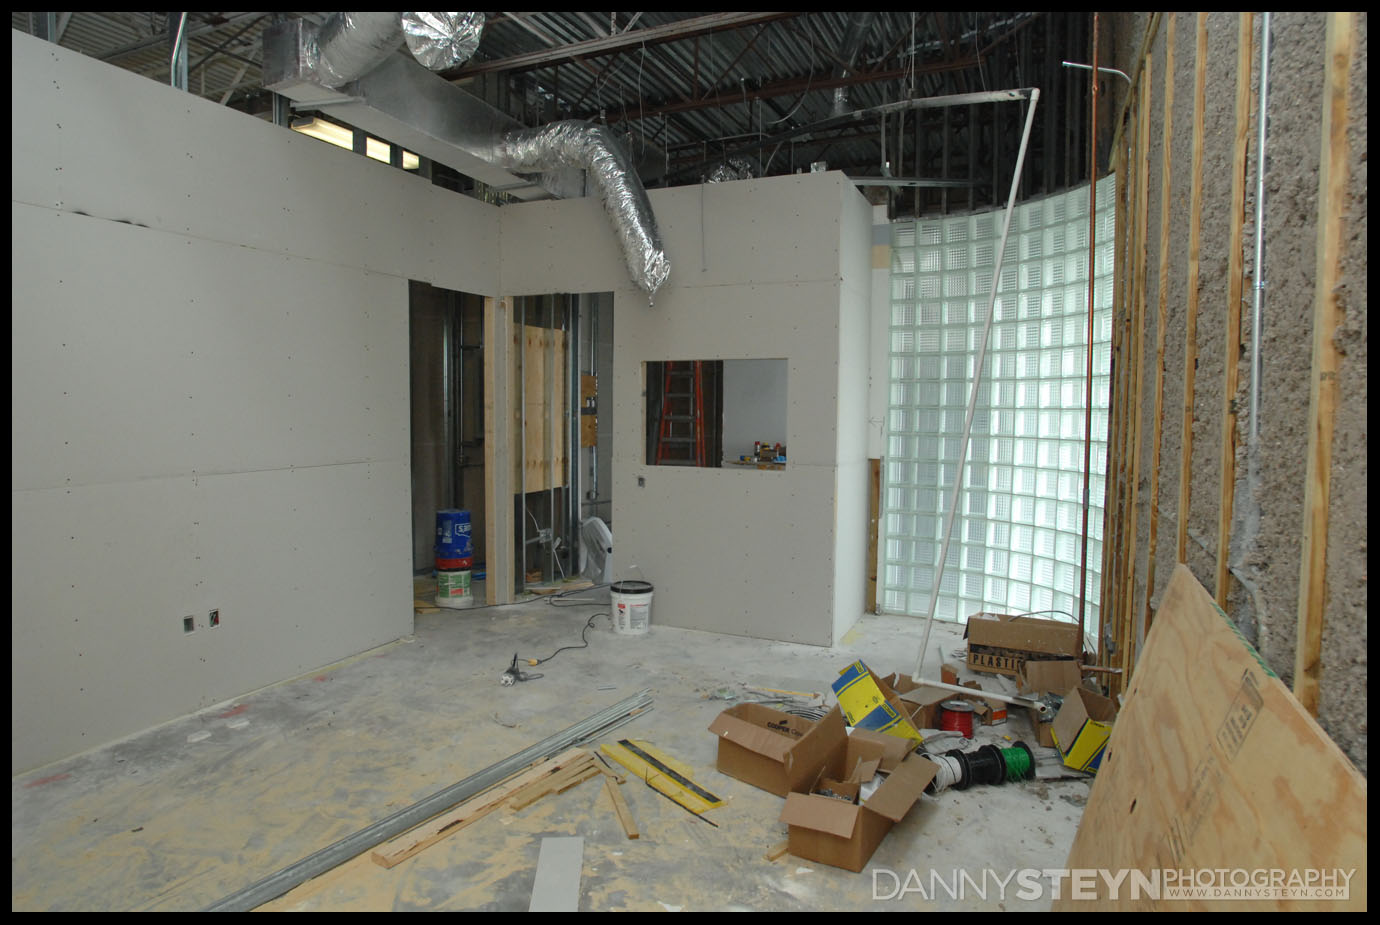
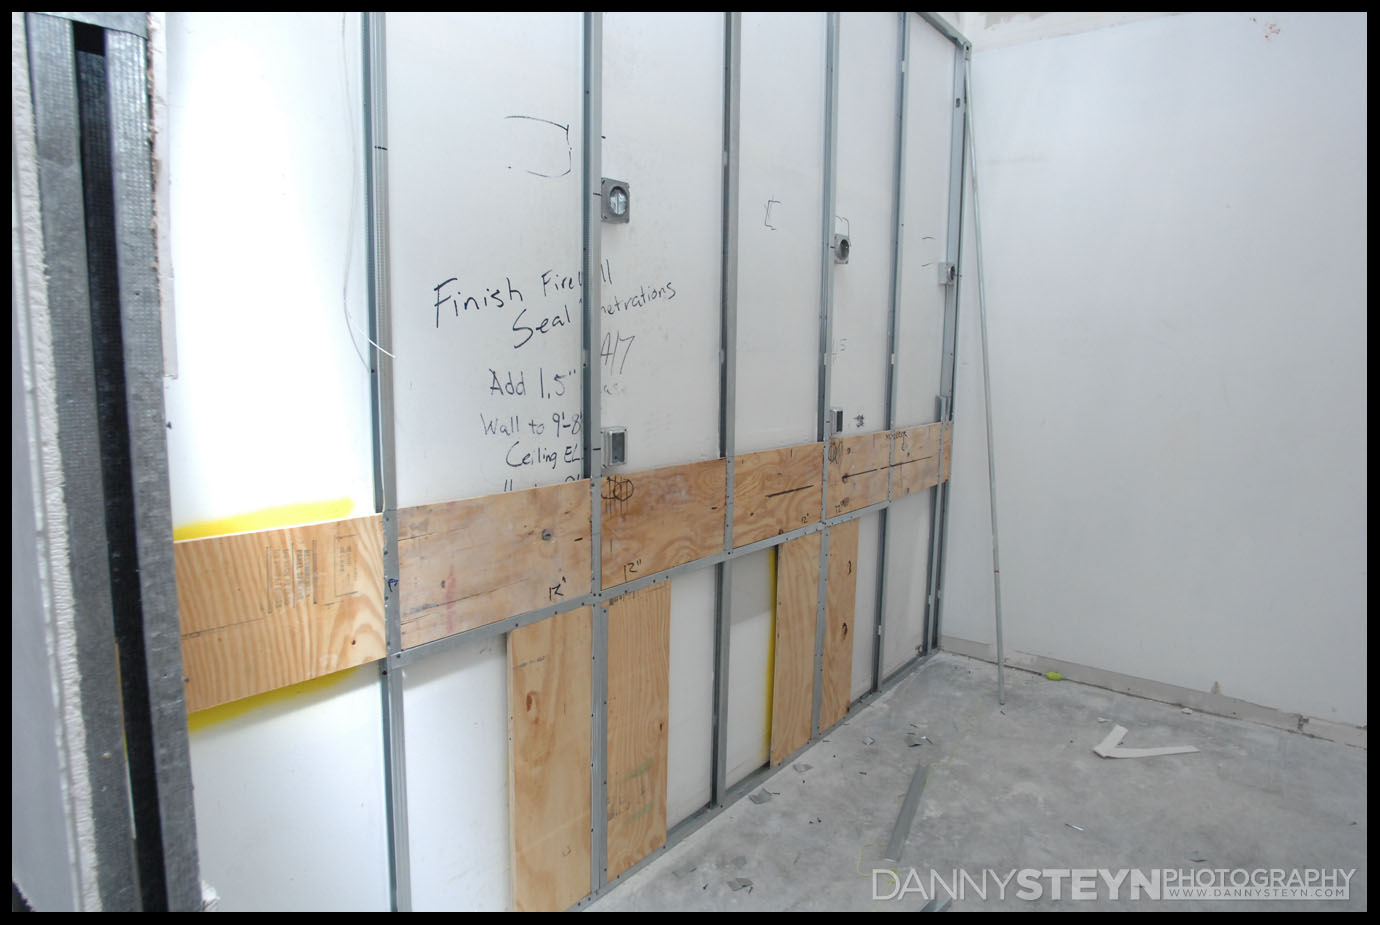
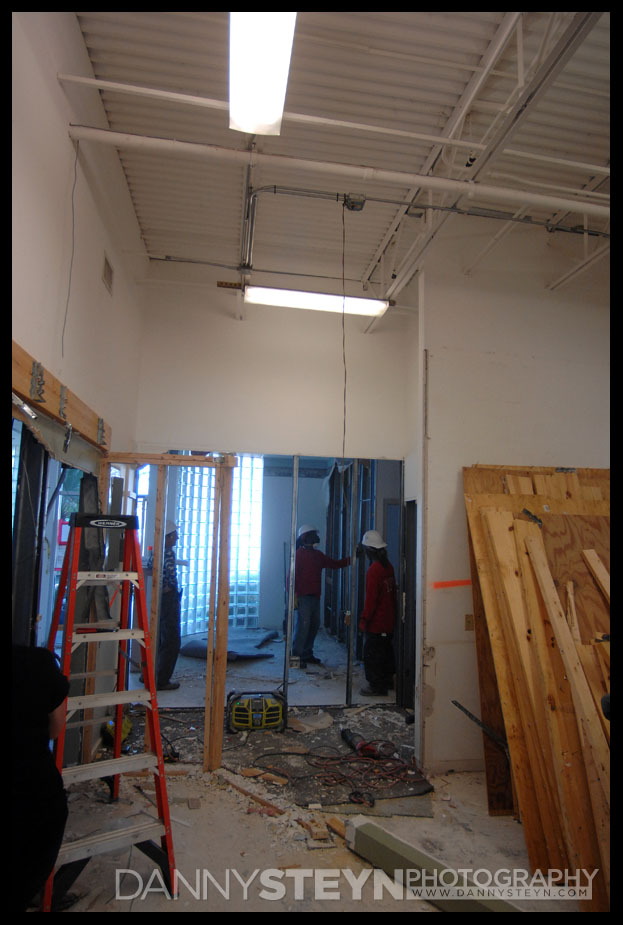
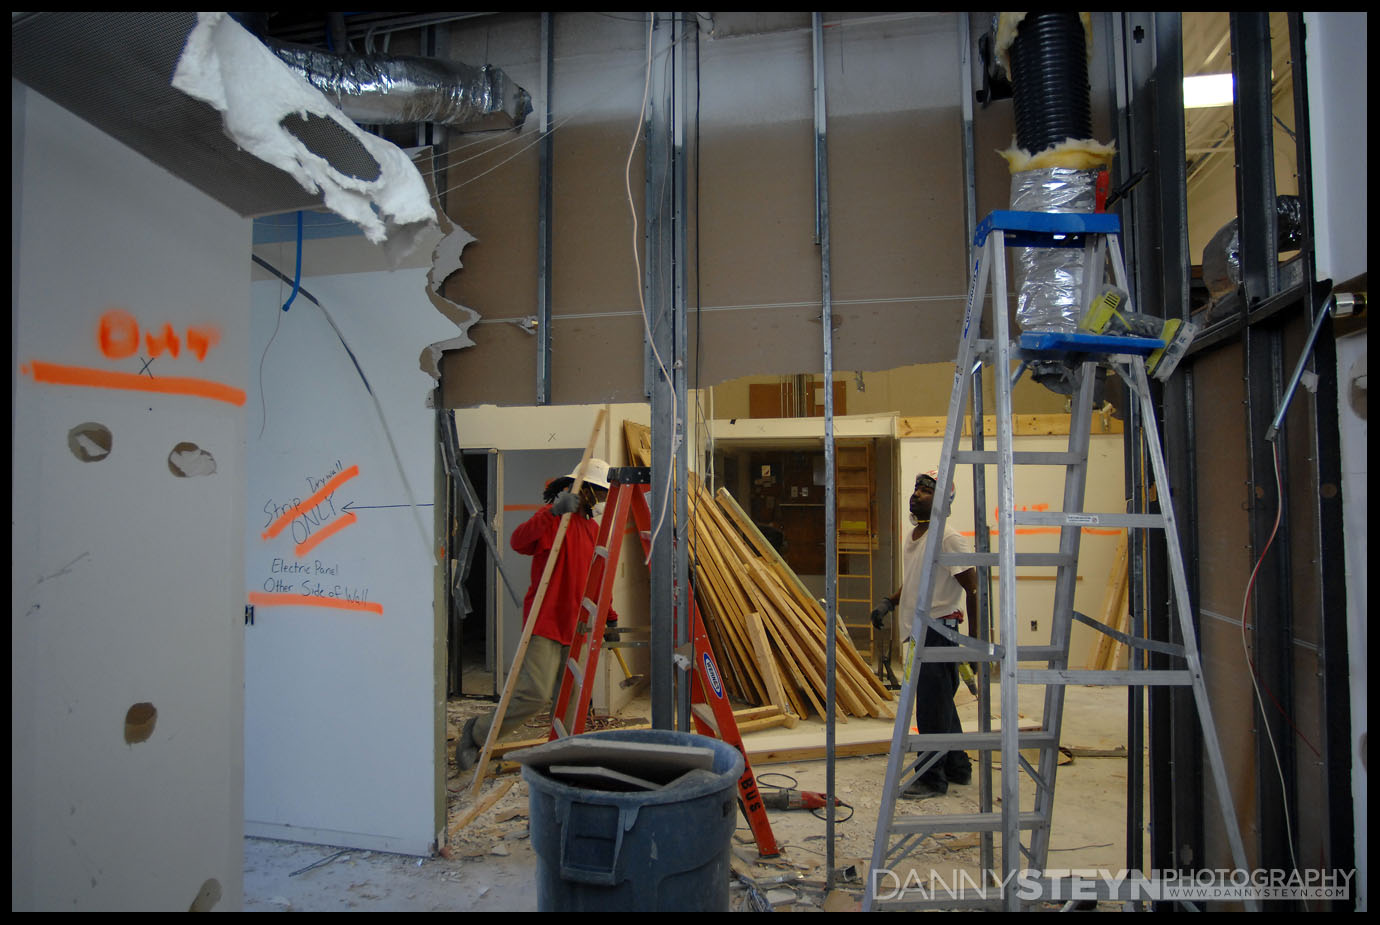
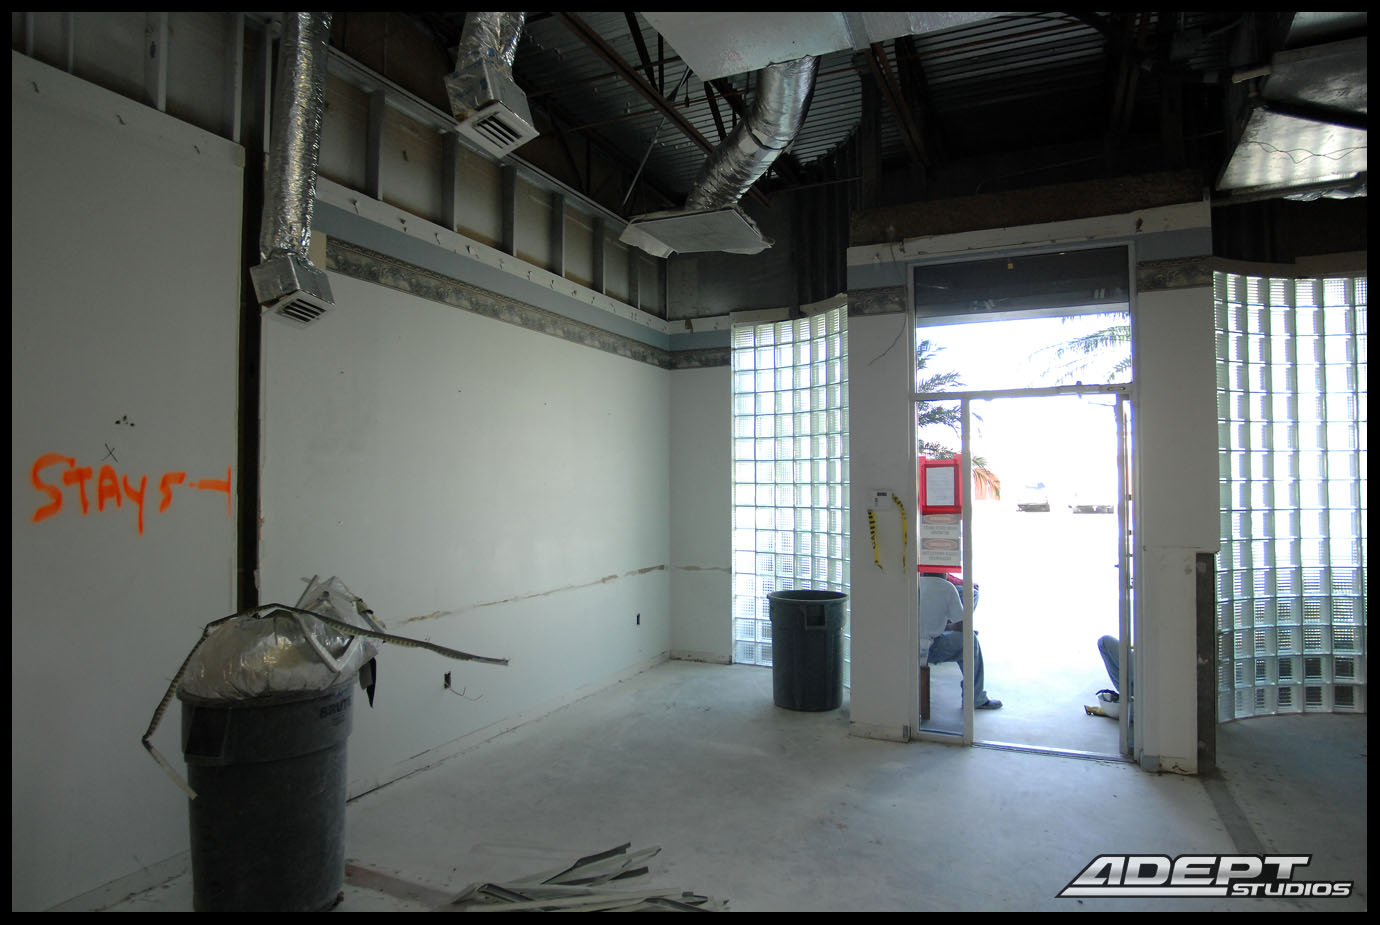
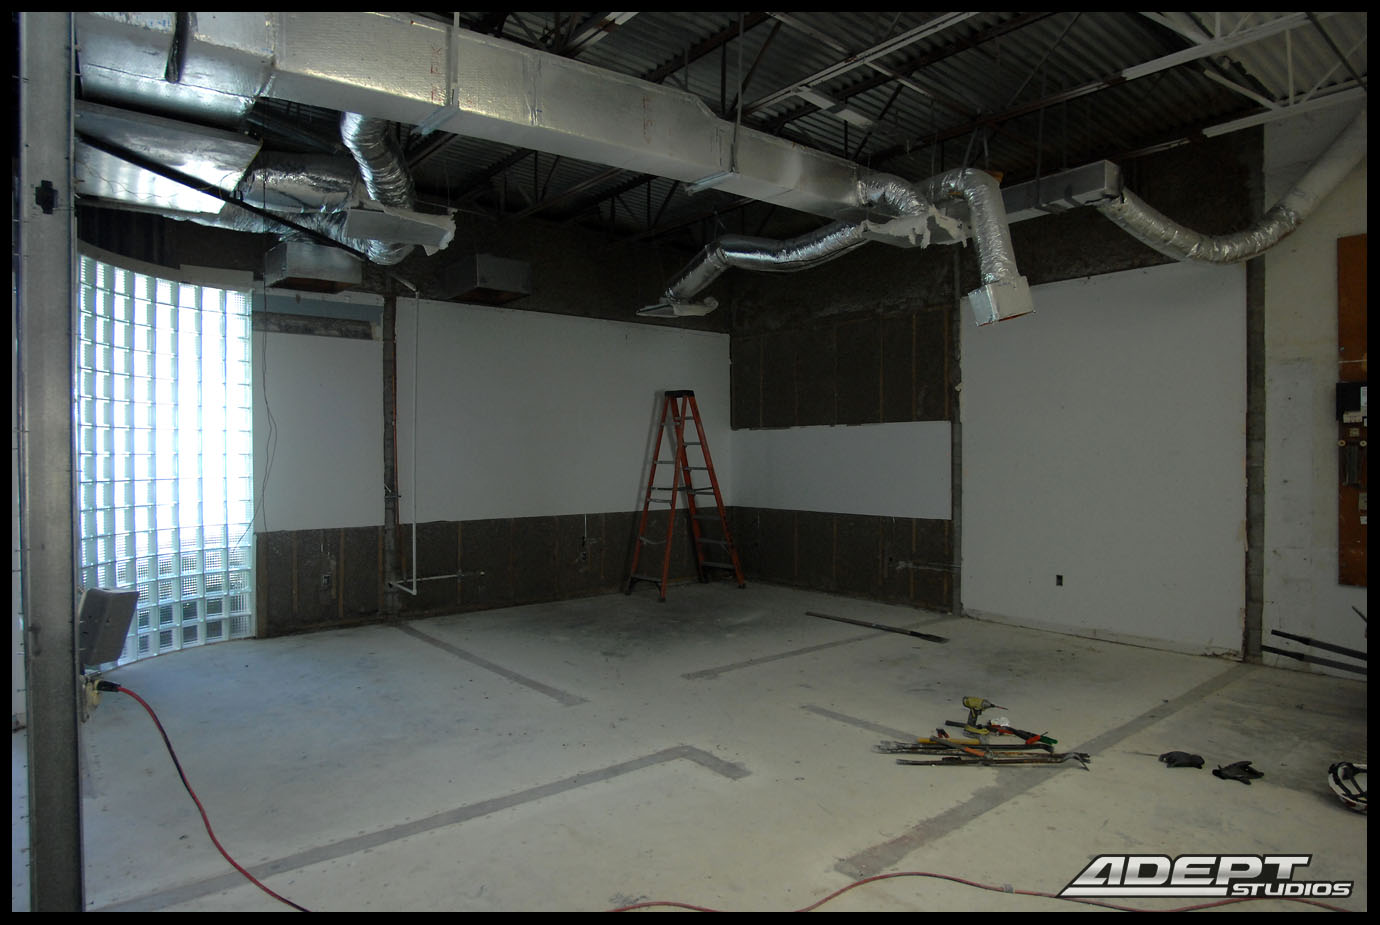
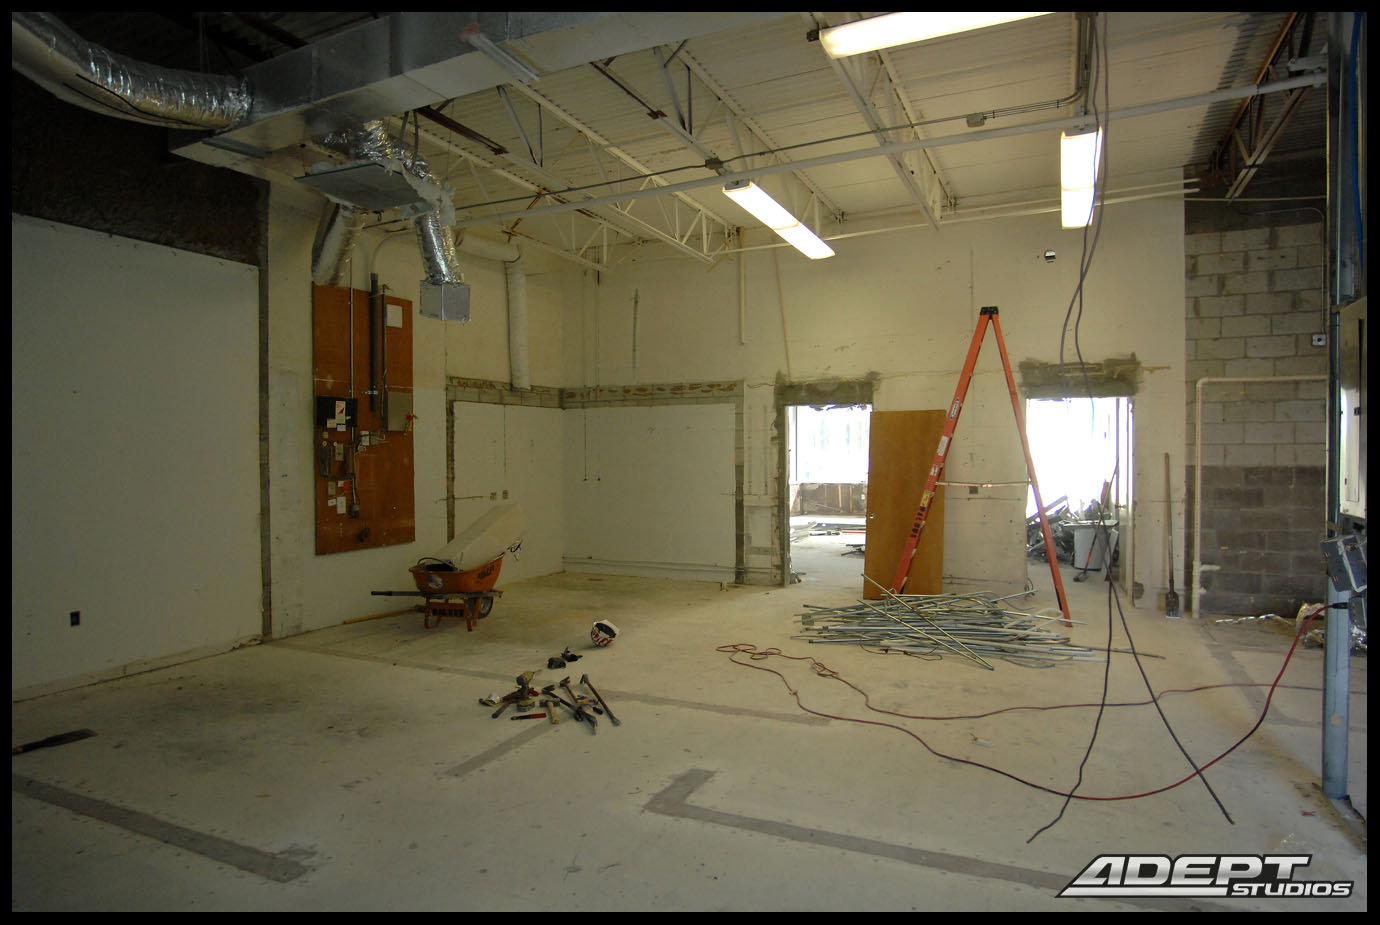
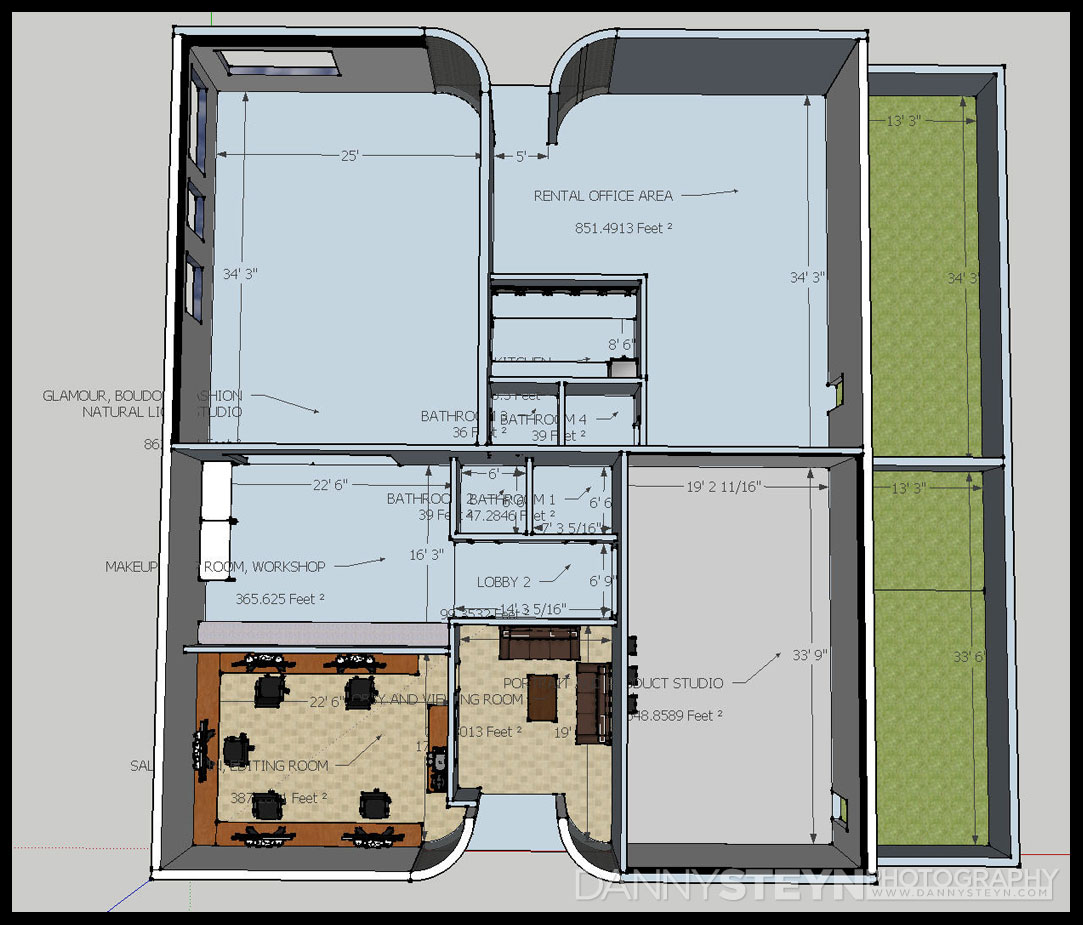
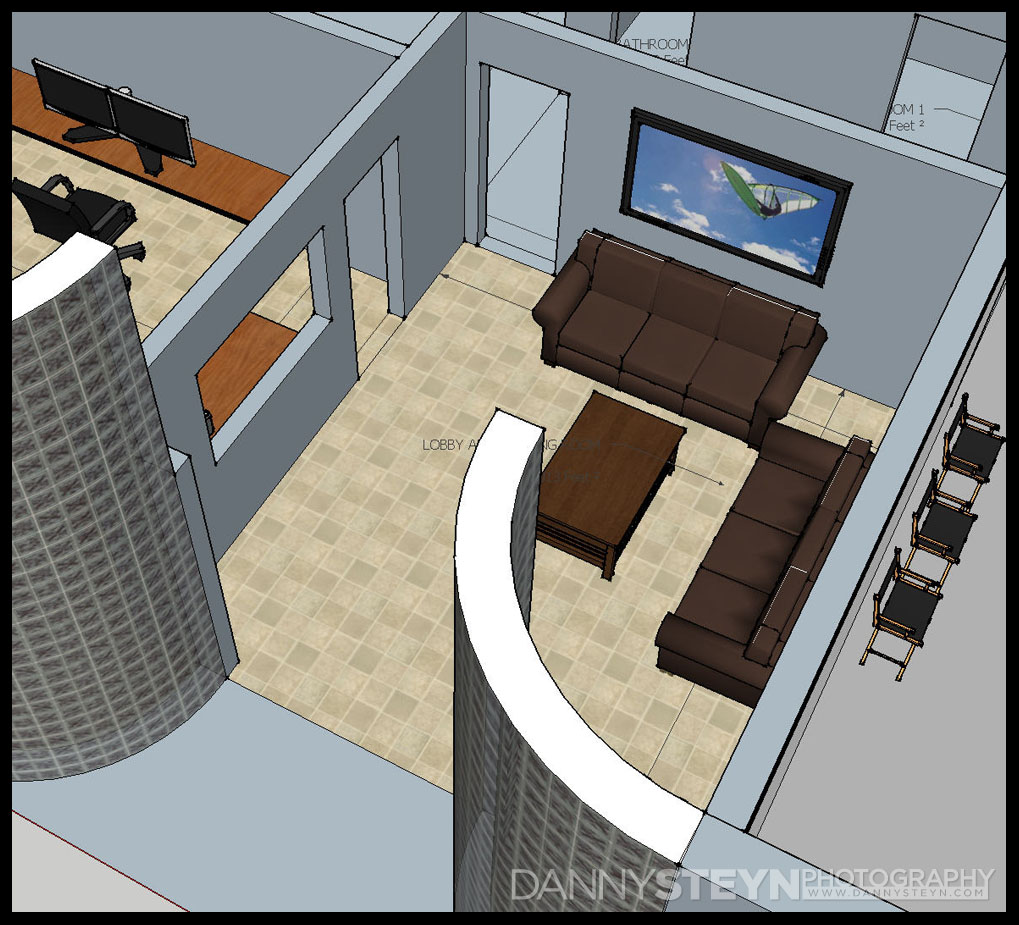
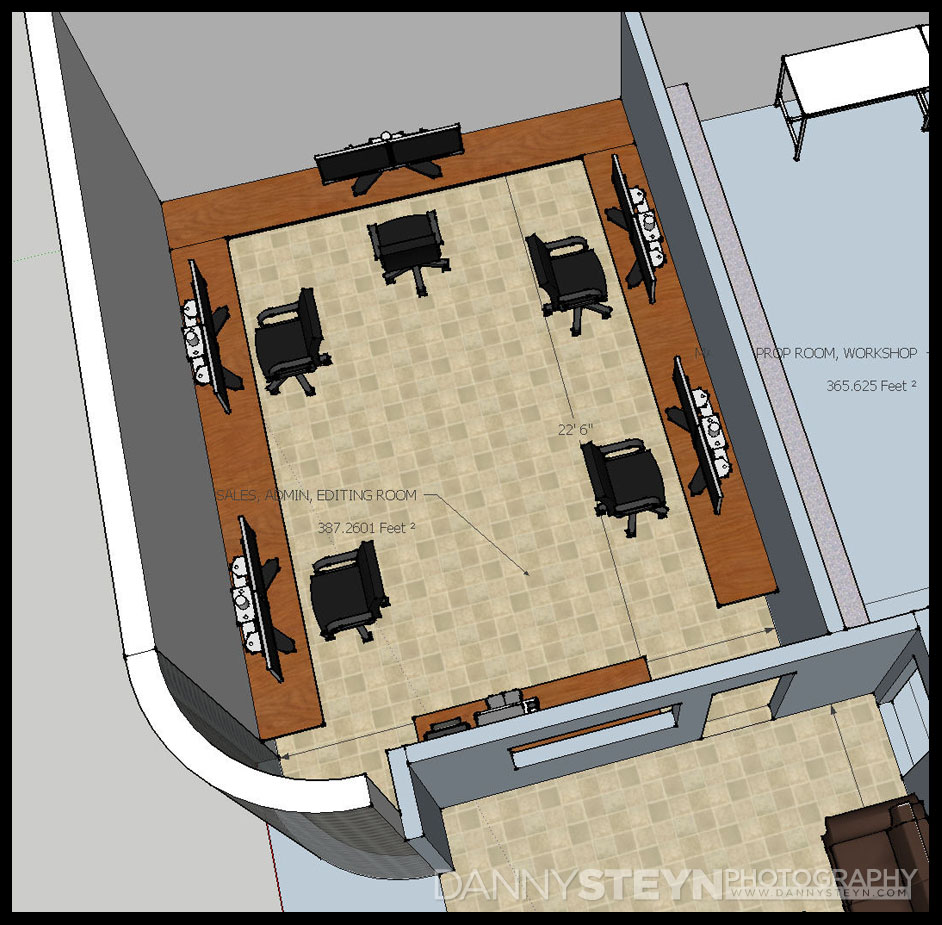
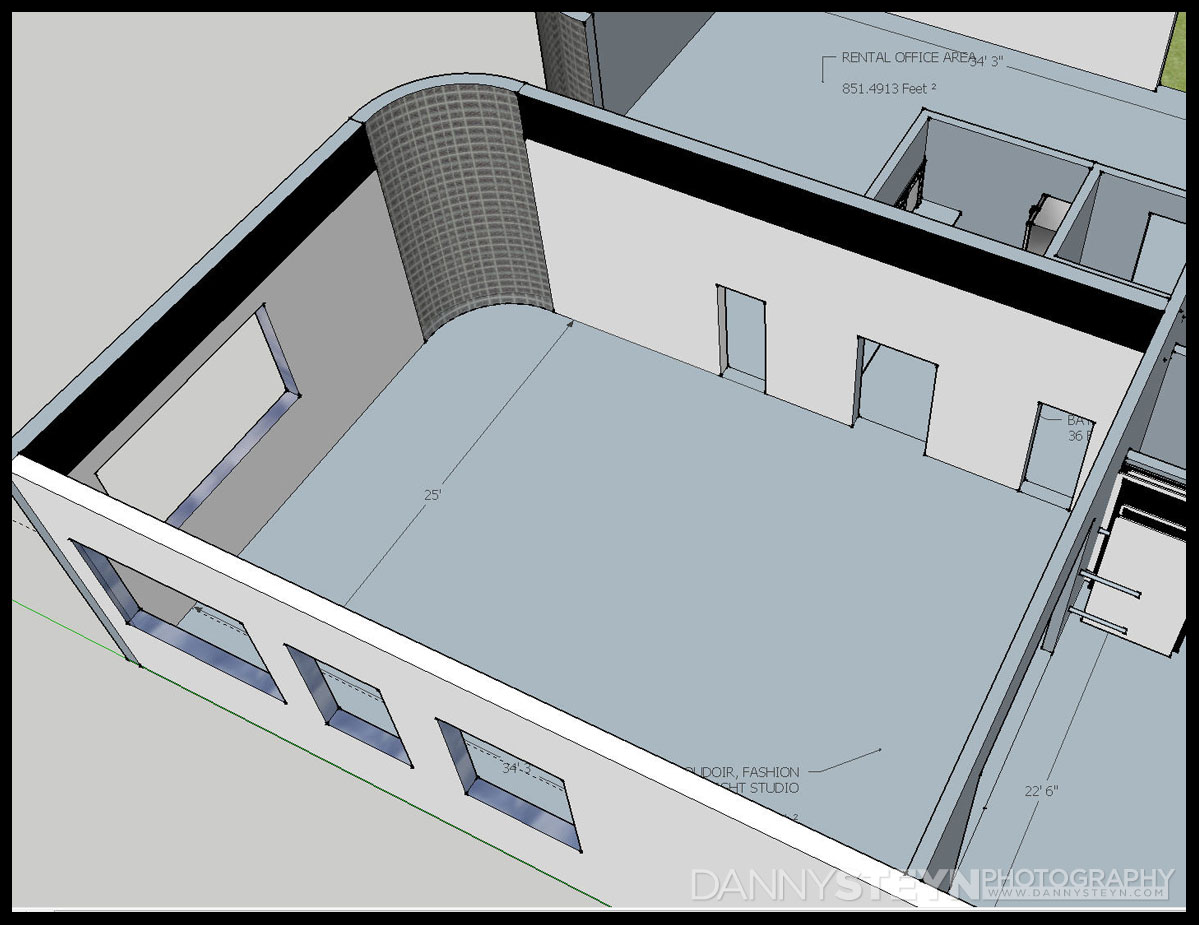
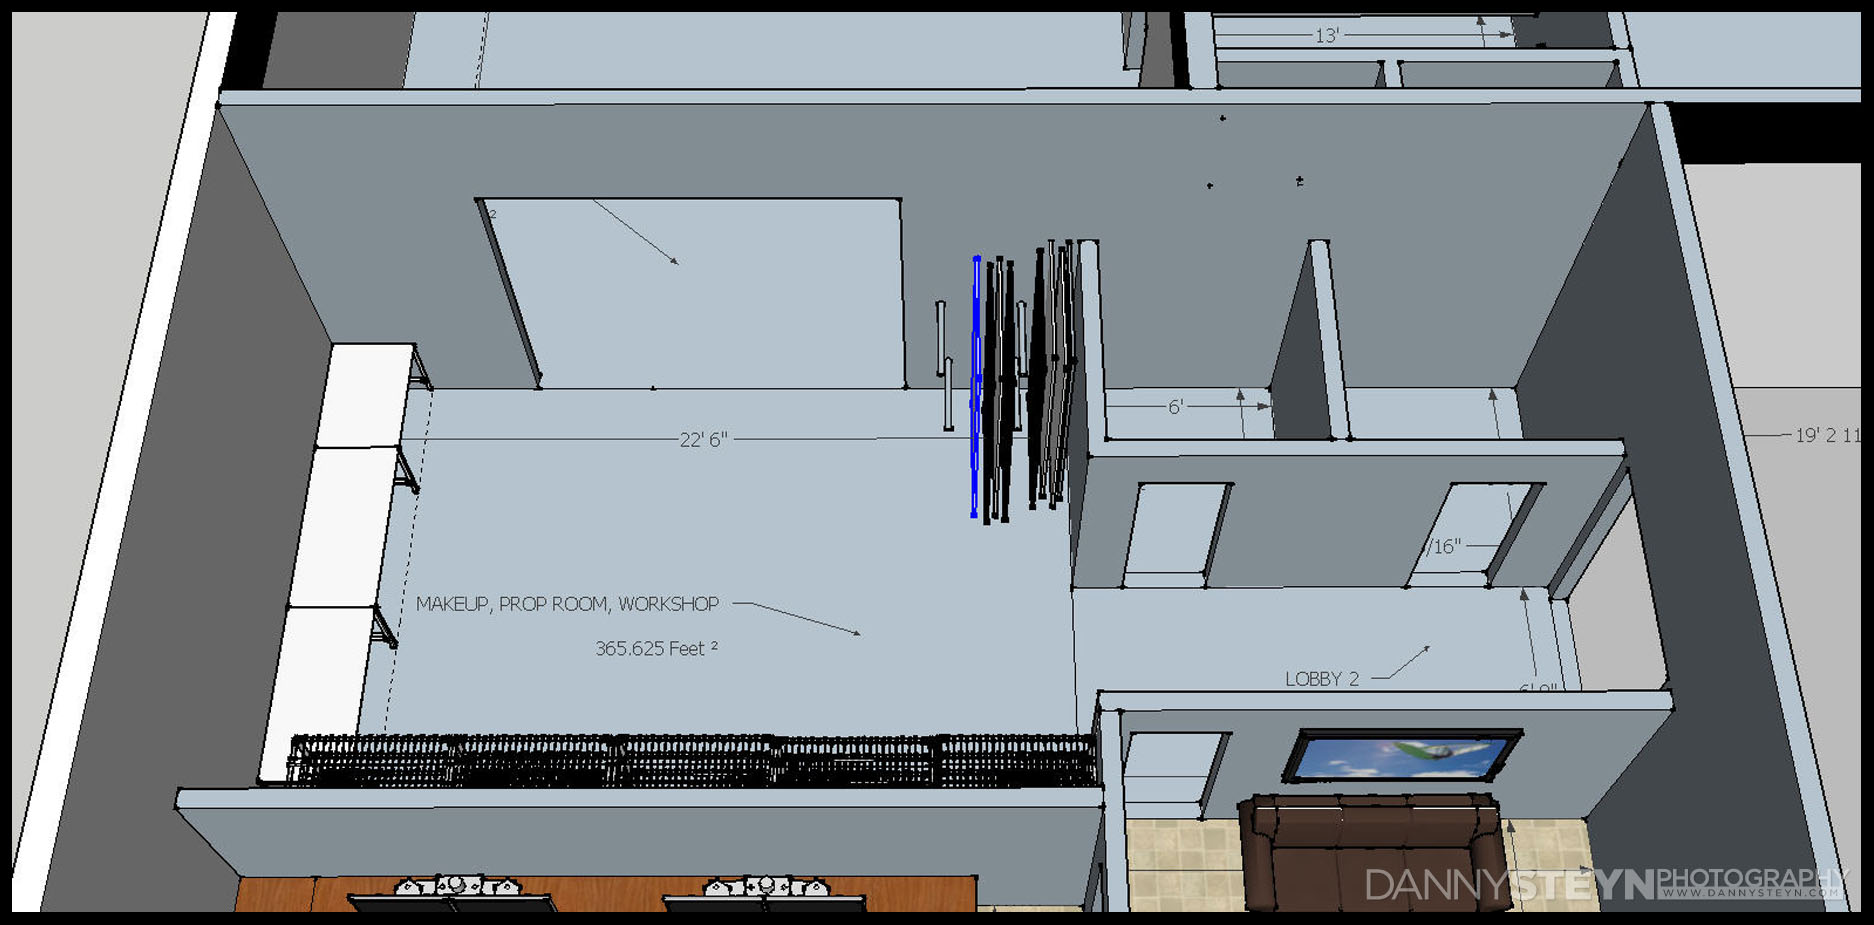
THE NEW BUILDING – THE SOON TO BE NEW STUDIO FOR ADEPT STUDIOS / DANNY STEYN PHOTOGRAPHY
Time moves on, and that out-of-control property market went on a plummeting downward spiral as it crashed from 2007 to 2011 when it finally bottomed out. In retrospect I am really happy we didn’t buy at the peak of the bubble! This year, Fort Lauderdale showed the first real sustained month-on-month increase in the residential property prices. And from my experience, commercial property typically lags the residential market by about 18-24 months. So it was time to buy.
For the past two years we have been wearing out our real estate agents searching for a suitable space, and one day I drove past the bastion of Fort Lauderdale high school senior’s photography studio, University Studios, and discovered that it was for sale. Apparently Jerry, the owner, had taken ill and was looking to sell.
My wife and I decided to take a look and we immediately fell in love with the bones of the building. It met all our criteria. Strong and secure, stand alone building, well maintained, good roof, great traffic frontage with 50,000+ vehicles a day, lots of parking, daylight studio, outdoor shooting area, and several other criteria that we were adamant about.
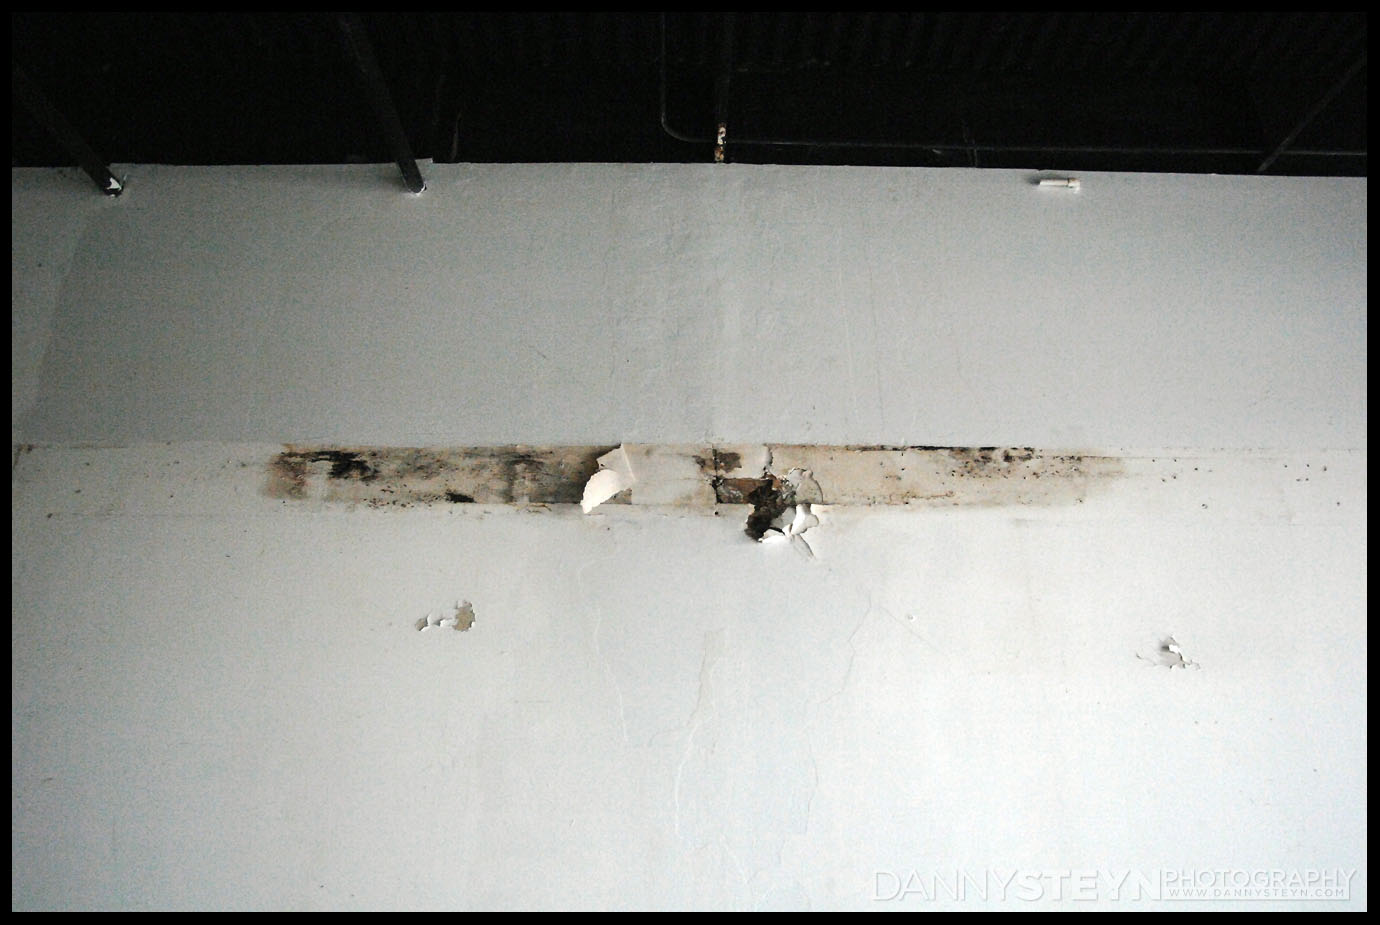
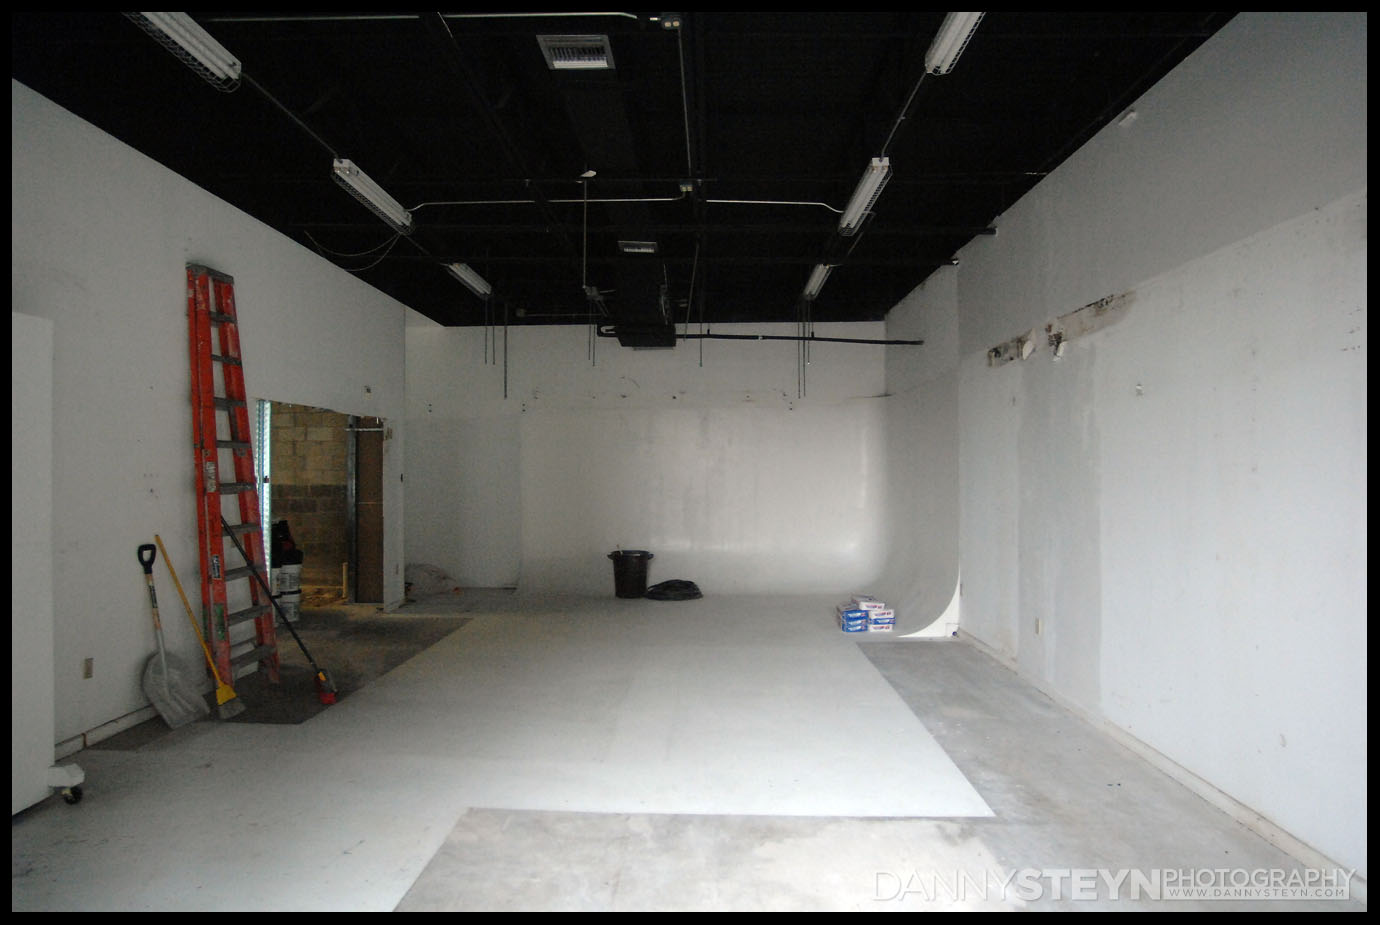
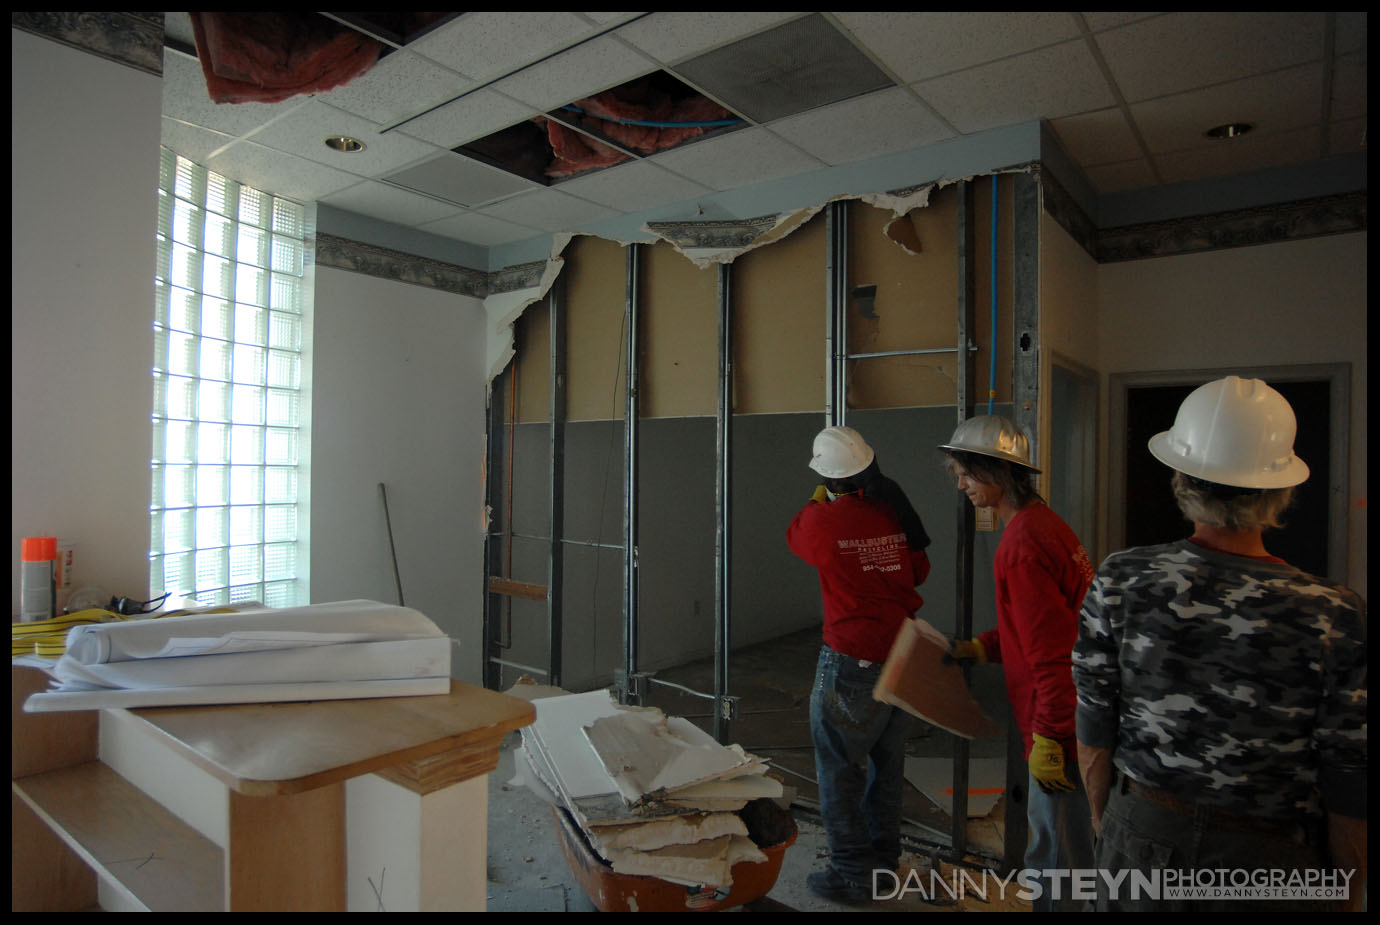
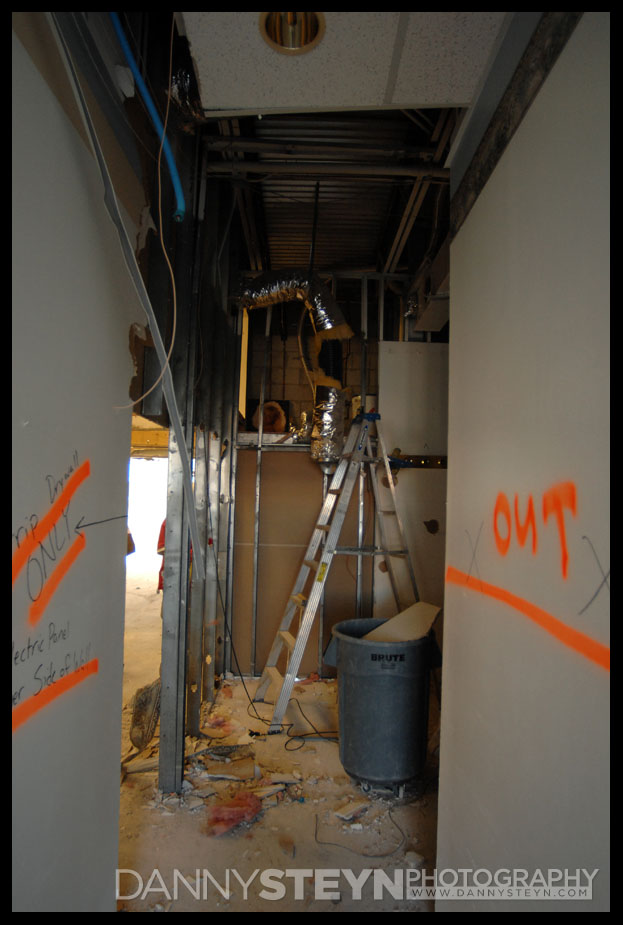
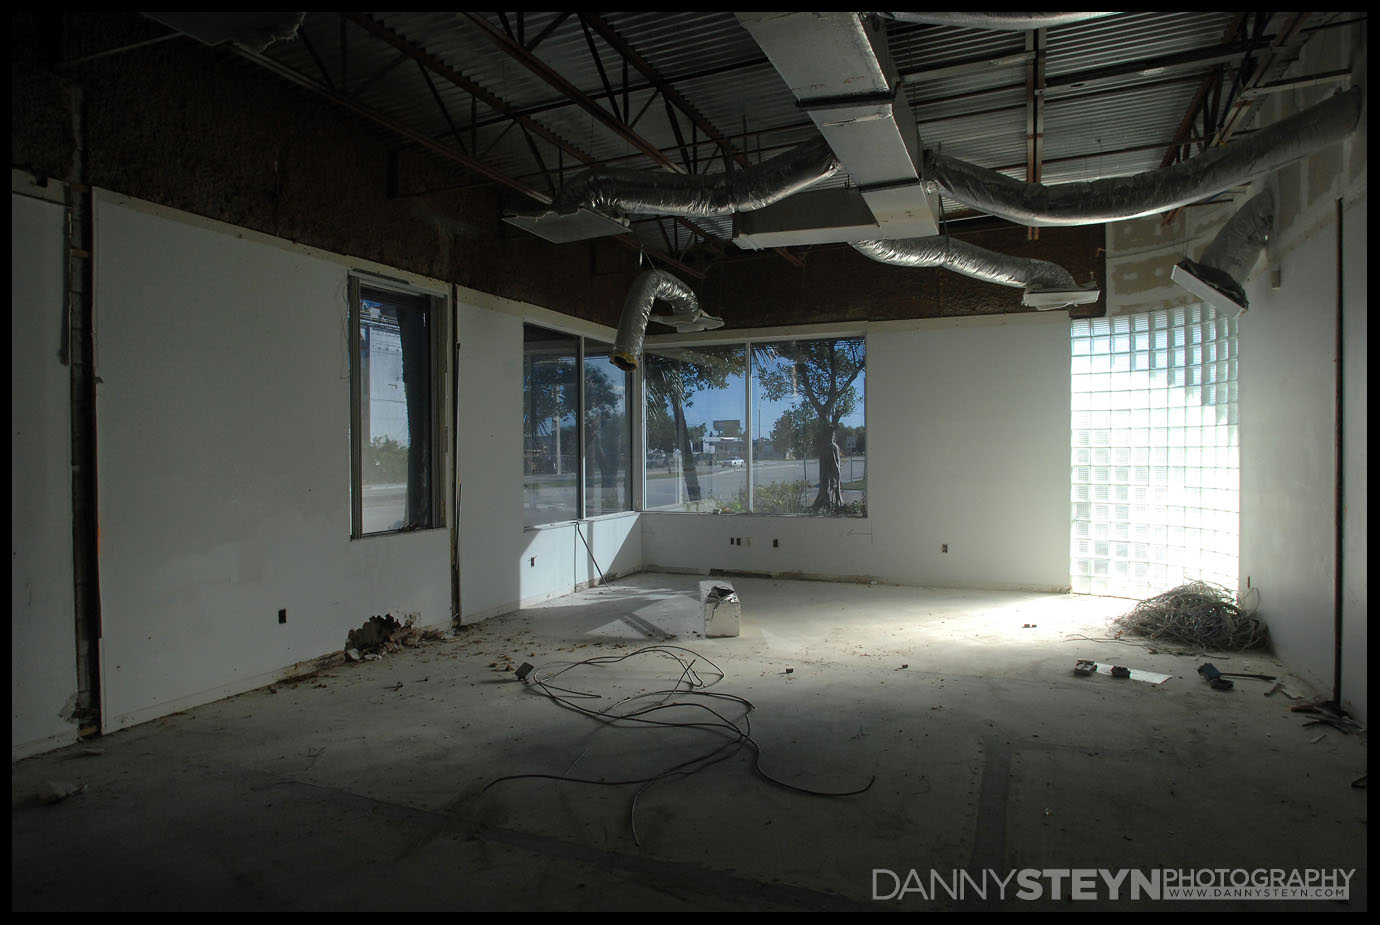
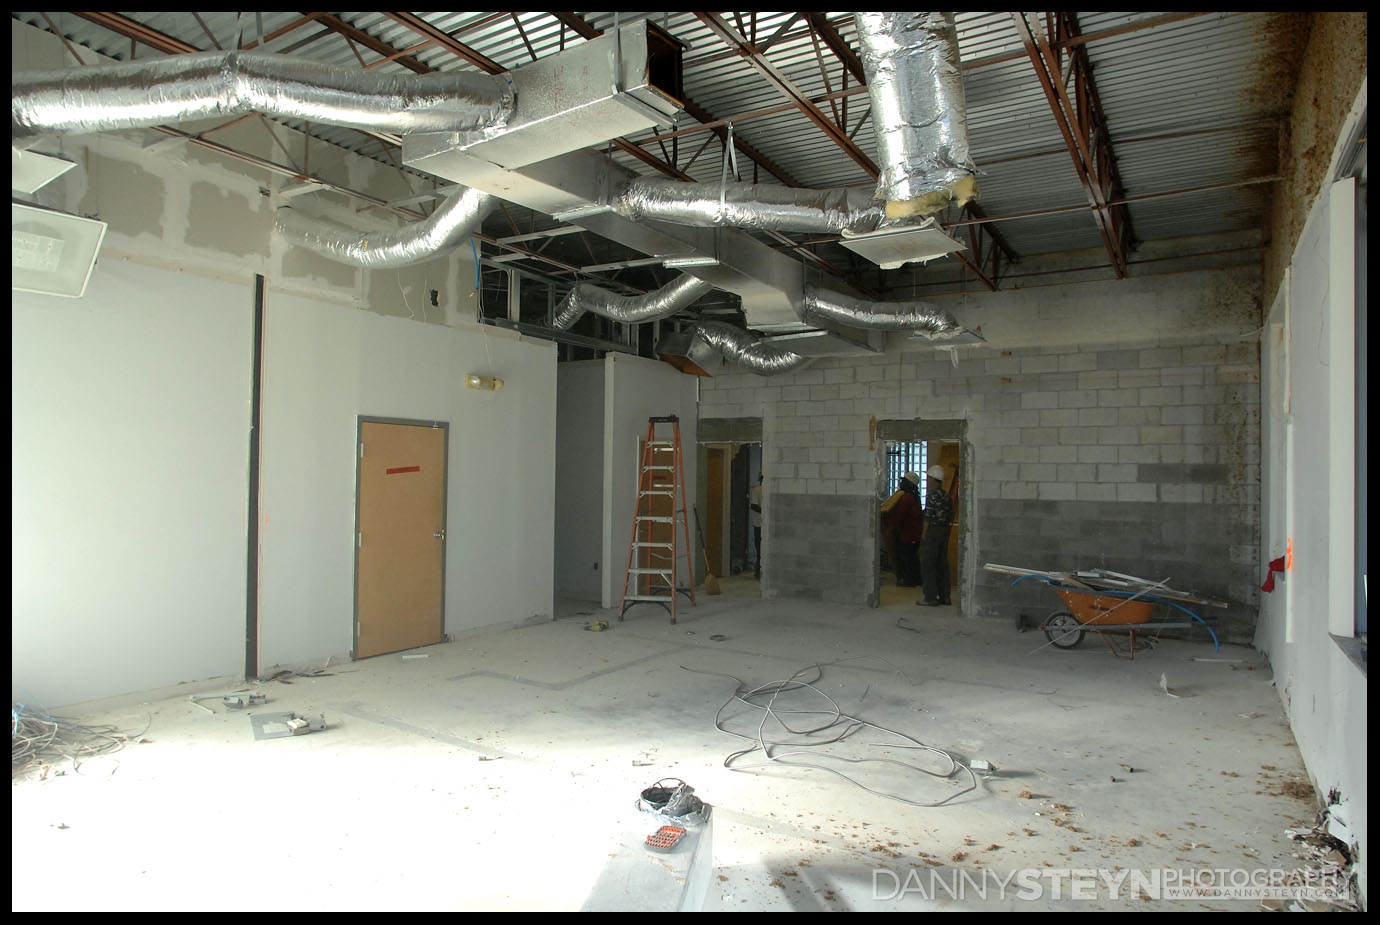
Inside, the guts of the building would have to be completely remodeled as our business clientele is most definitely nothing like the fast turnover seniors photography that Jerry’s studio was set up for. However the cyc wall and several other items were definitely worth keeping and the fact that we could help out another photographer with the purchase made the deal even more appealing.
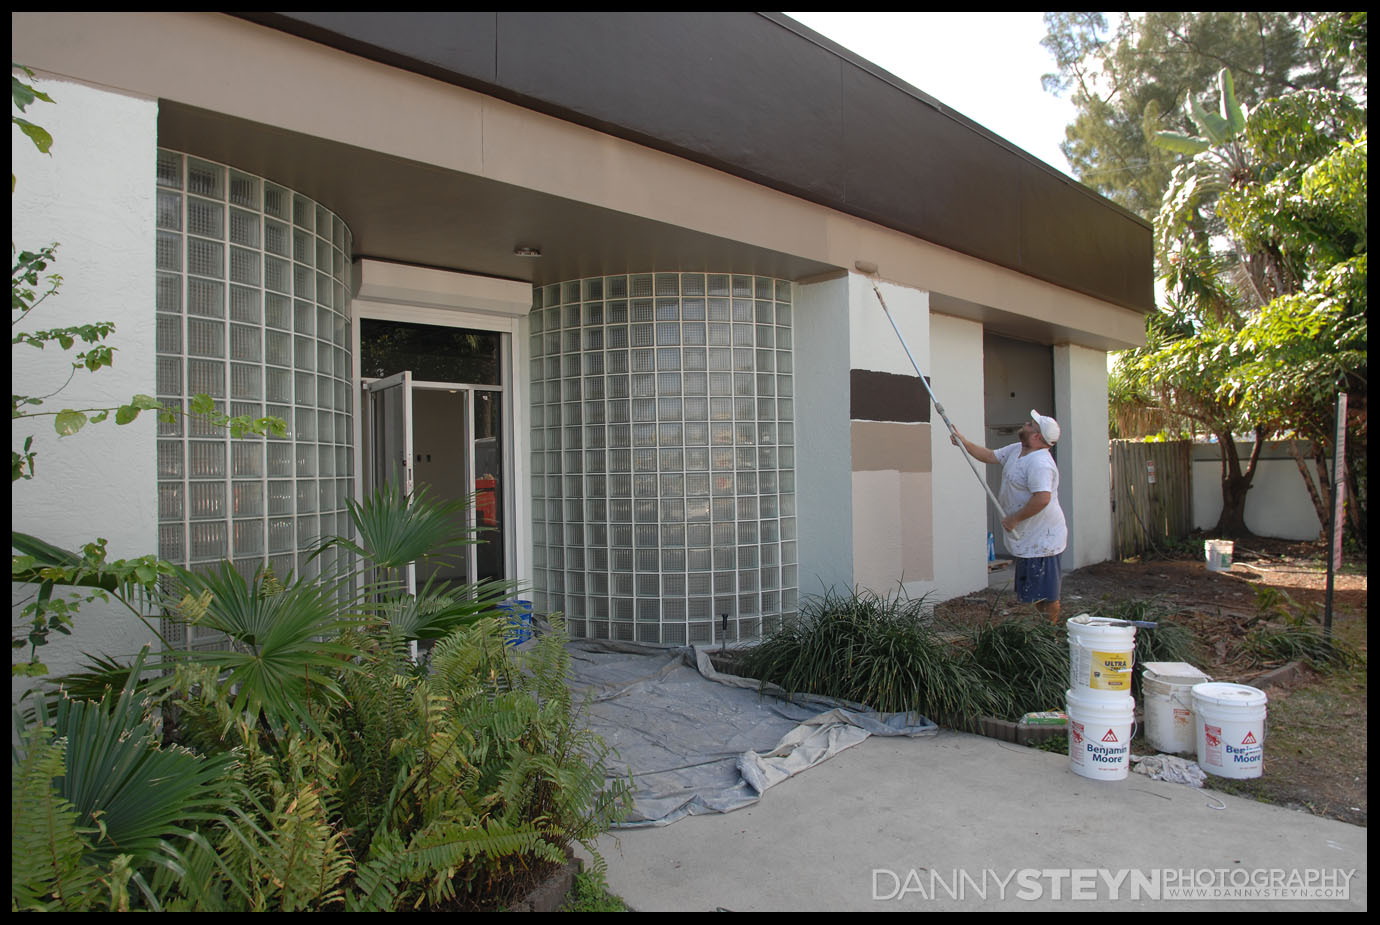
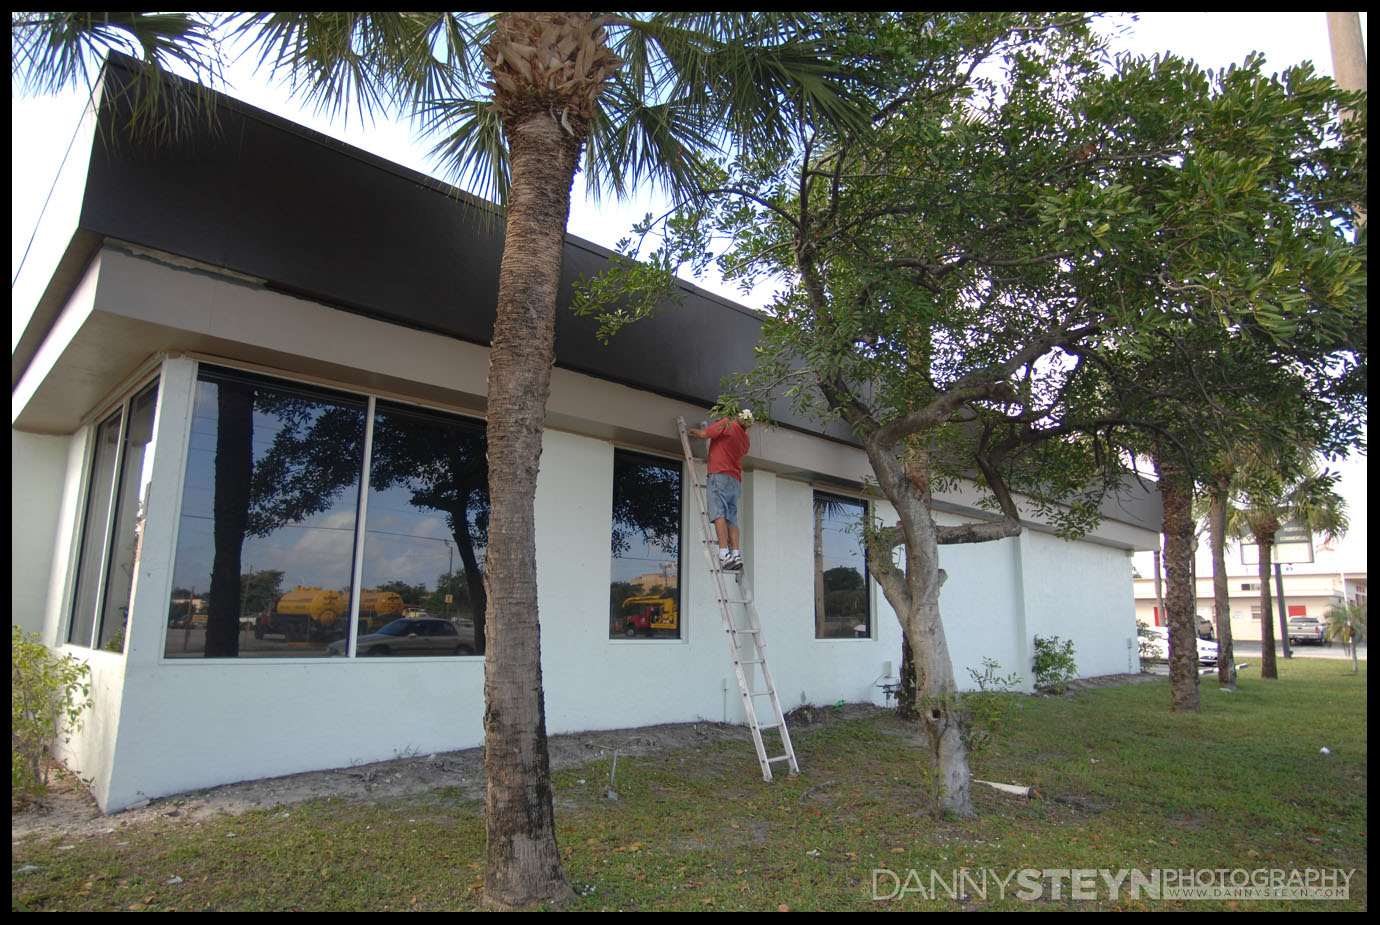
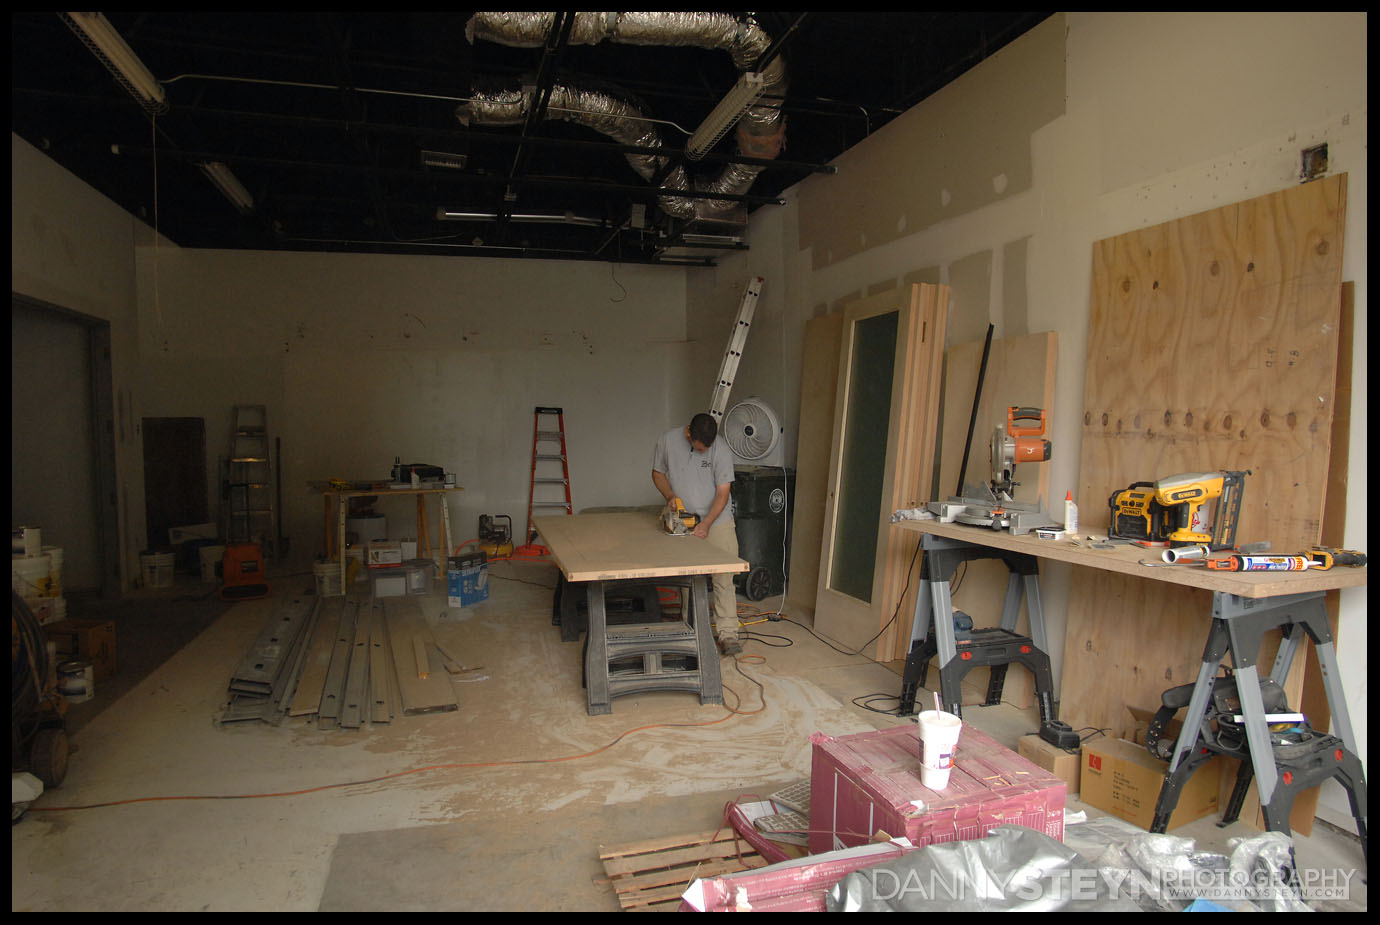
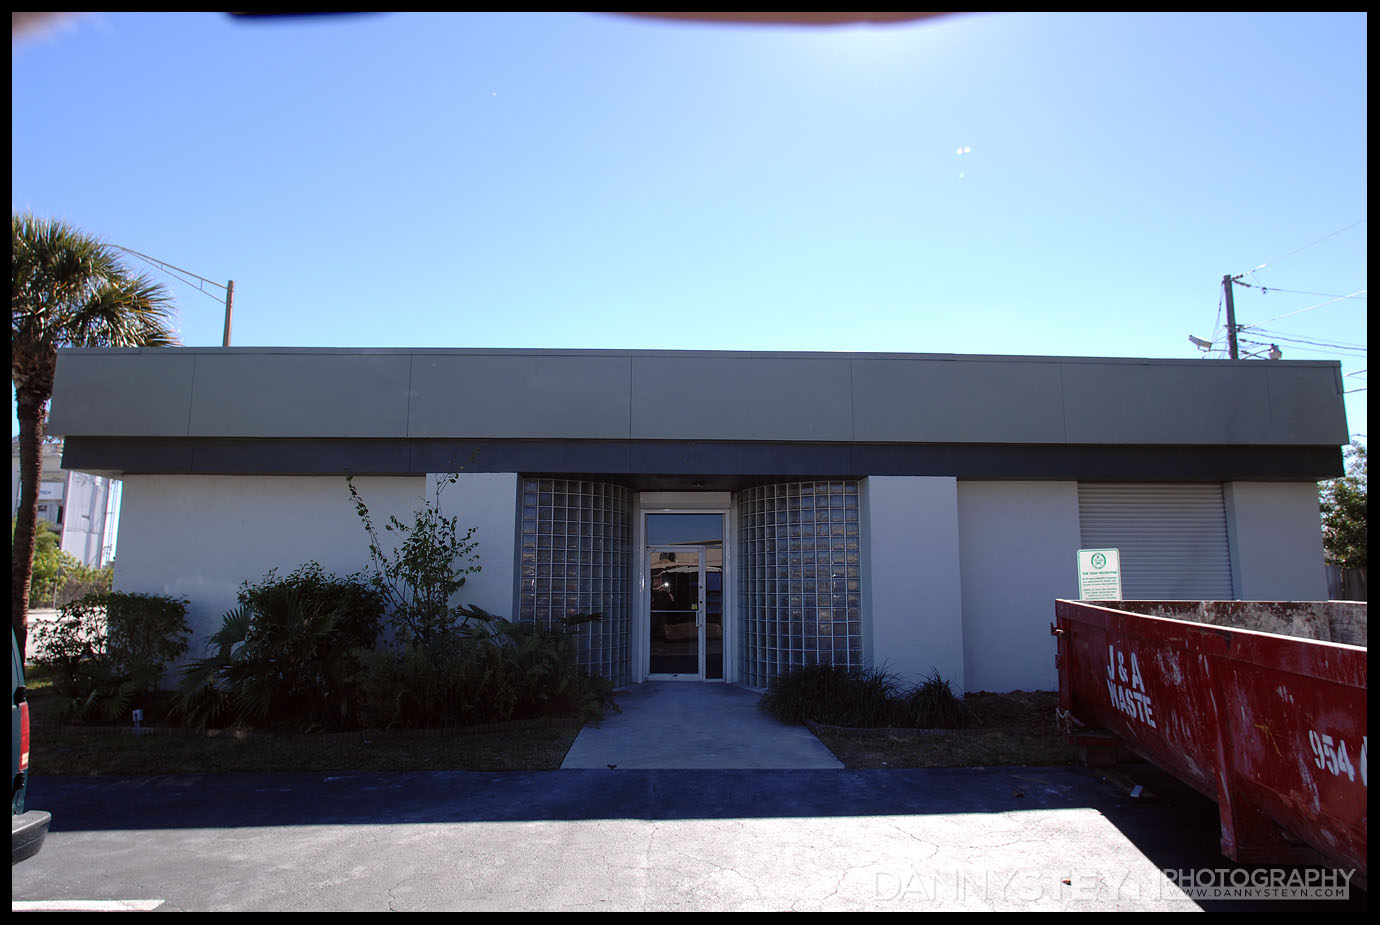
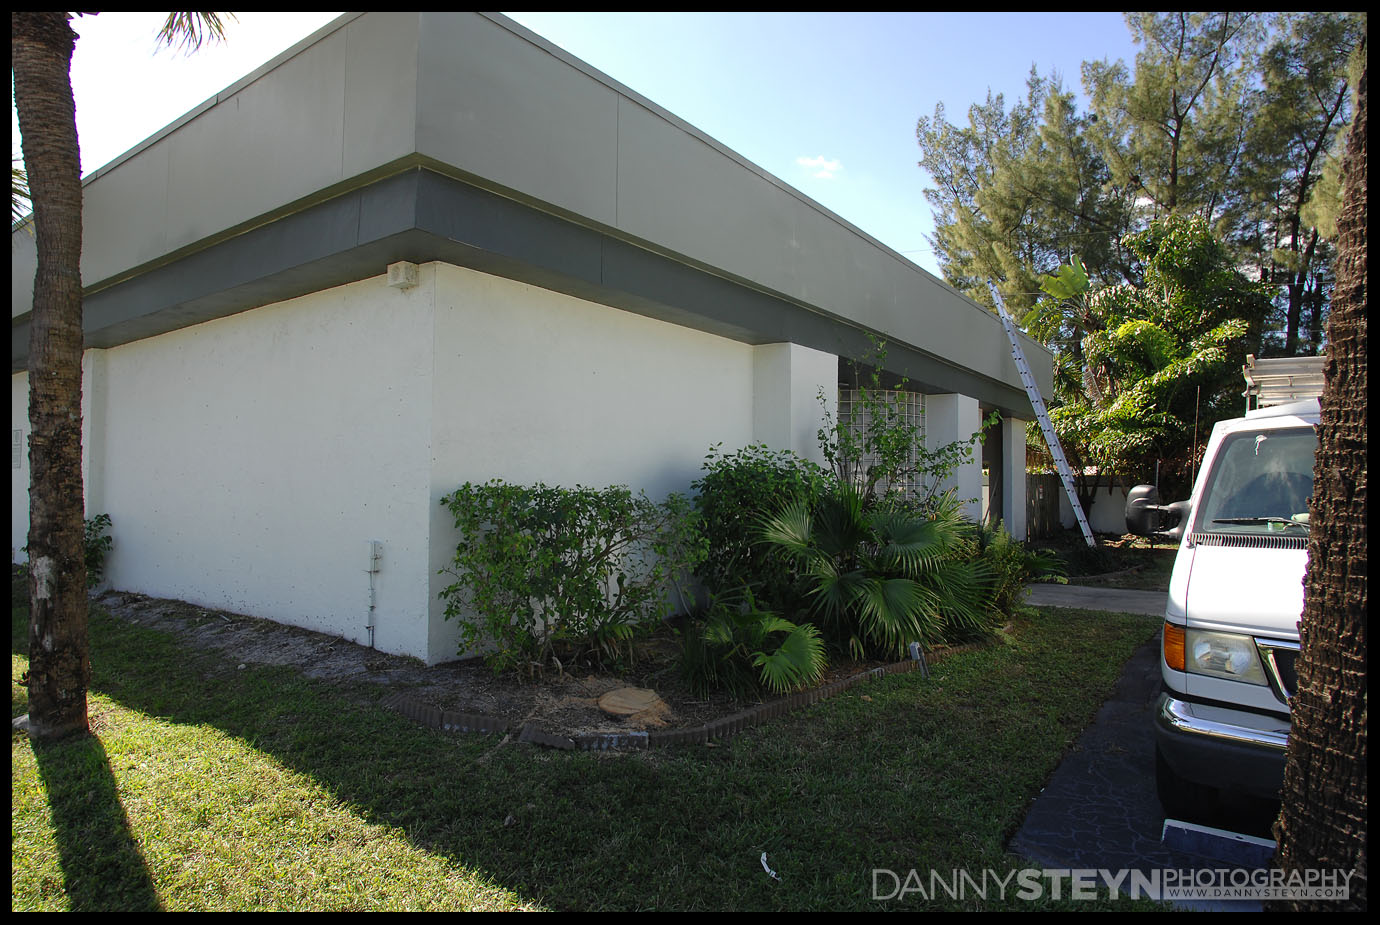
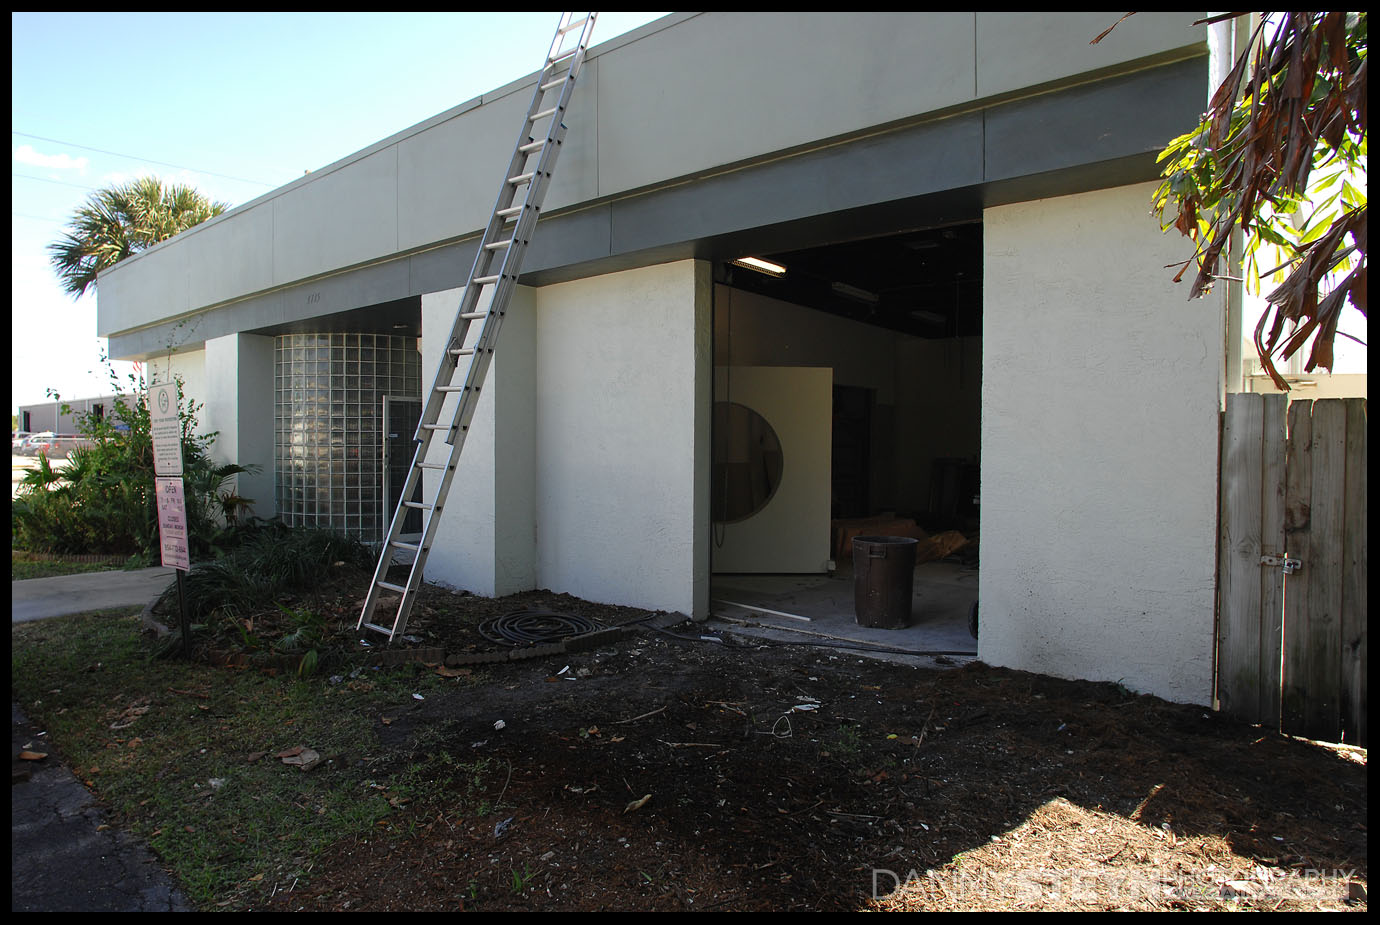
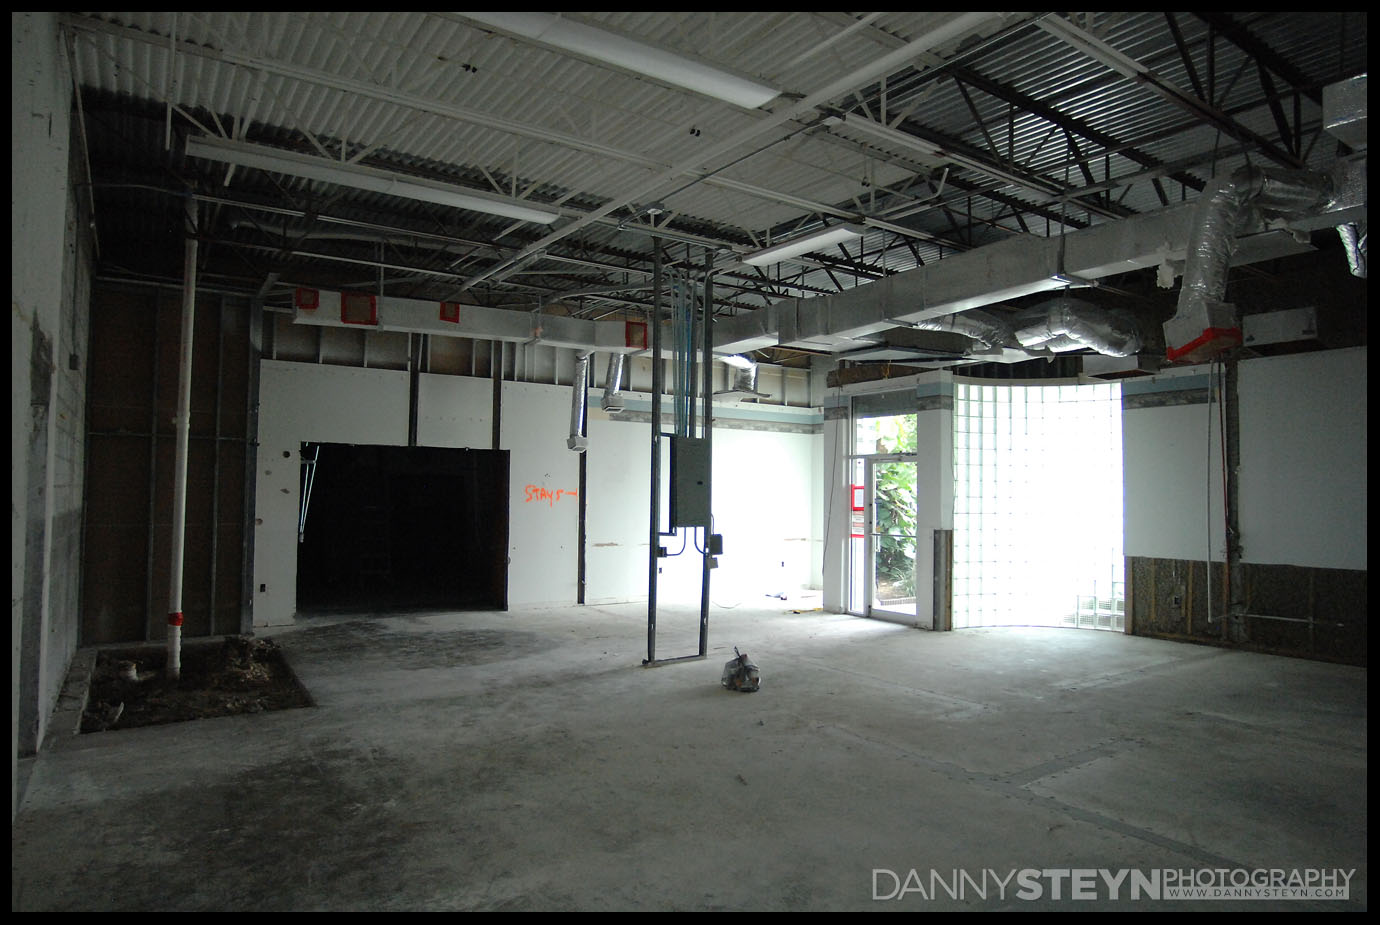
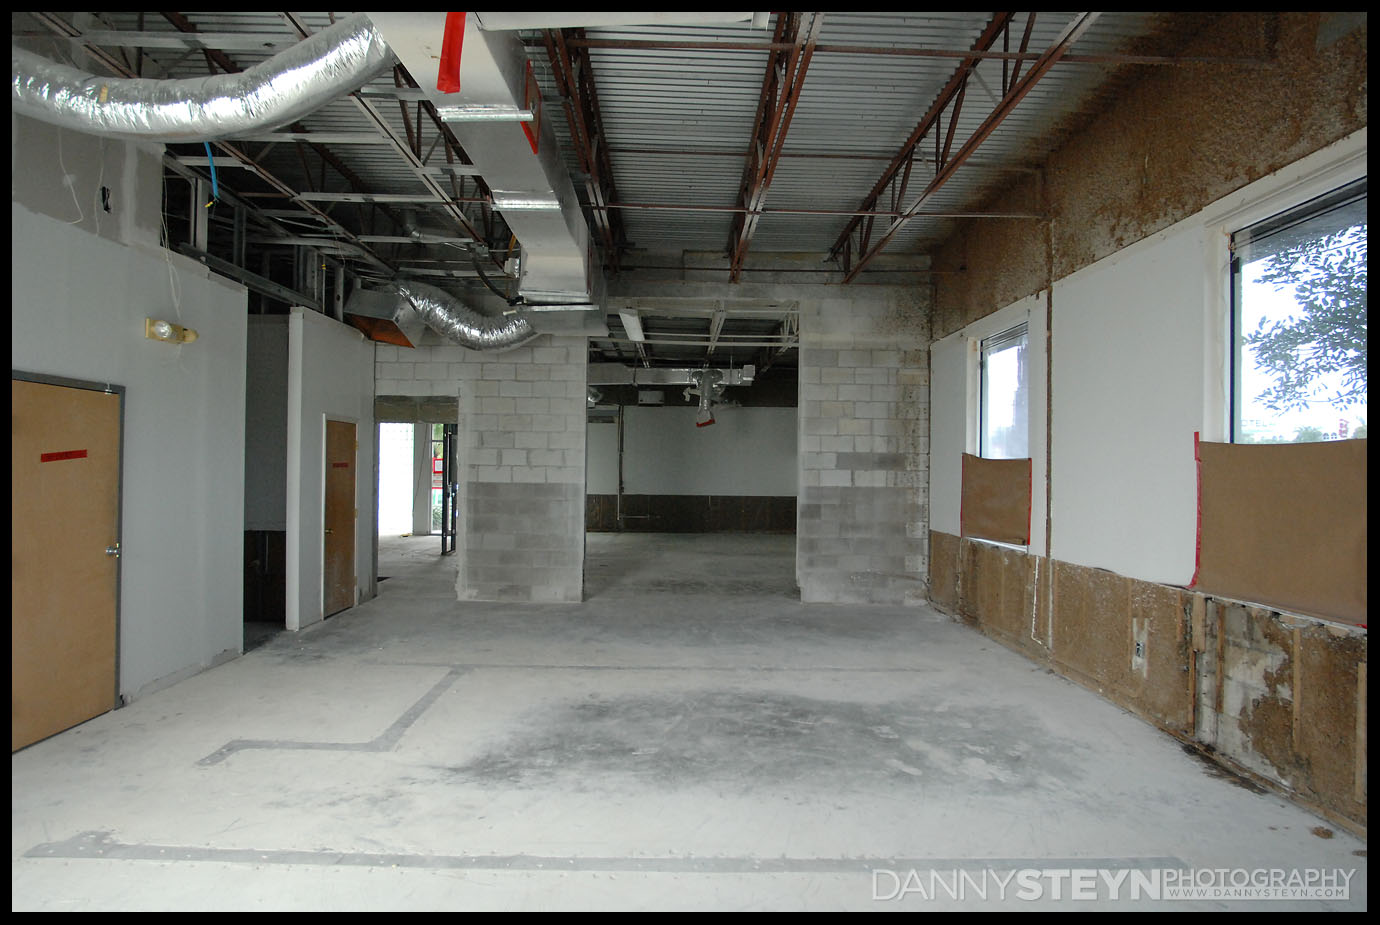
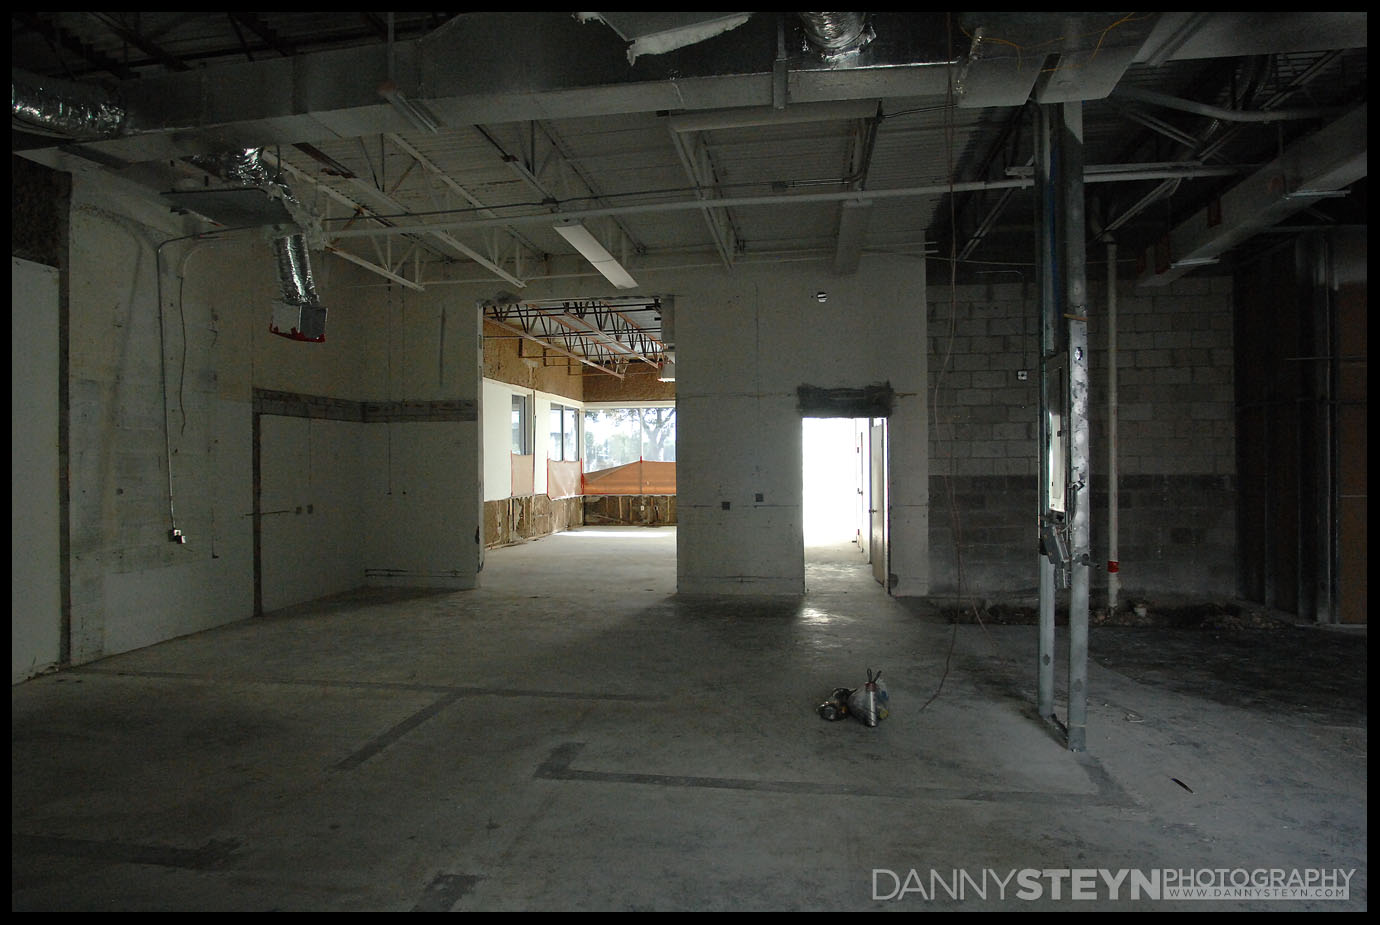
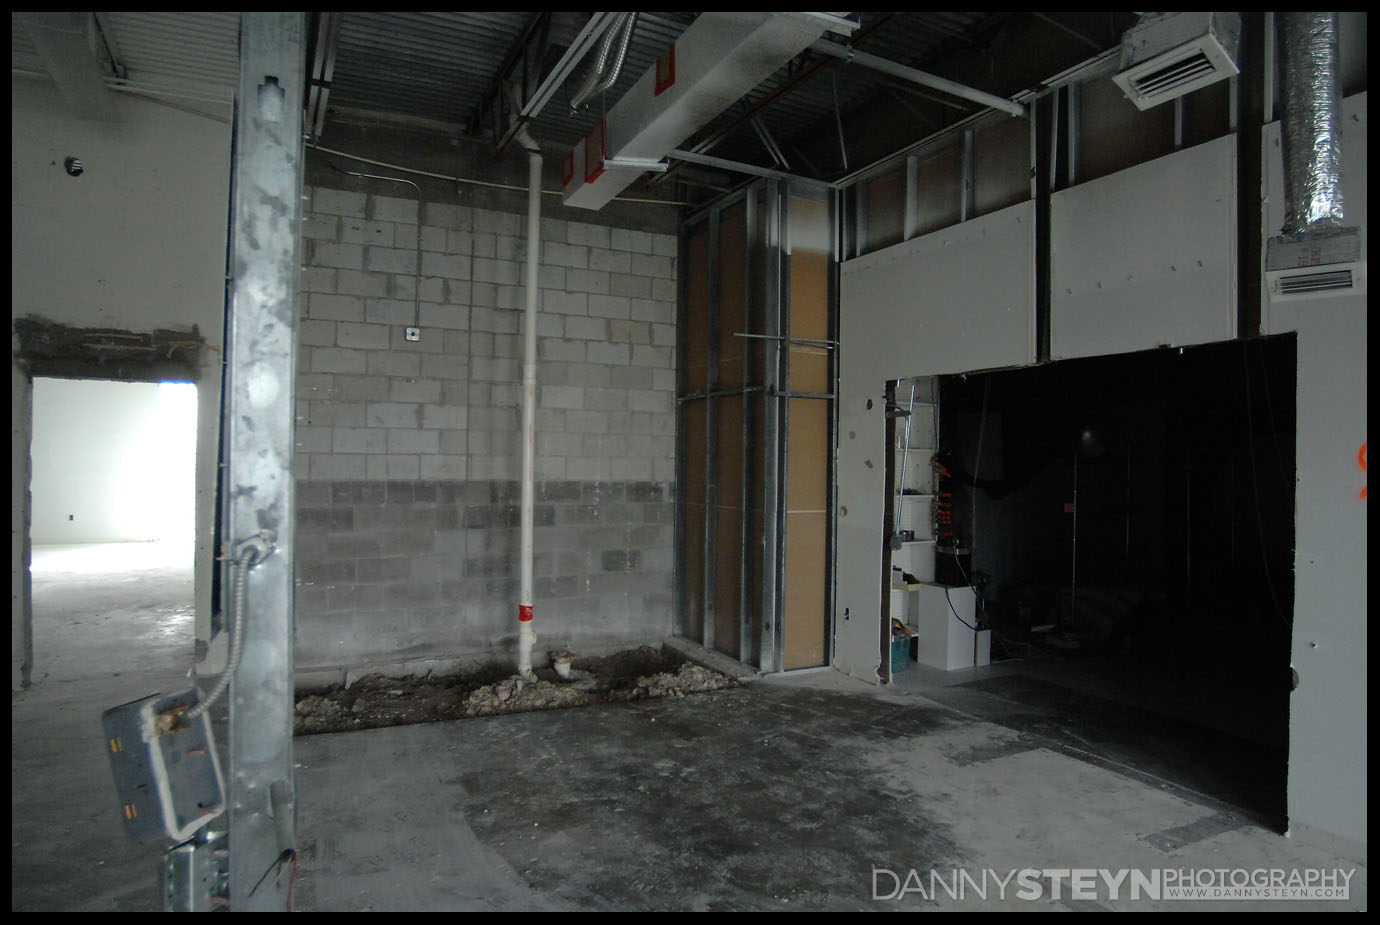
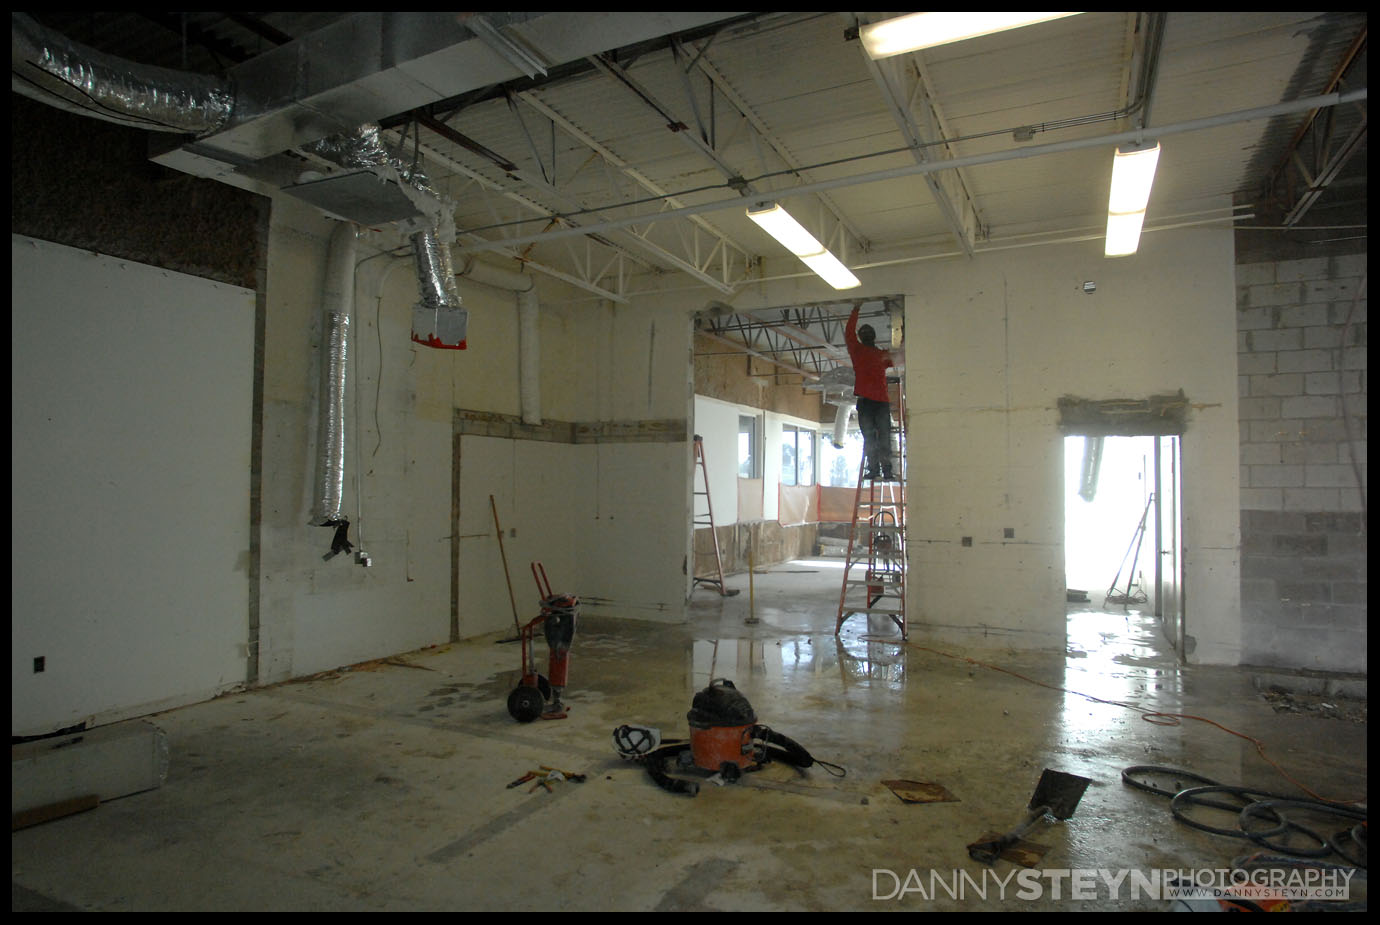
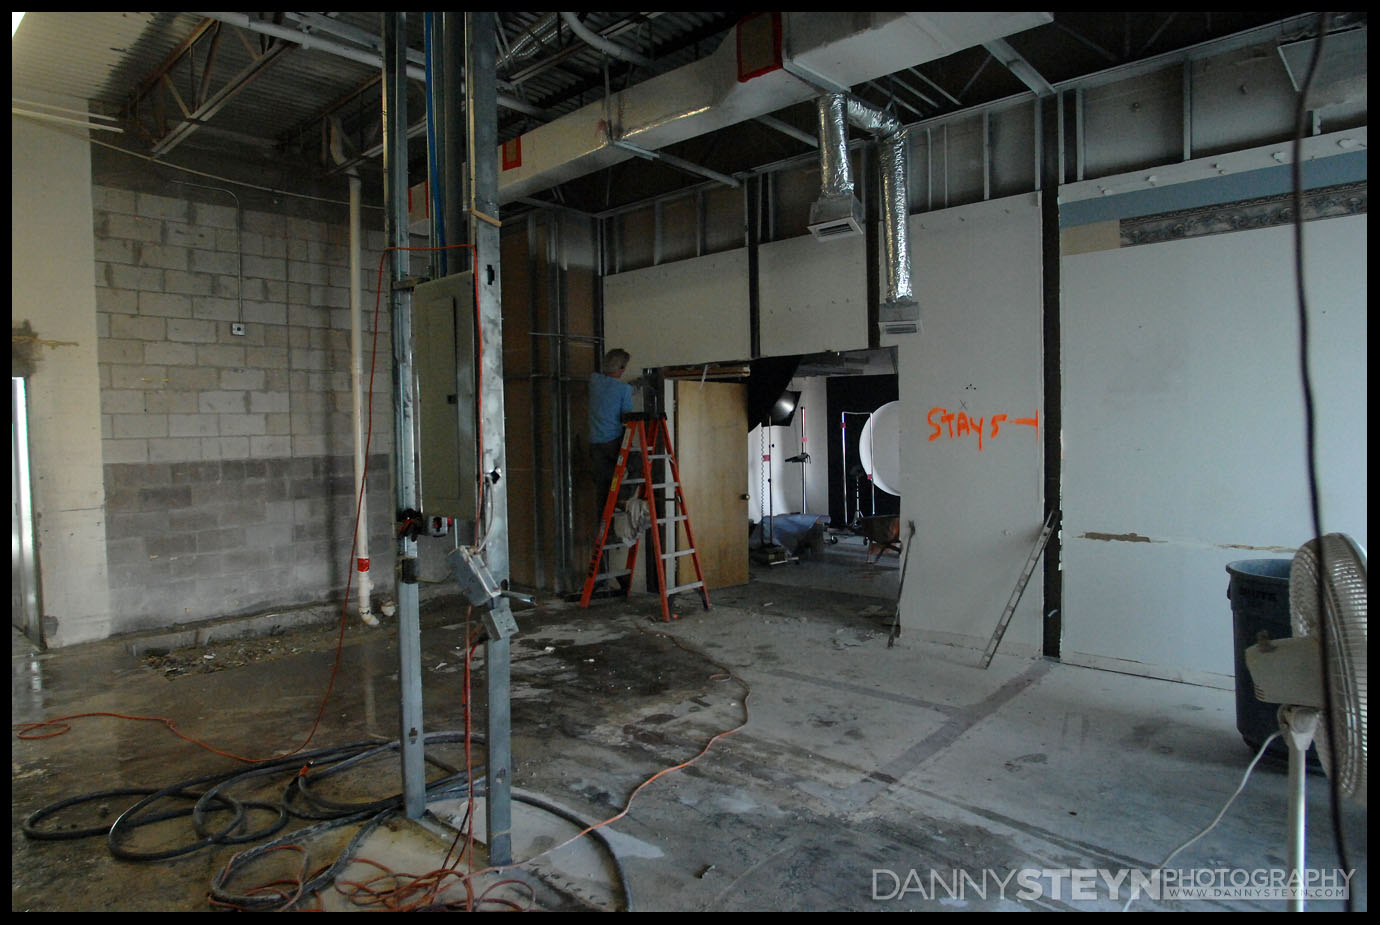
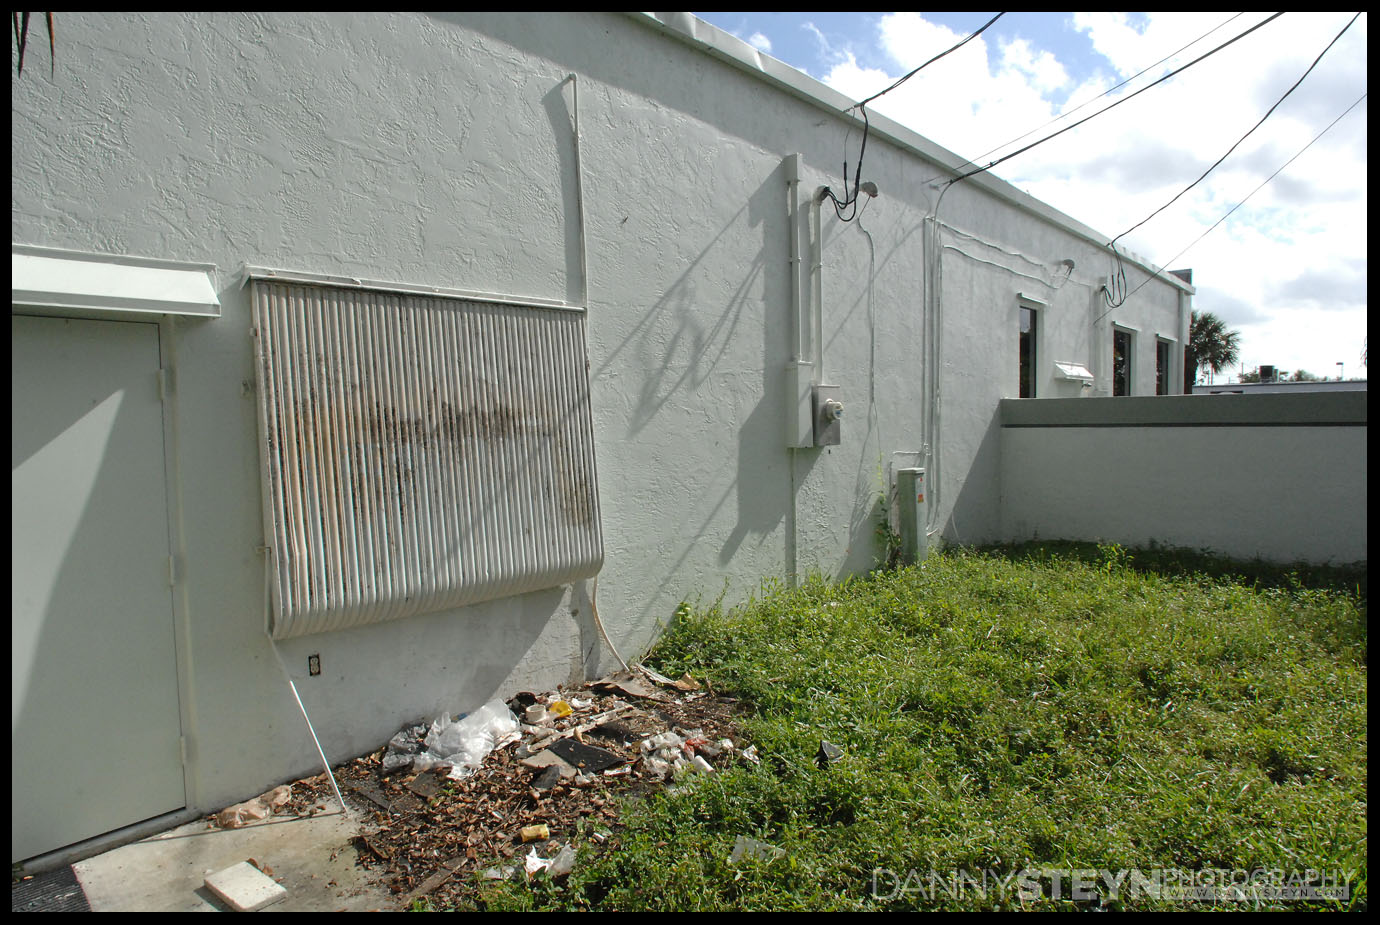
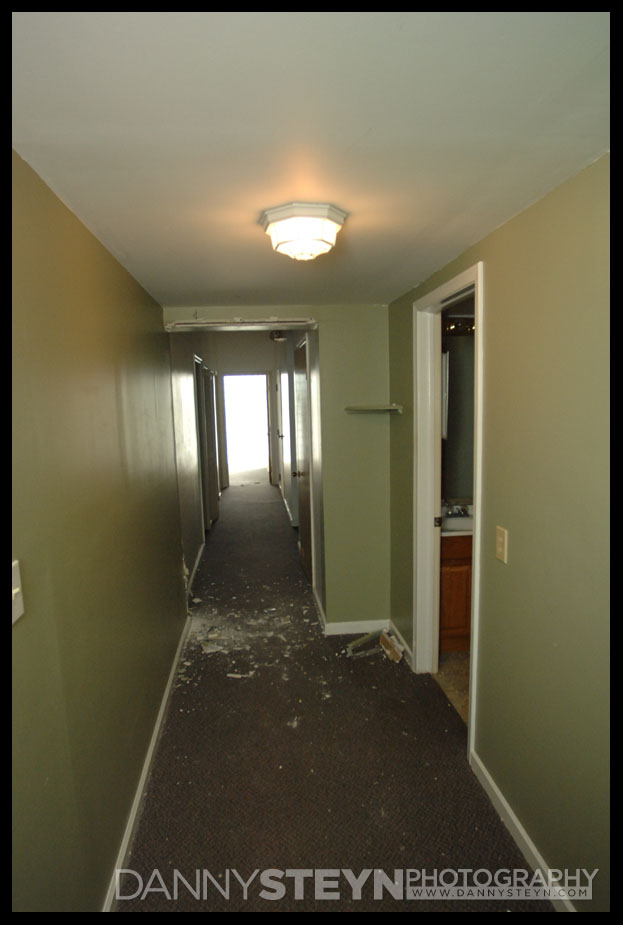
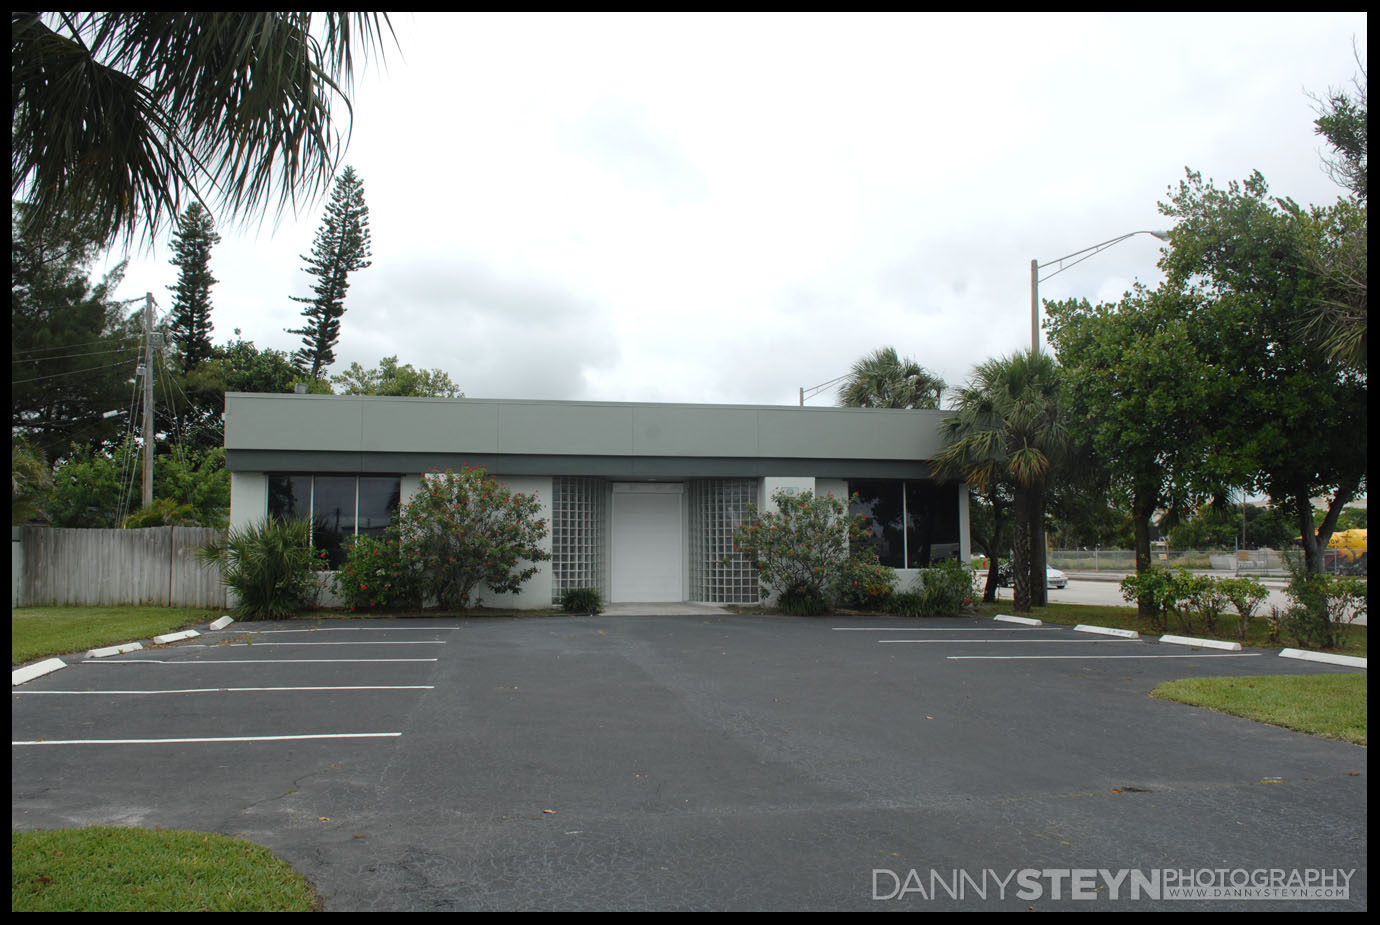
The pictures below show the lovely exterior bones of the building, and the very cluttered interior in the midst of Jerry and his team packing away twenty years of accumulated odds and ends. Its really sad to see the departure of one of Fort Lauderdale’s photography pioneers and we wish Jerry and Johanna all the best in their retirement.
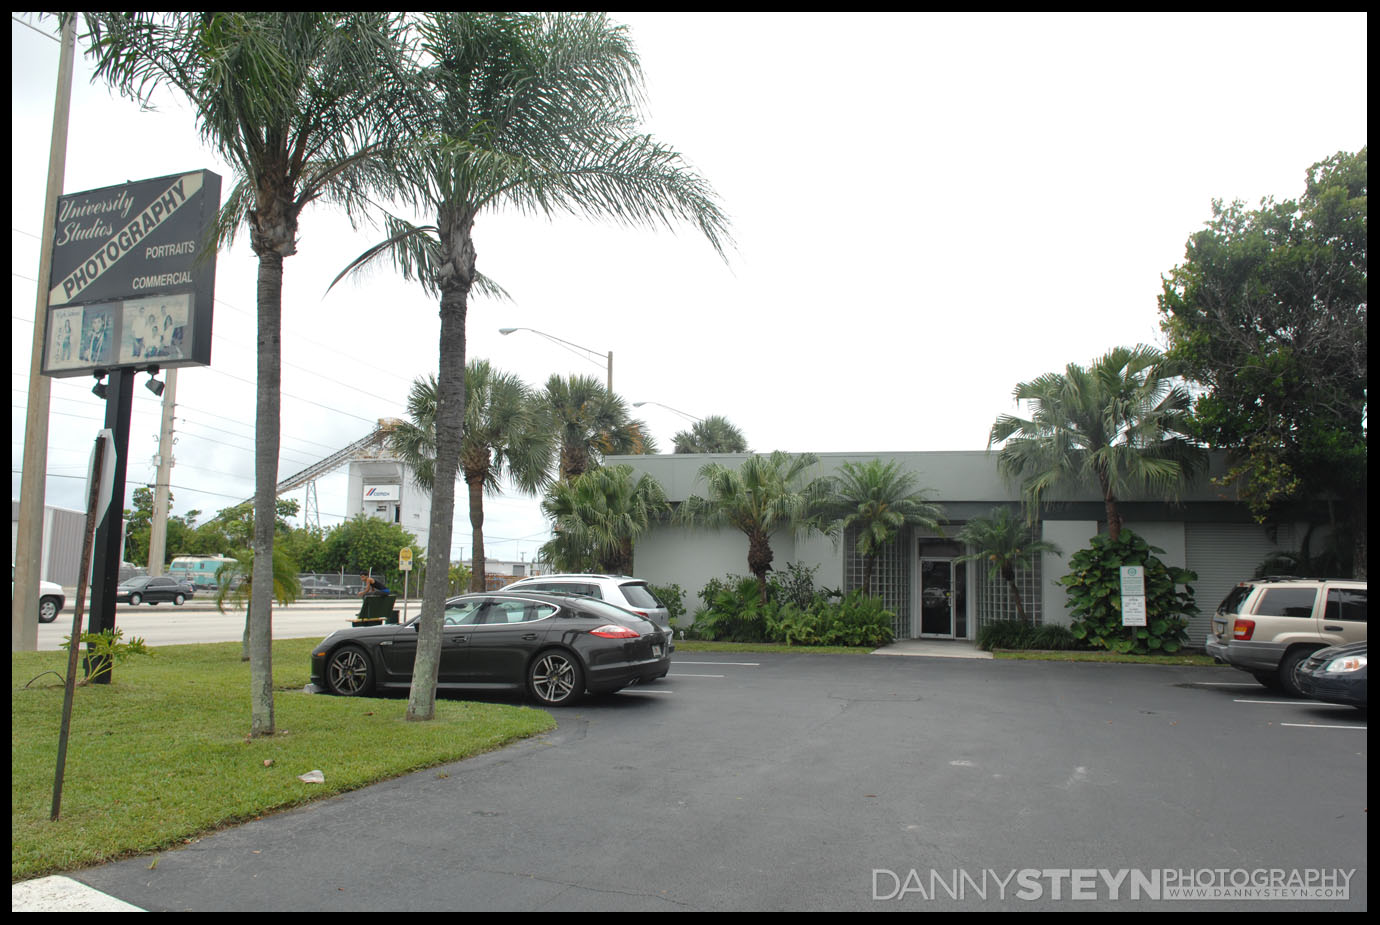
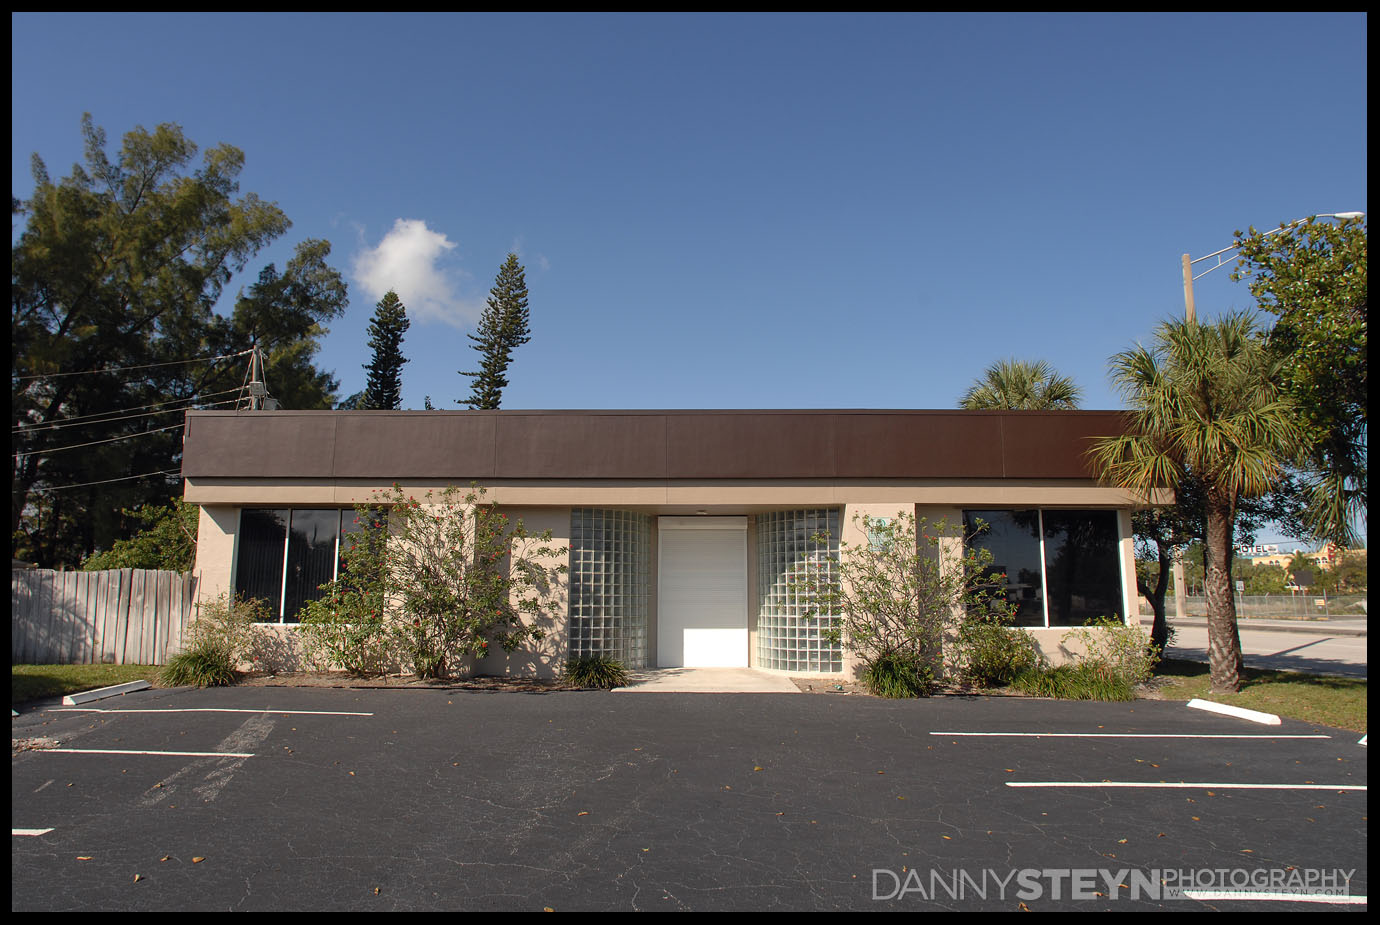
North entrance, parking and signage – New photography studio – prior to purchase
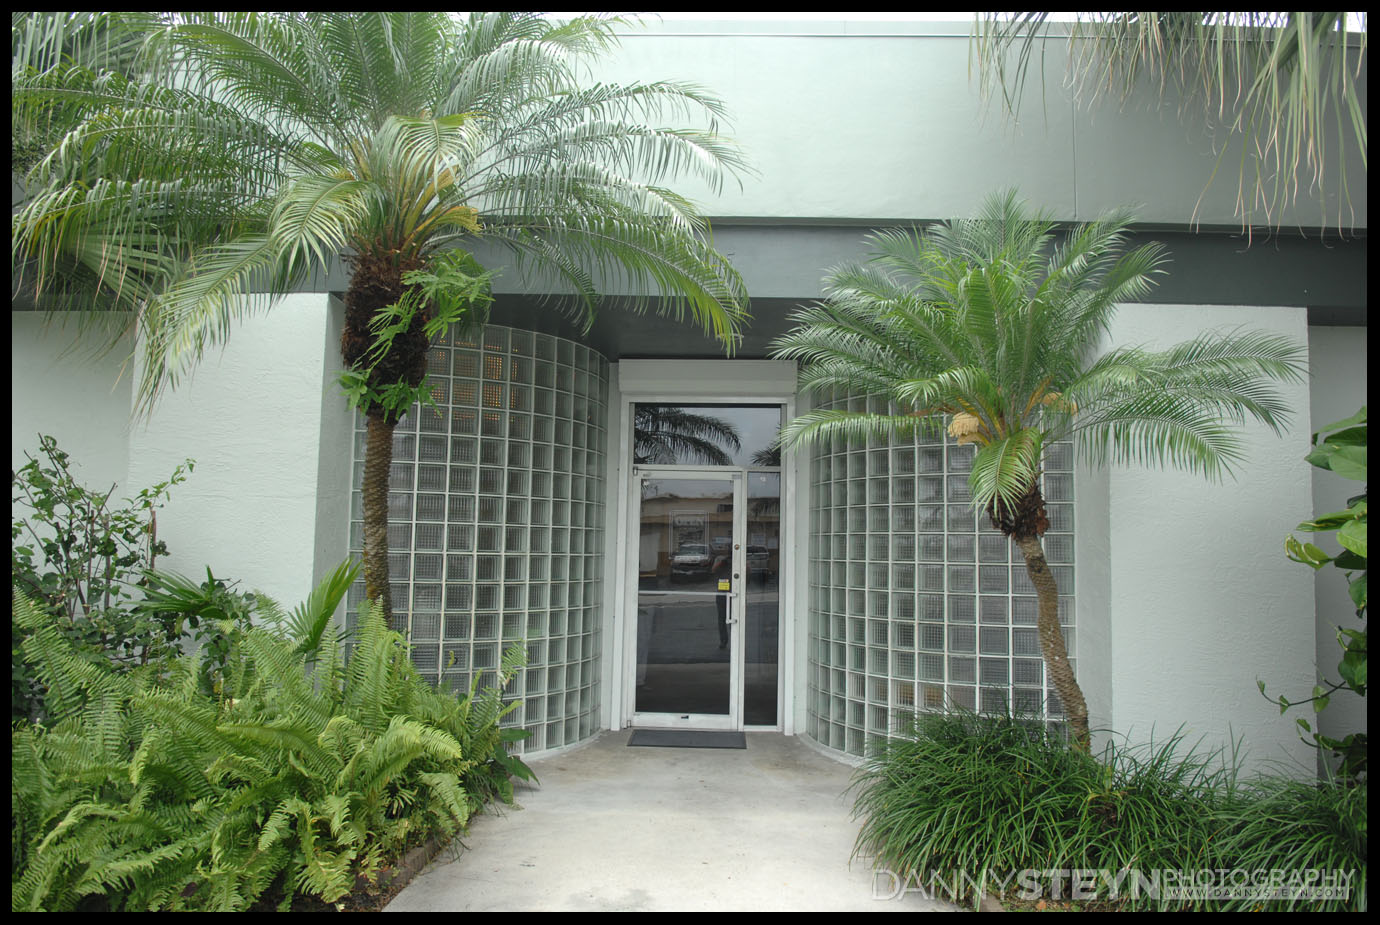
North front entrance – New photography studio – prior to purchase
South Entrance and parking – New photography studio – prior to purchase
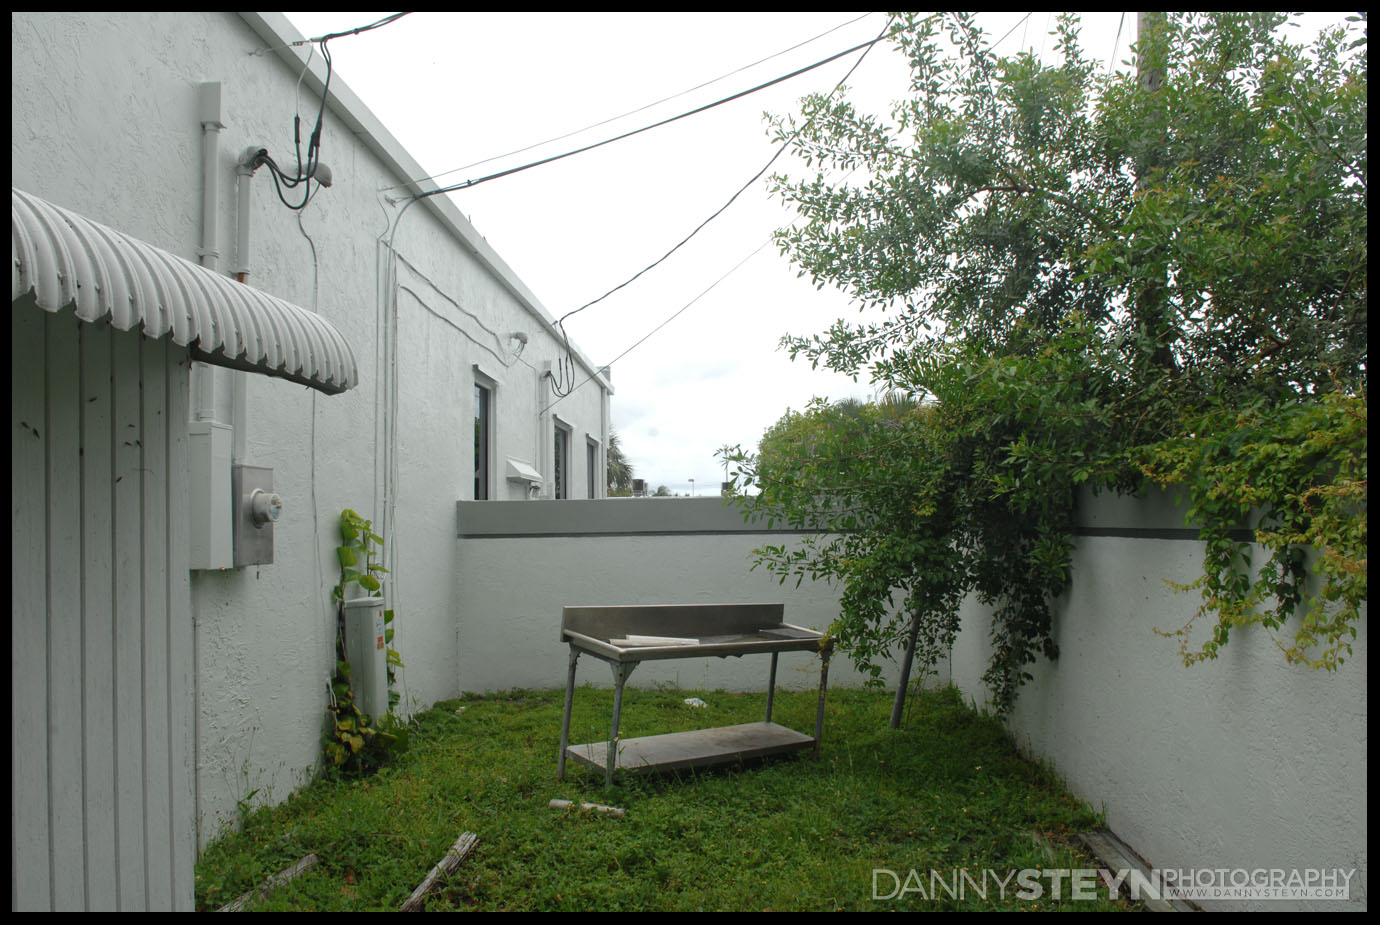
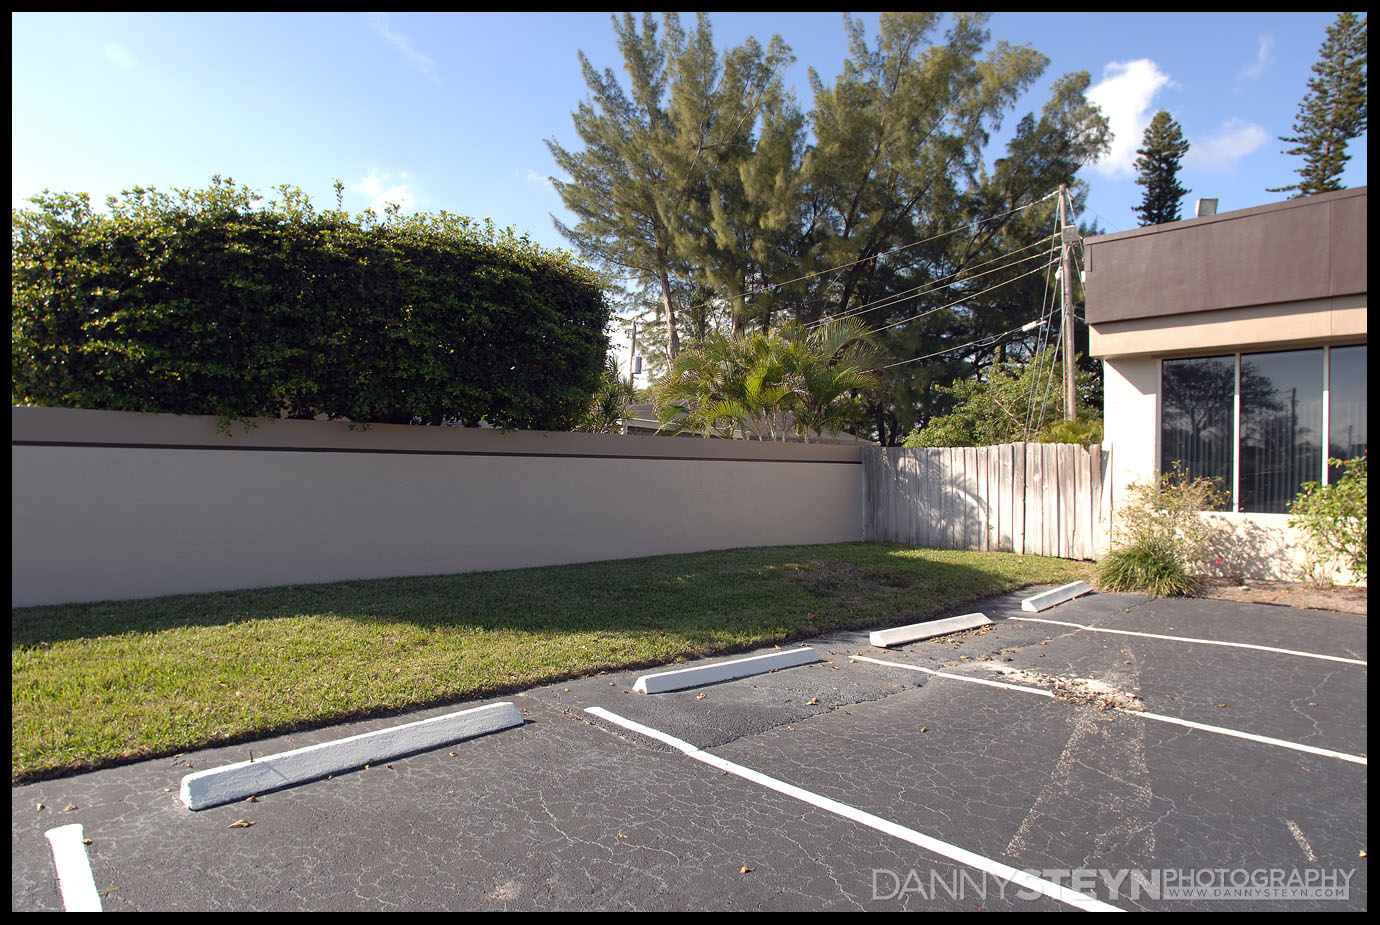
Outdoor Area – New photography studio – prior to purchase
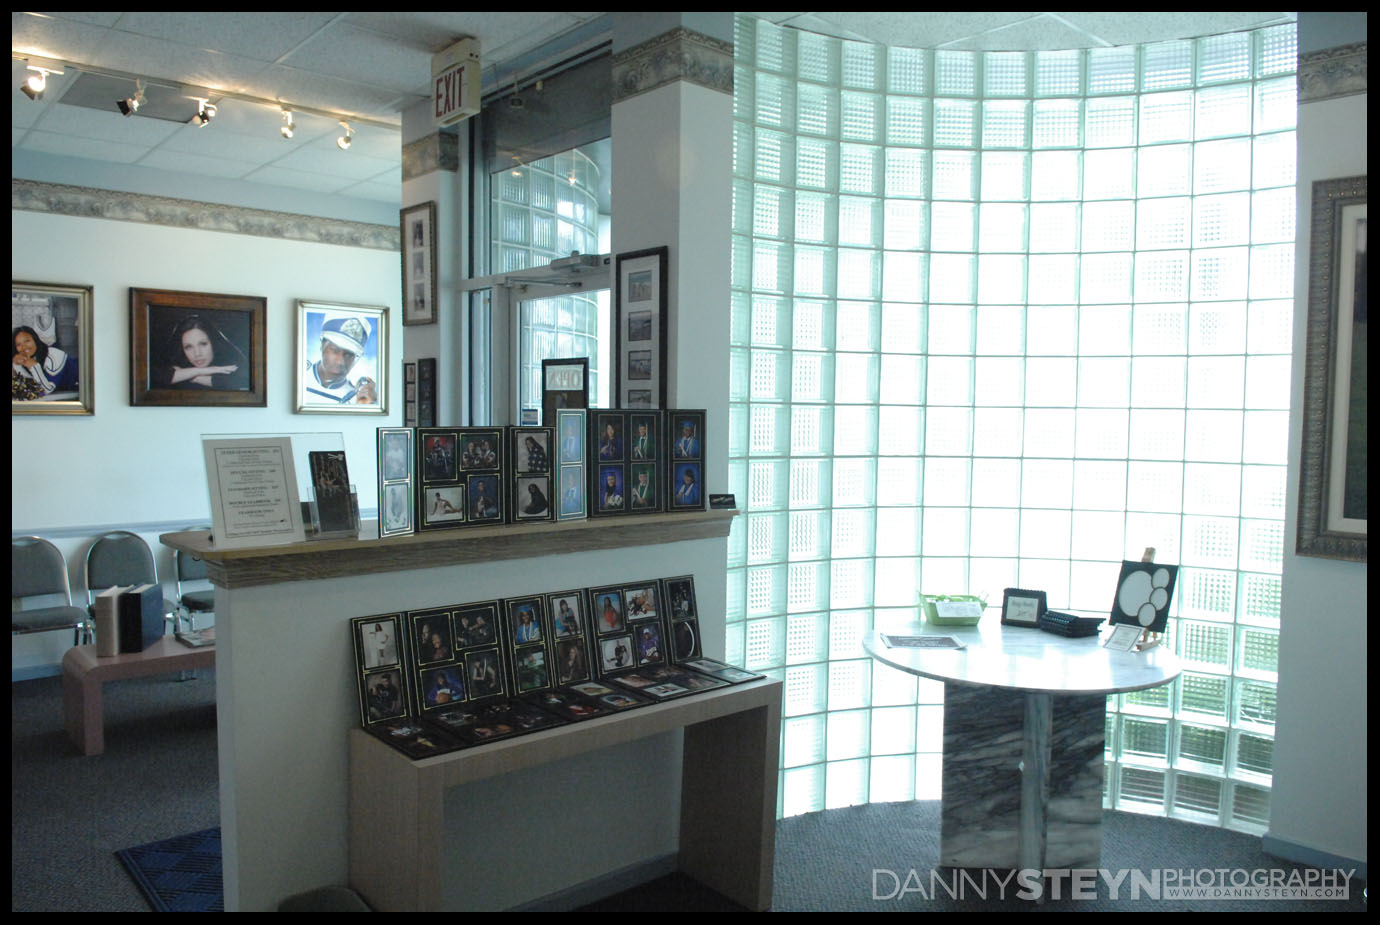
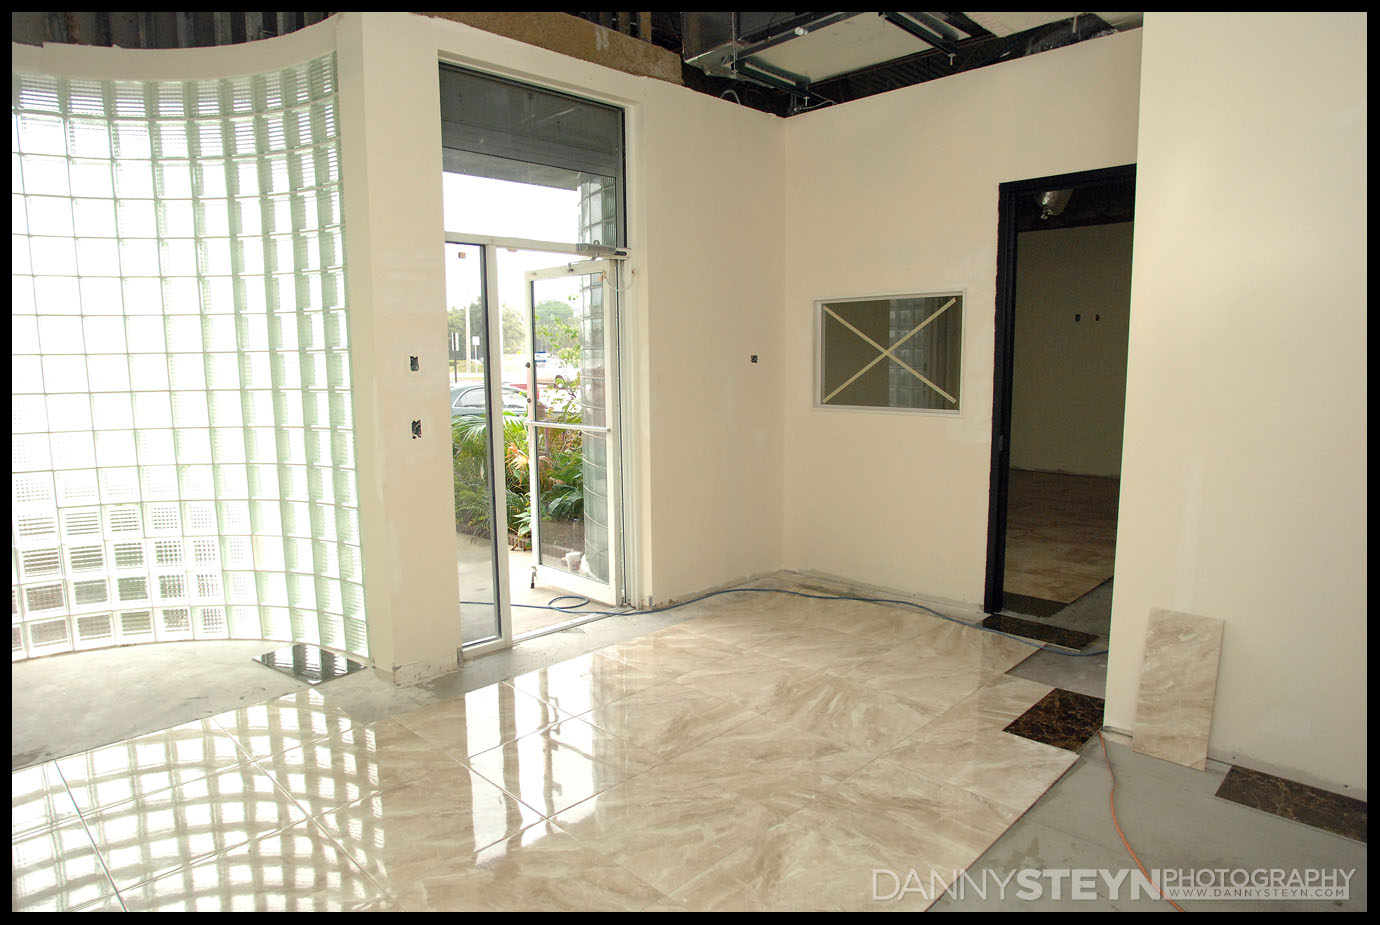
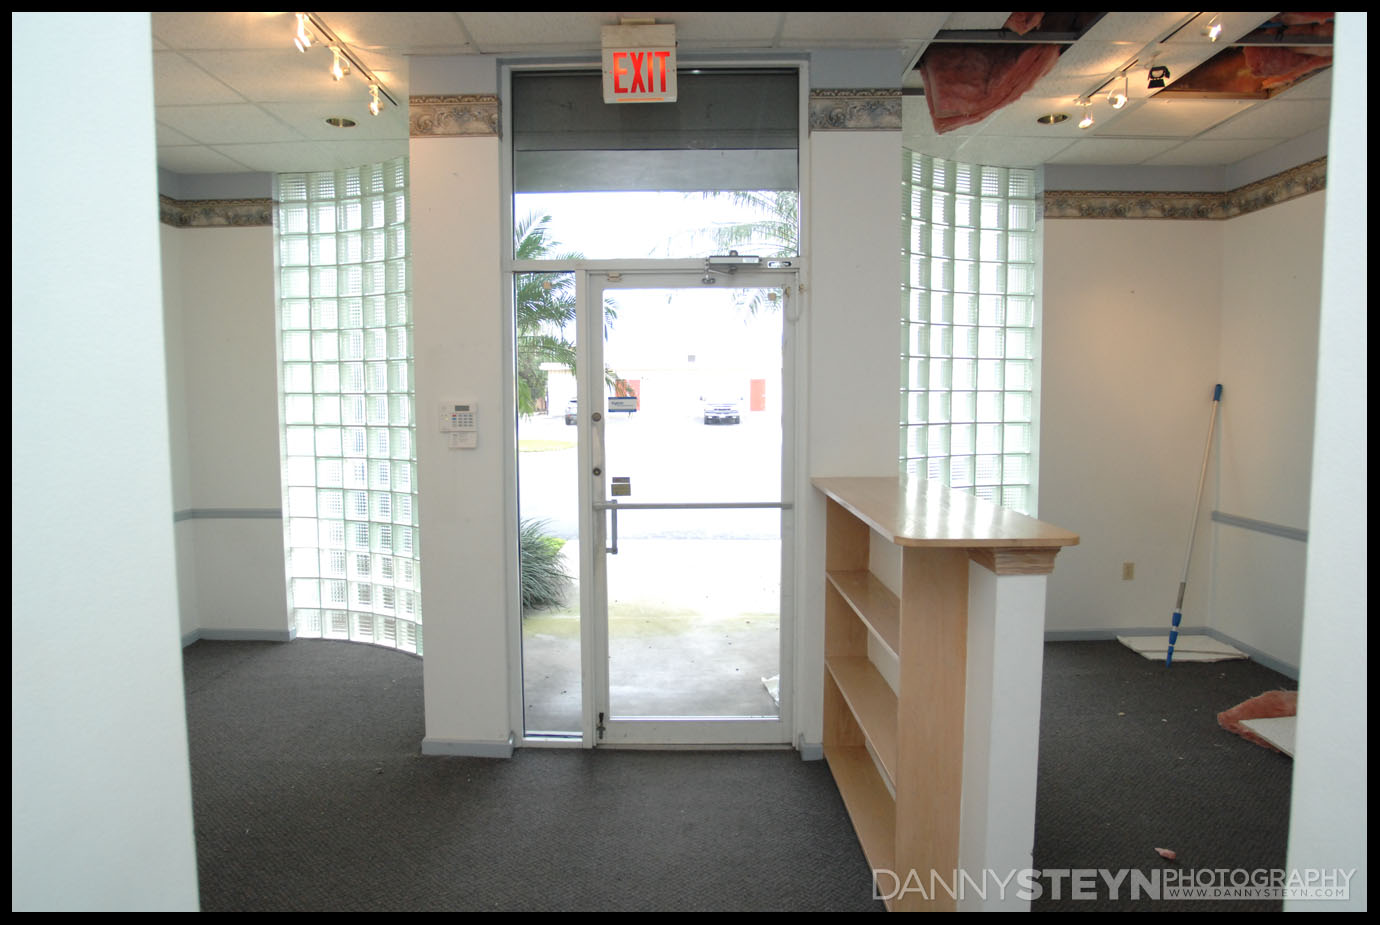
Front Lobby – New photography studio – prior to purchase
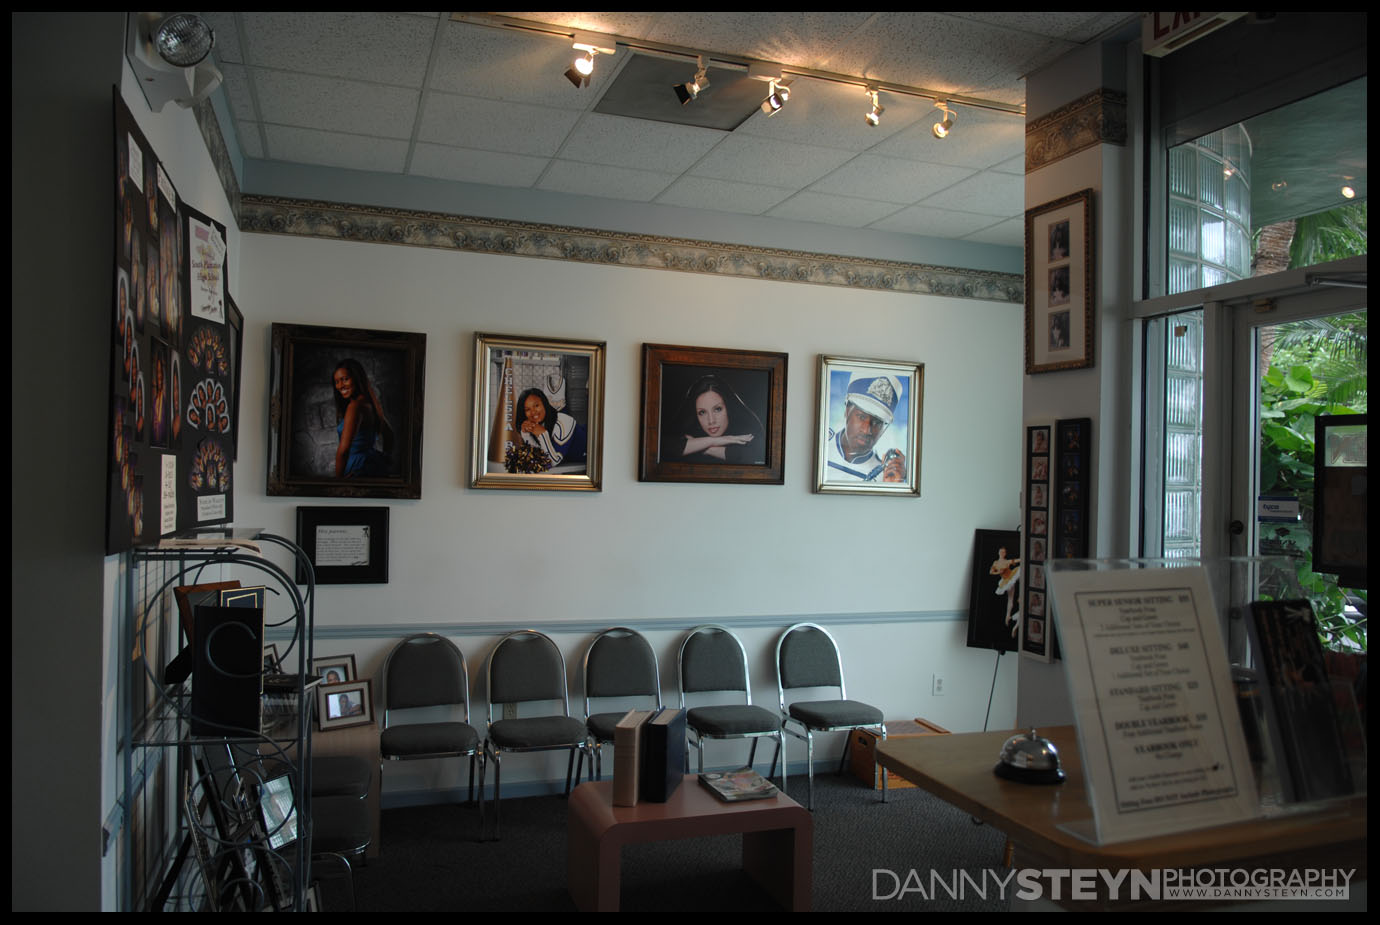
Lobby interior – New photography studio – prior to purchase
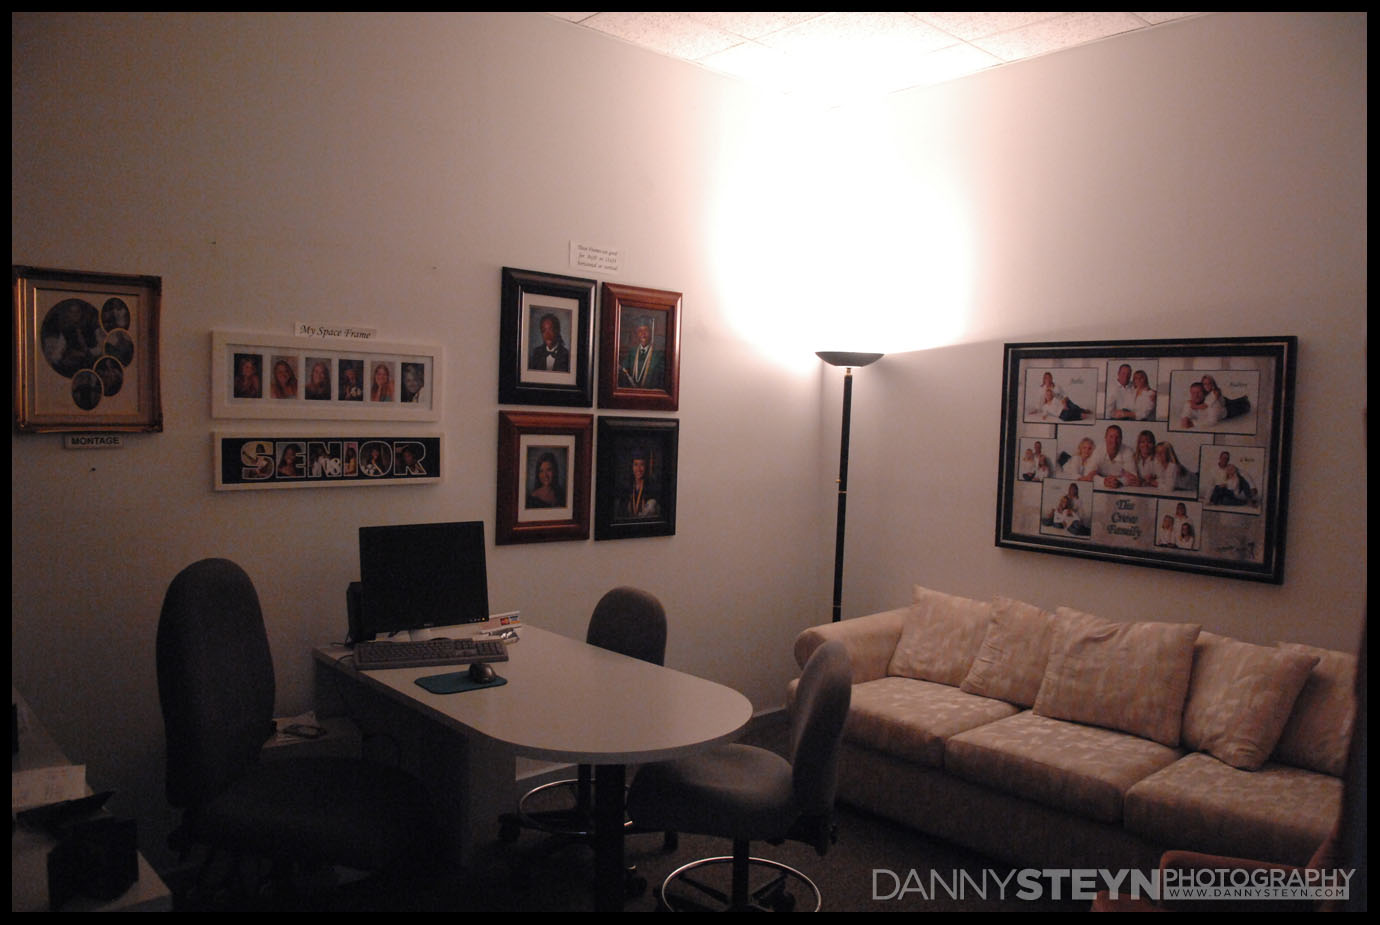
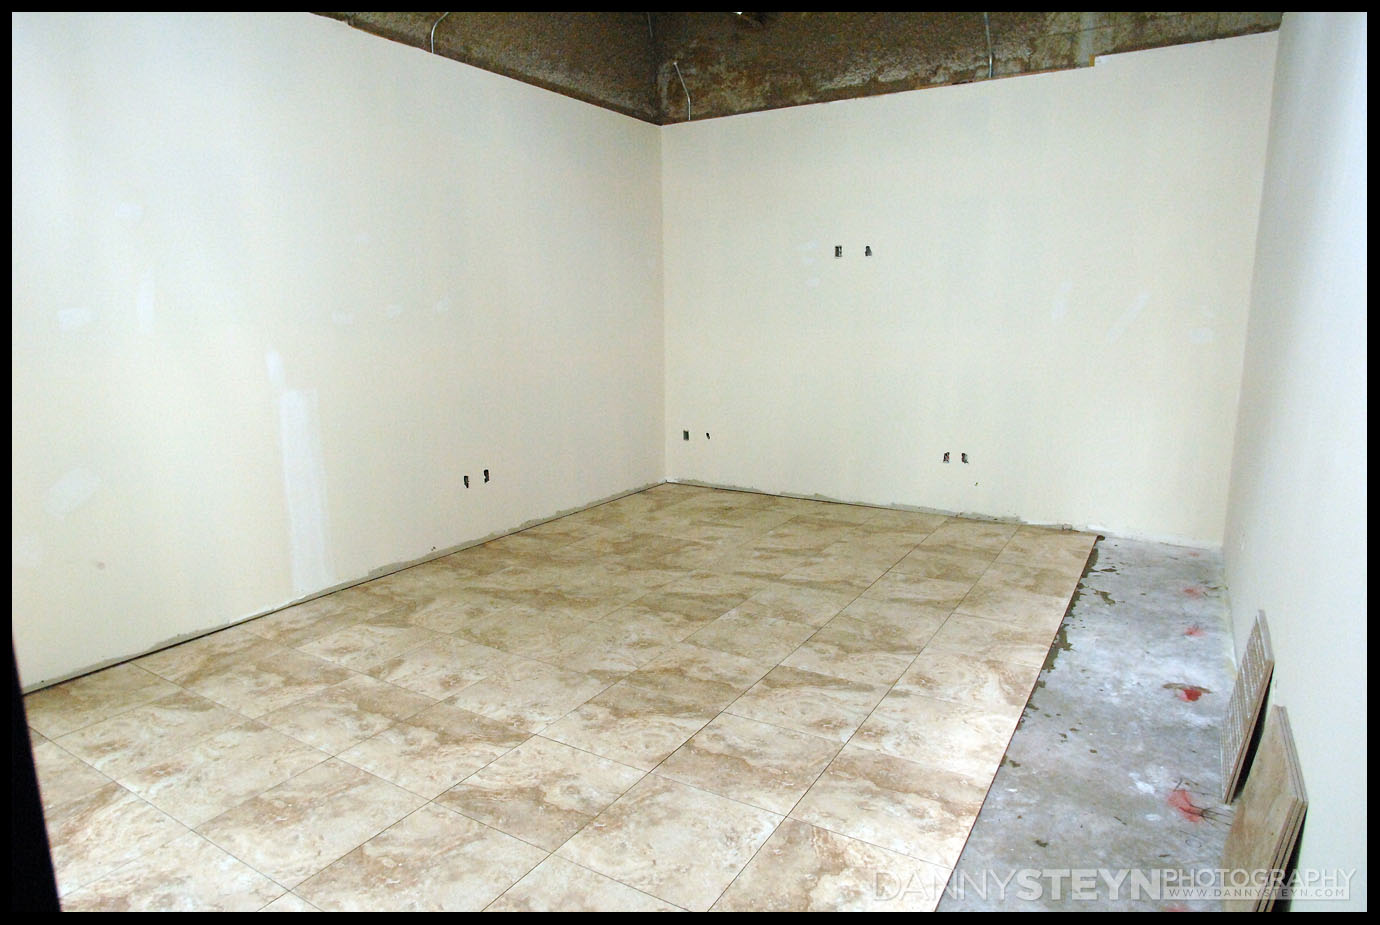
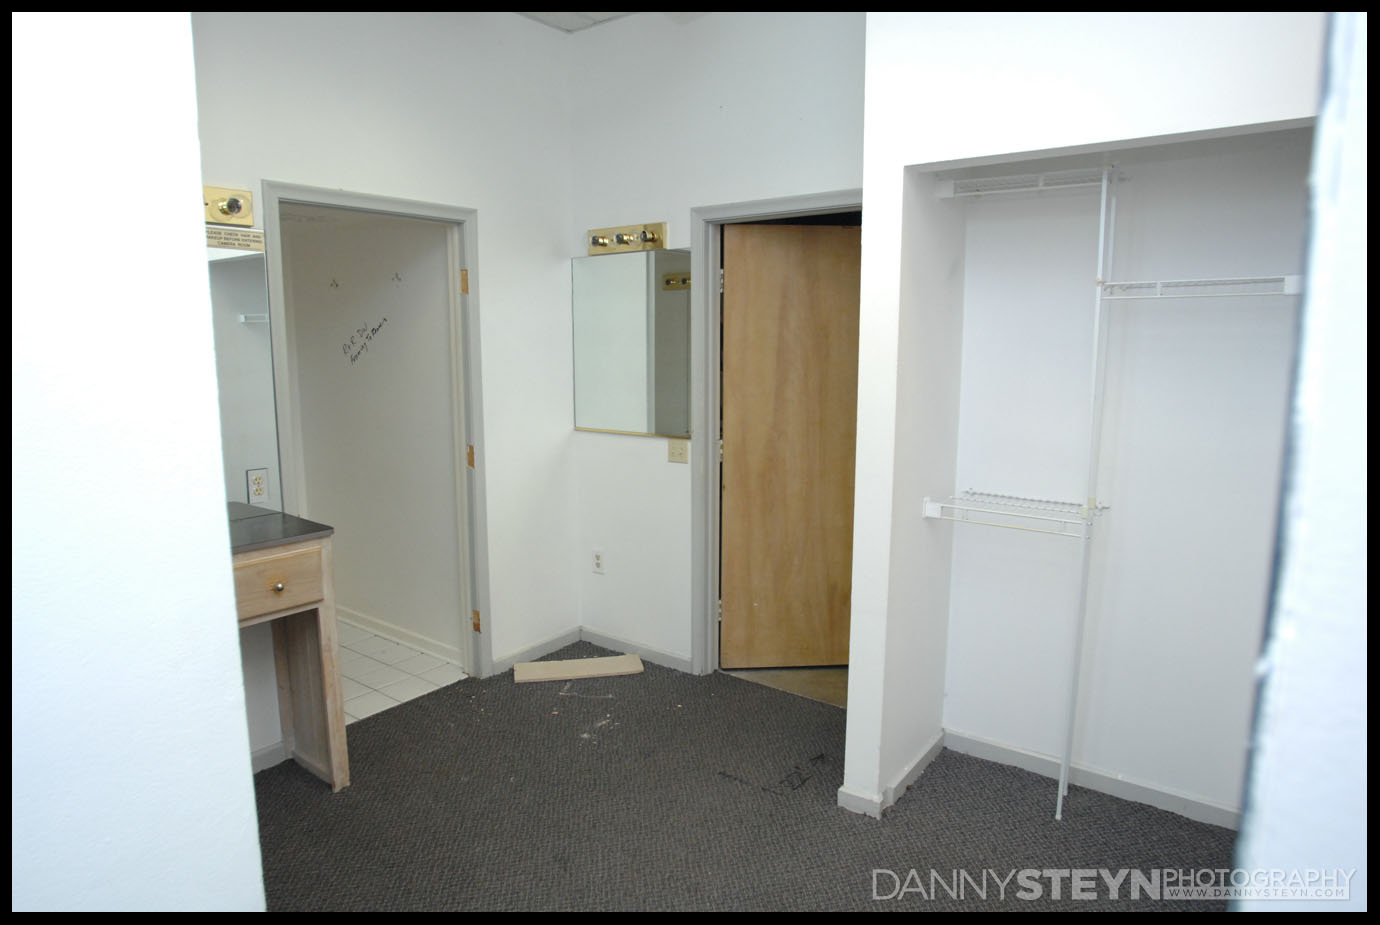
Meeting room – New photography studio – prior to purchase
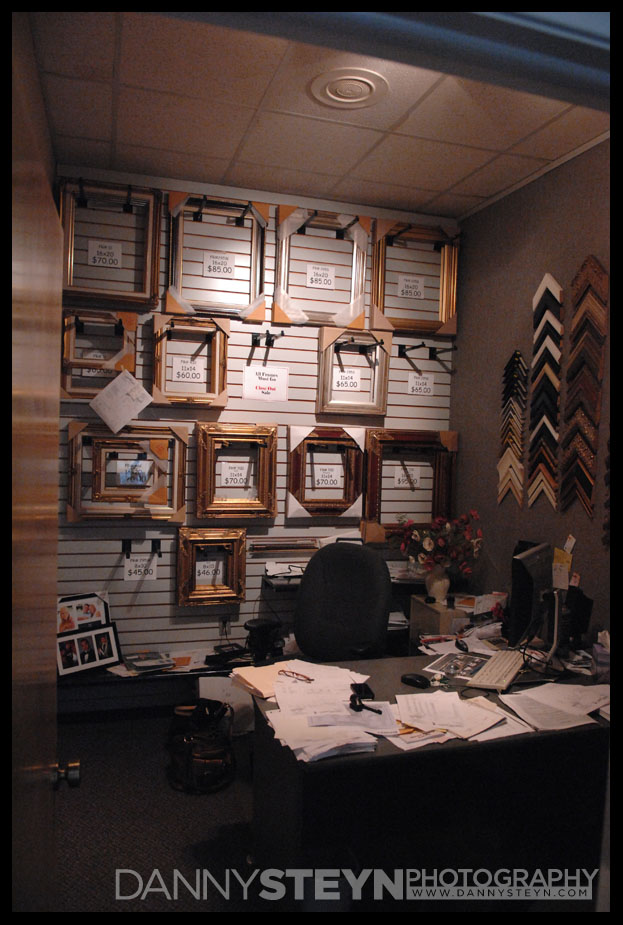
Office – New photography studio – prior to purchase
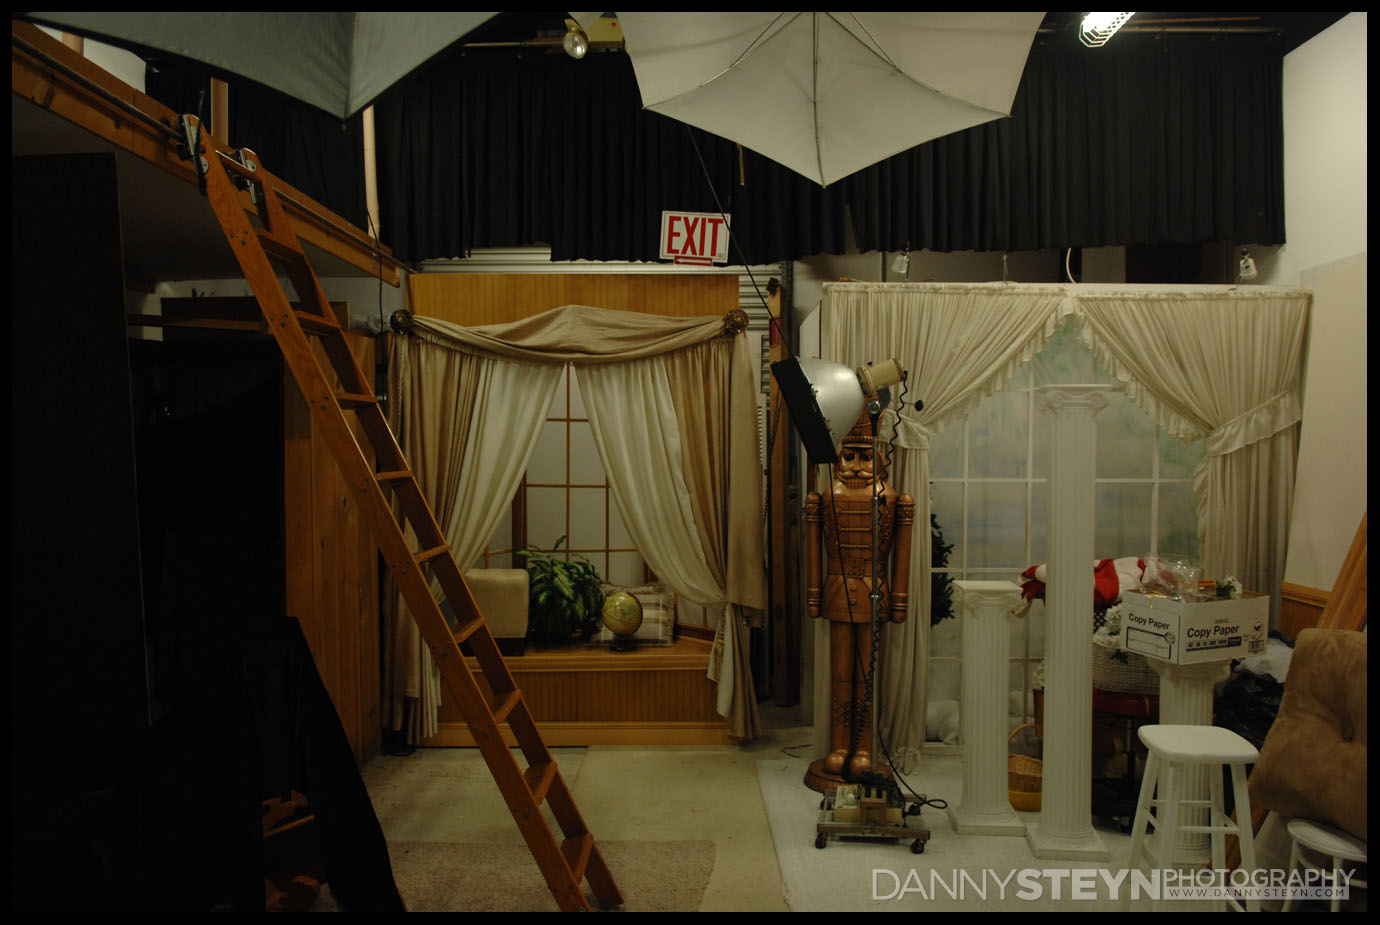
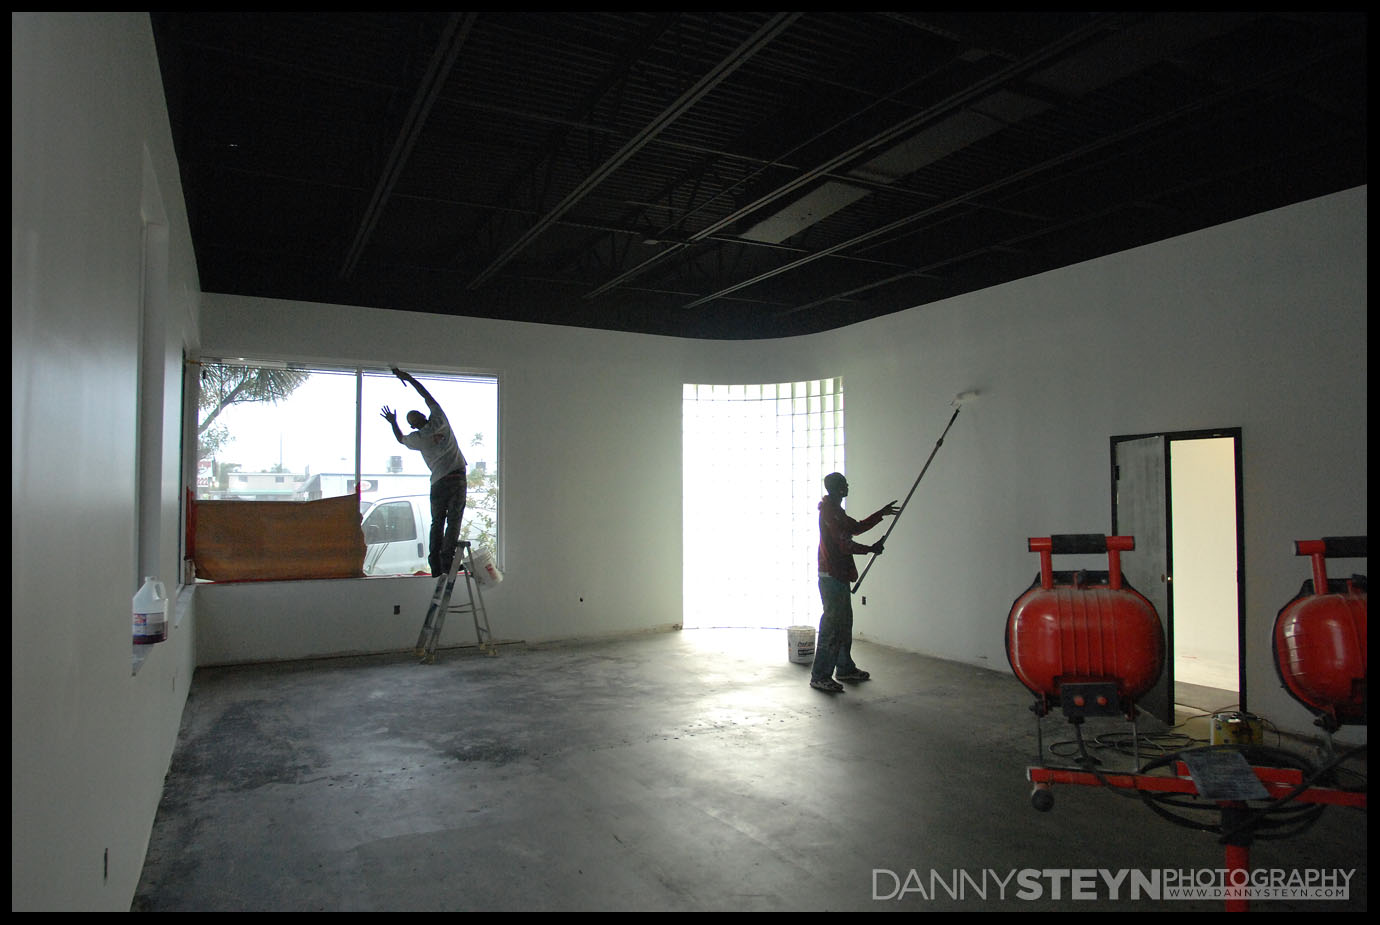
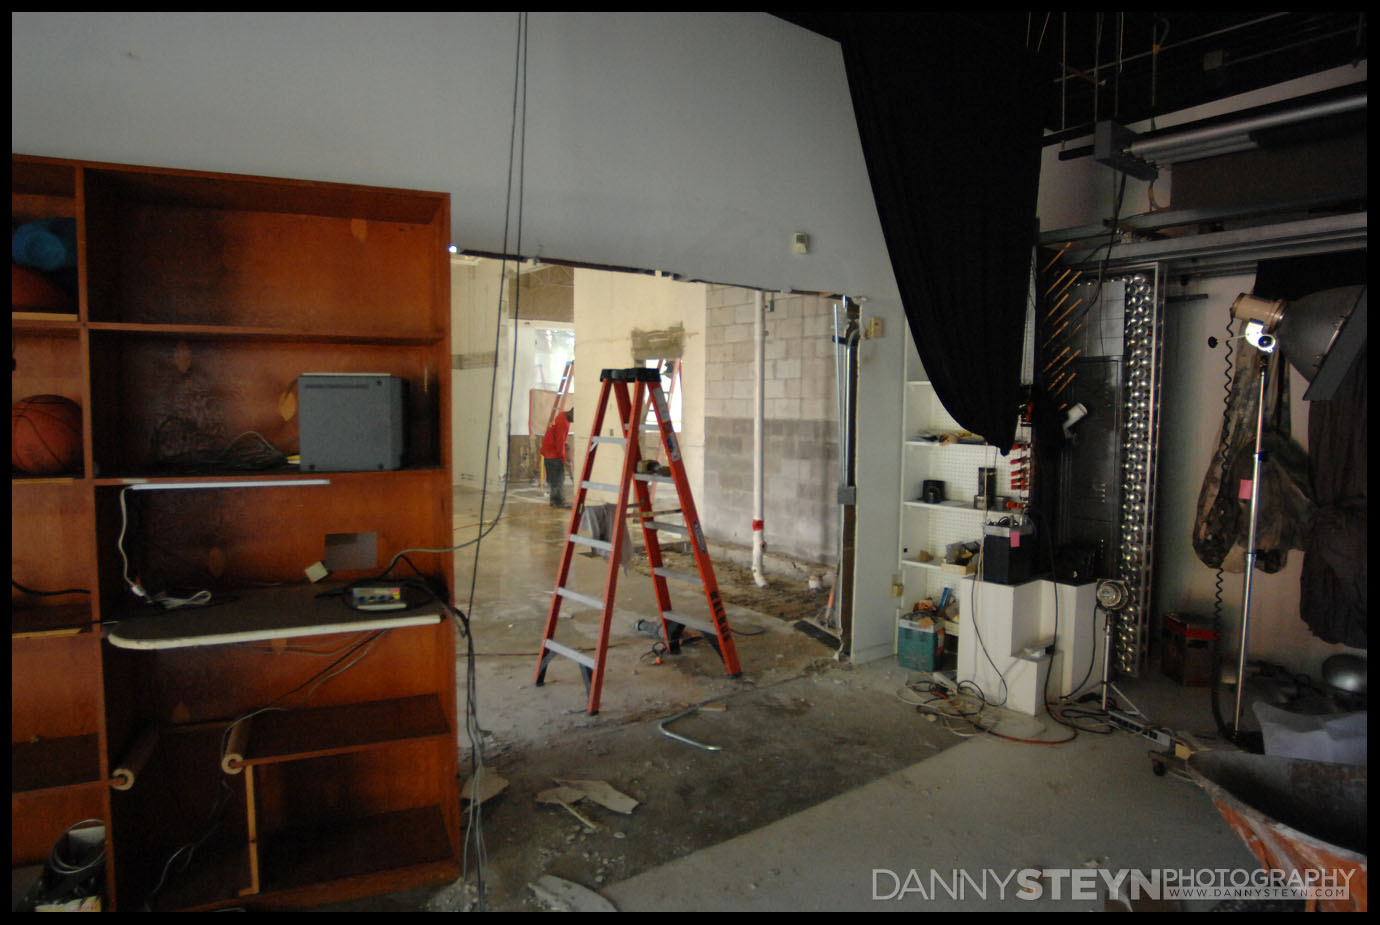
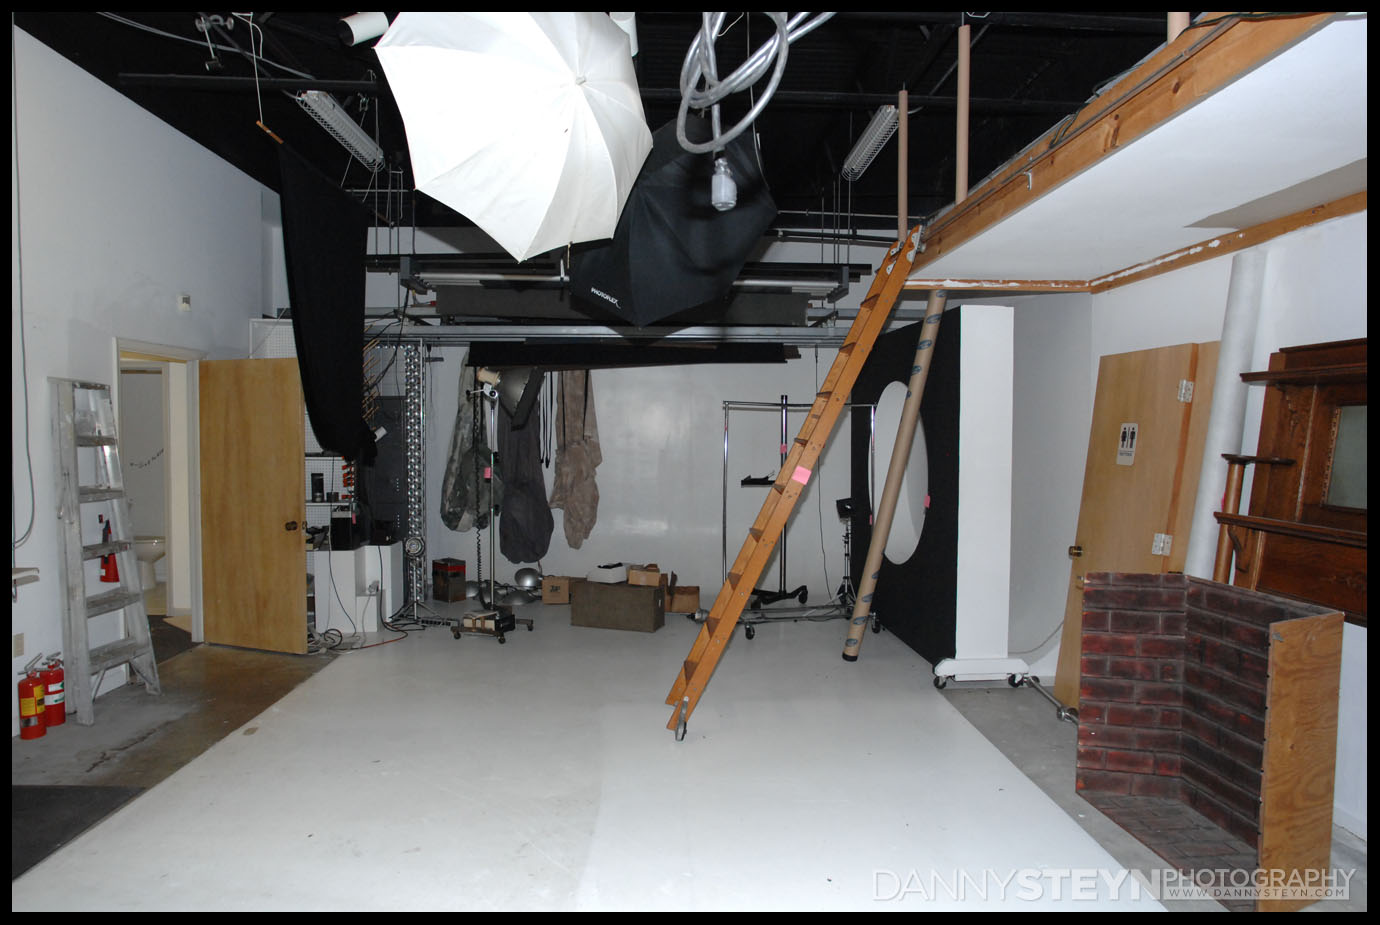
Old portrait studio – New photography studio – prior to purchase
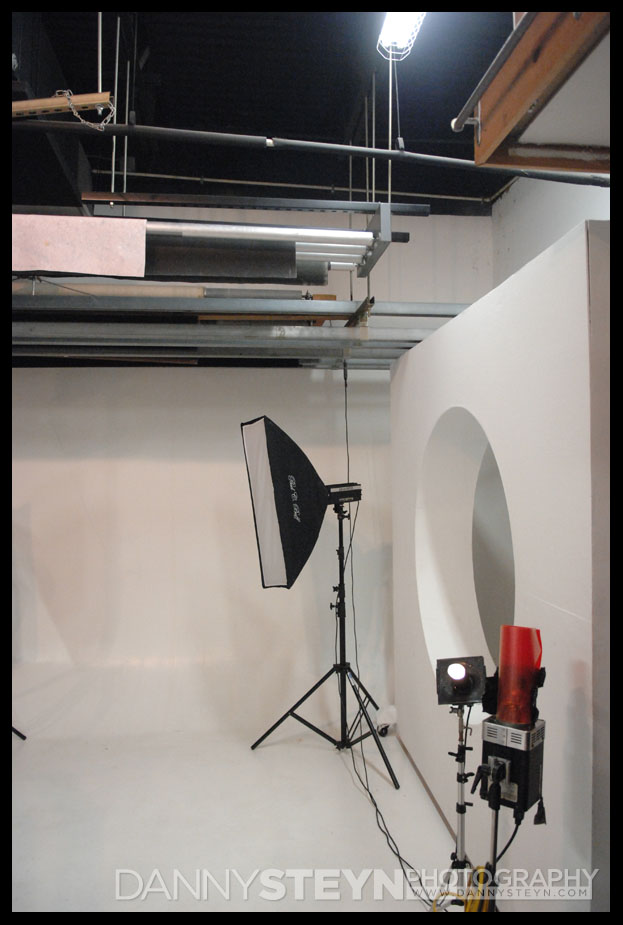
Cyc wall and motorized rolls – New photography studio – prior to purchase

Filing and Admin corner – New photography studio – prior to purchase